YAAAAAAAAAAAAAY!! Current mood: doing the happy dance. Thinking about our new mudroom it makes me want to go all Carlton-like from the Fresh Prince. It is that good.
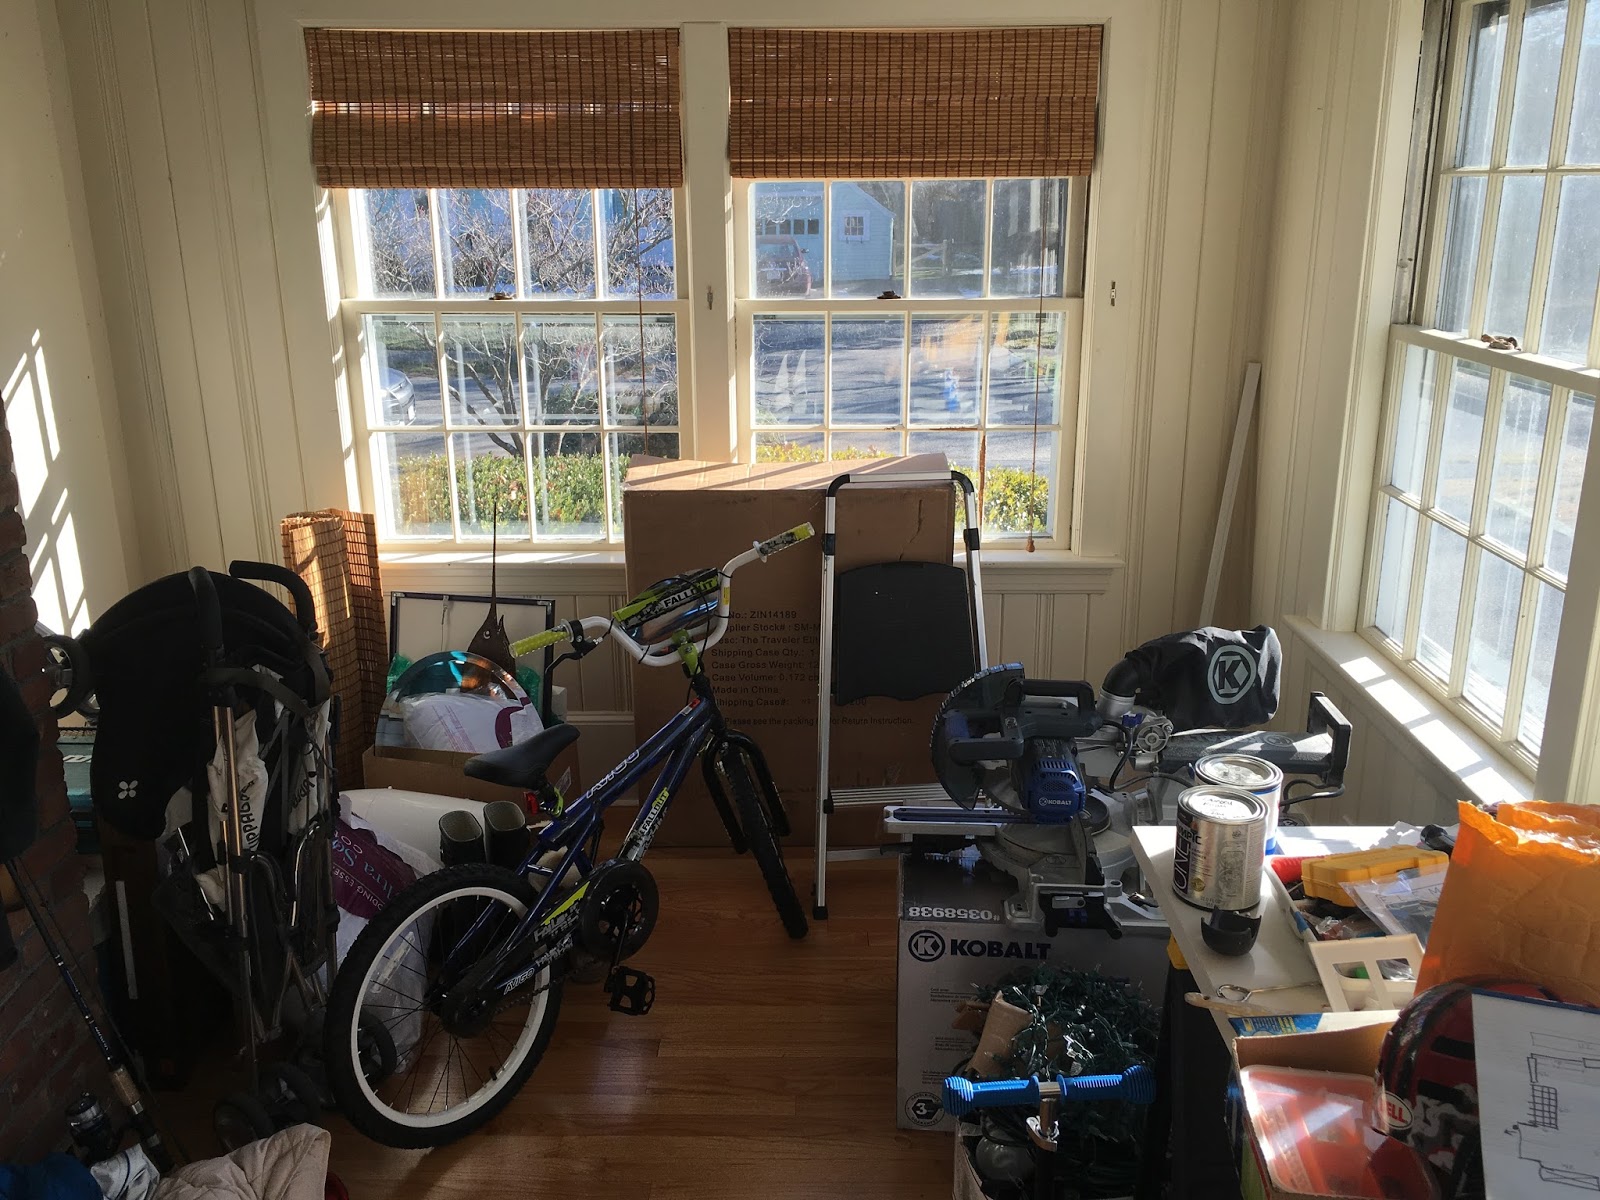
Because we have had a serious problem.
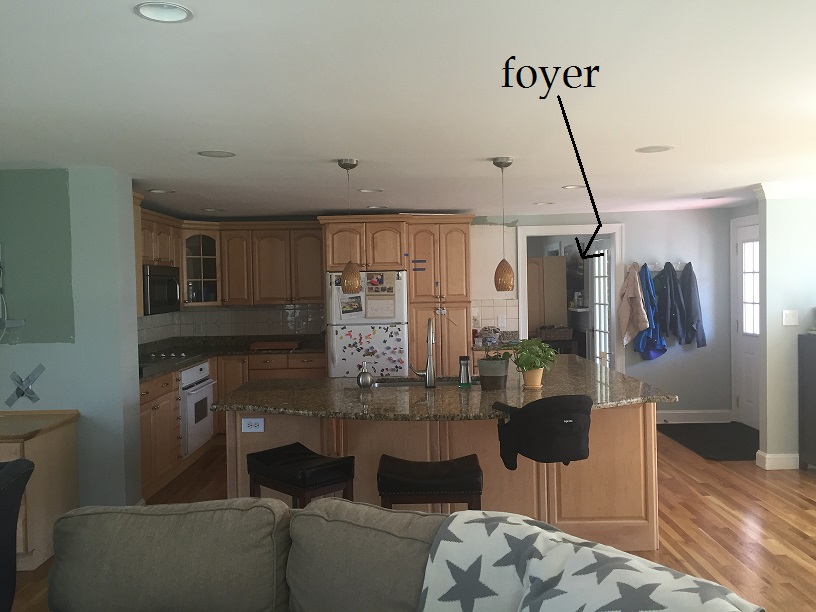
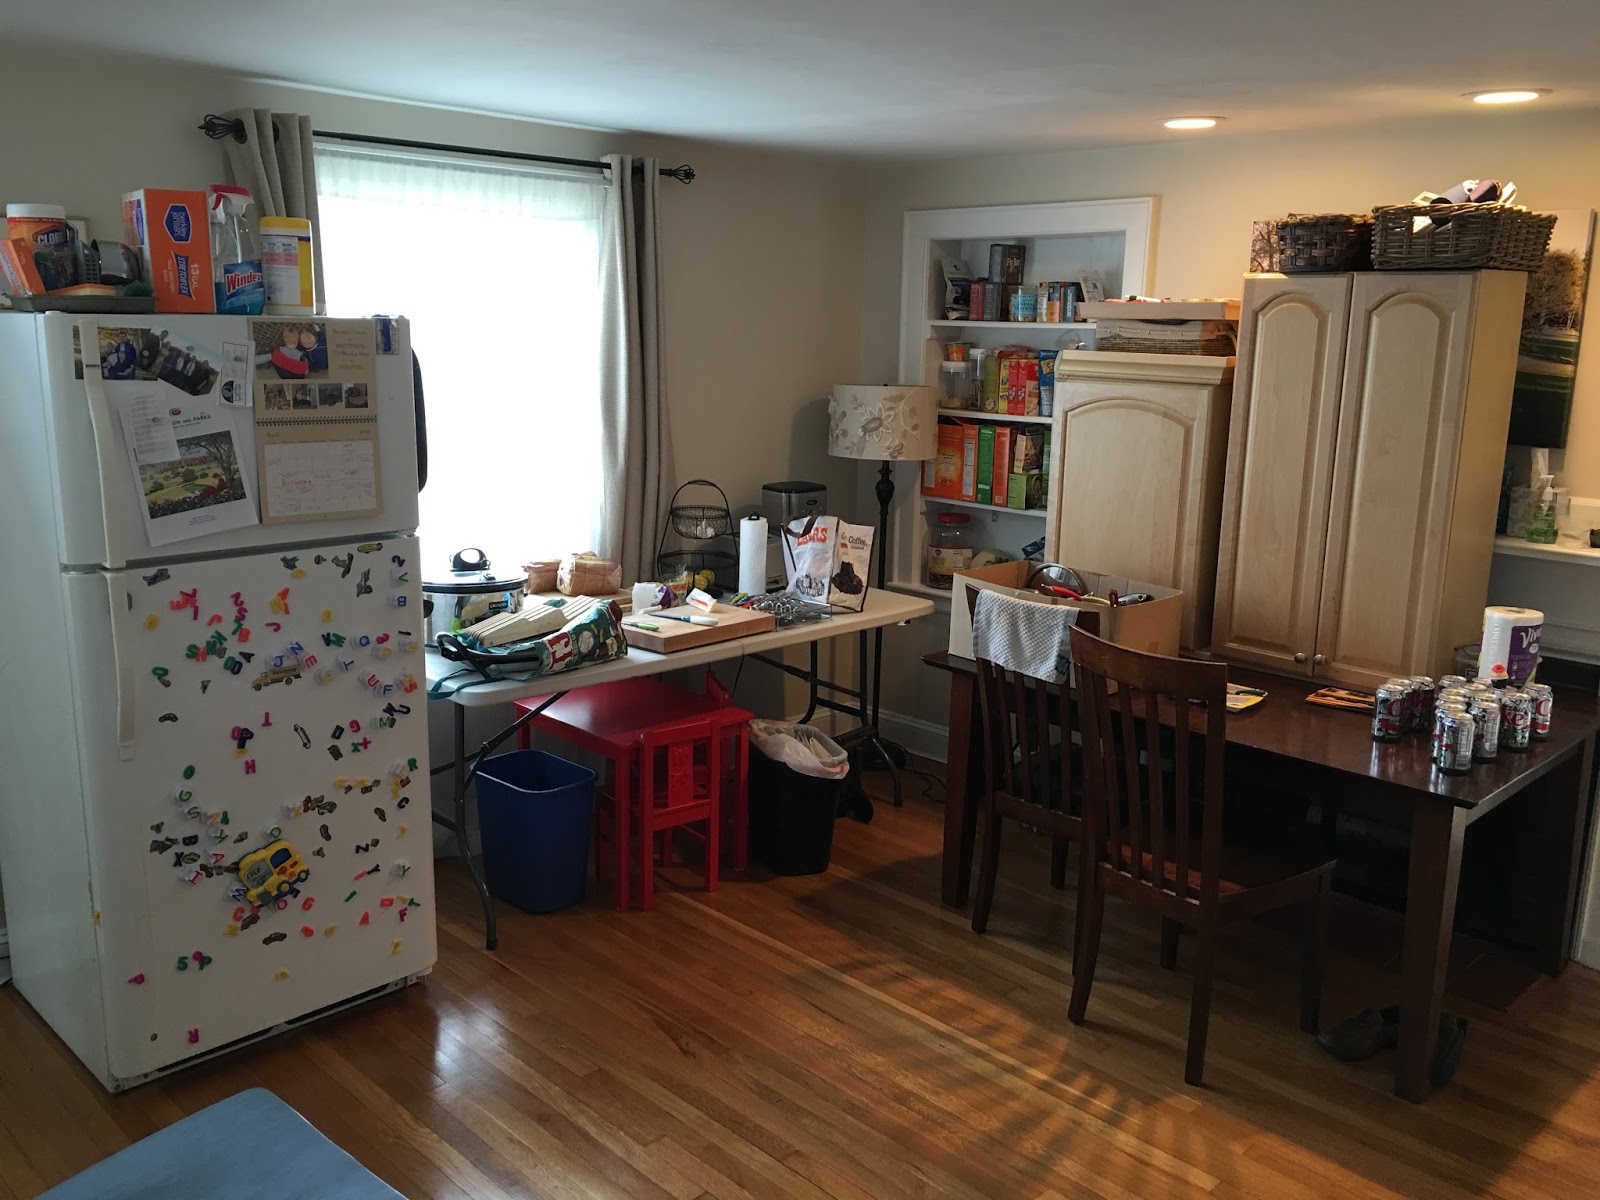
That picture is not even staged. There truly was a random glove on the floor (uh, mine), a broom, and enough shoes to form a small dam. Trying to come in from outside was really annoying. No matter how many times we tried to keep the stuff on the floor to a minimum, it just crept back. And this is what you see from our entire kitchen and family room area – it’s messy and unattractive and we knew from the beginning, from the first moment this house was ours, what the solution would be.
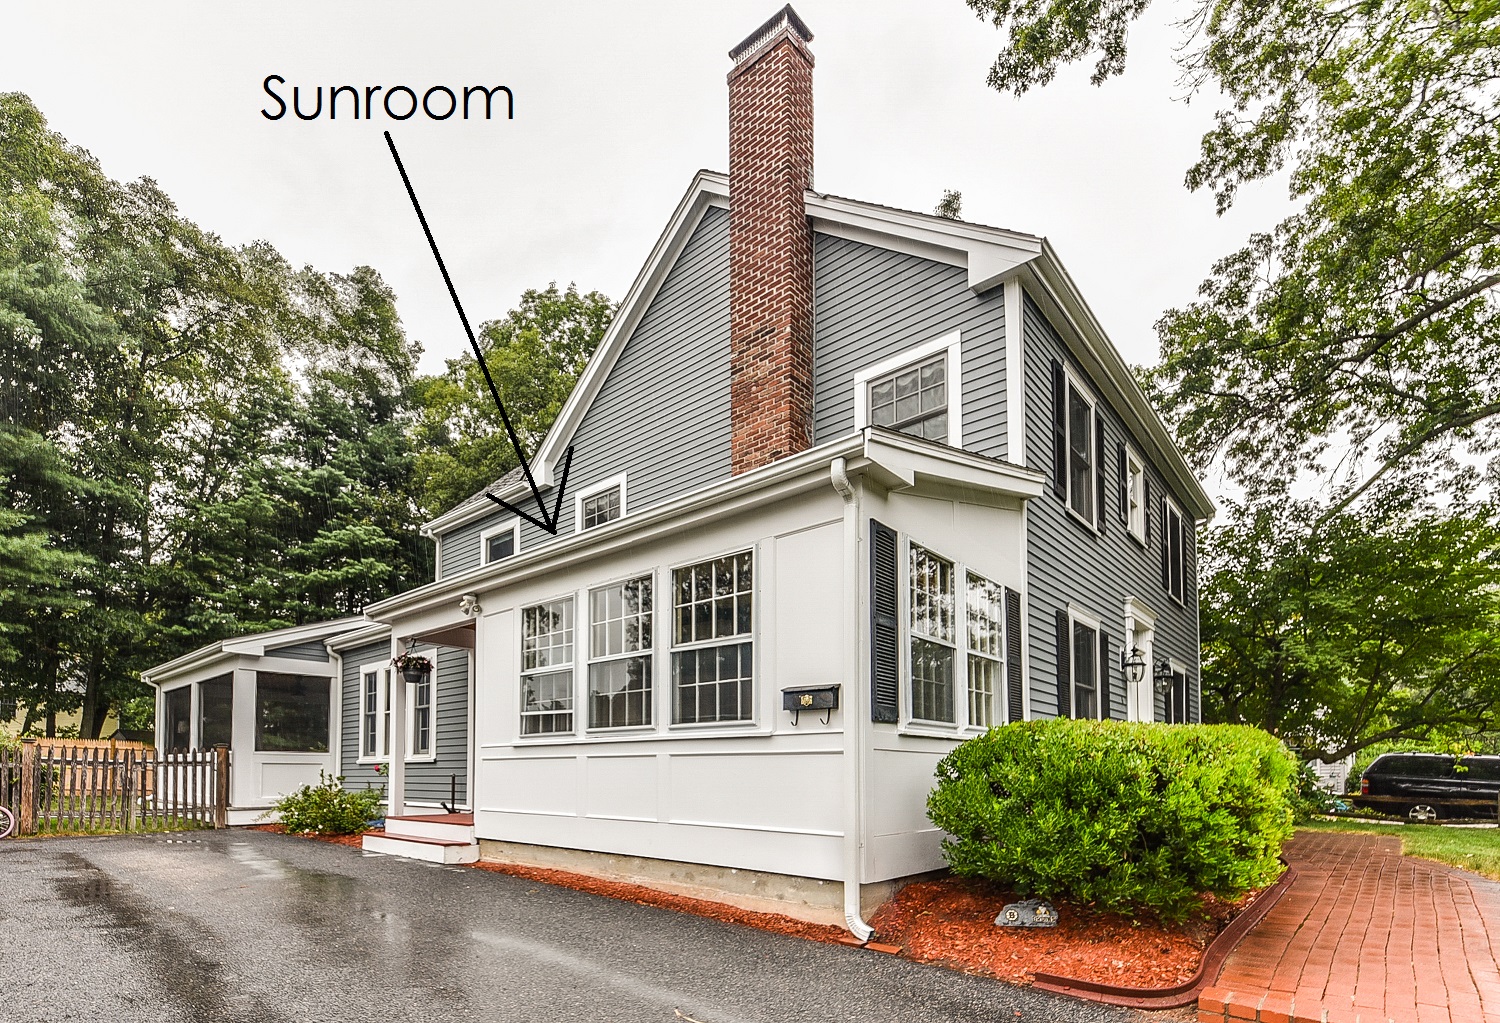
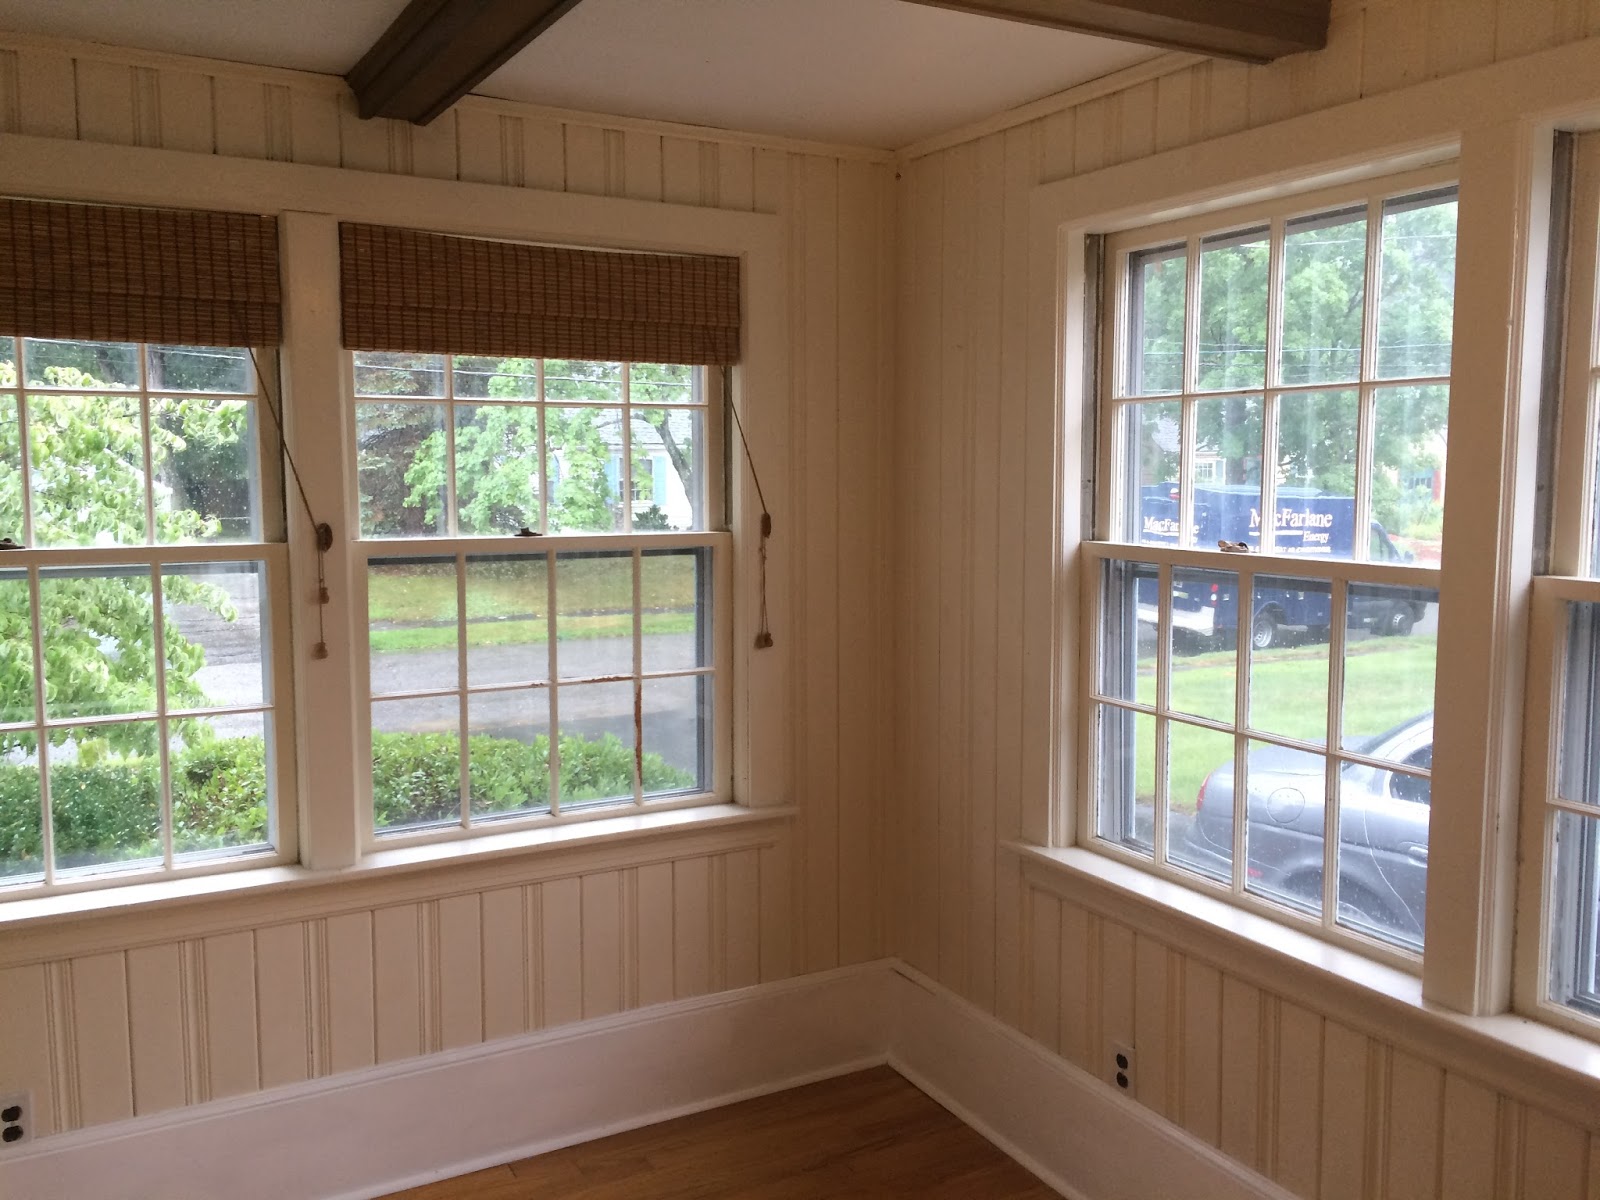
So let me start with some geography. Our house has/had a cute little sunroom. Perhaps obvious, but:
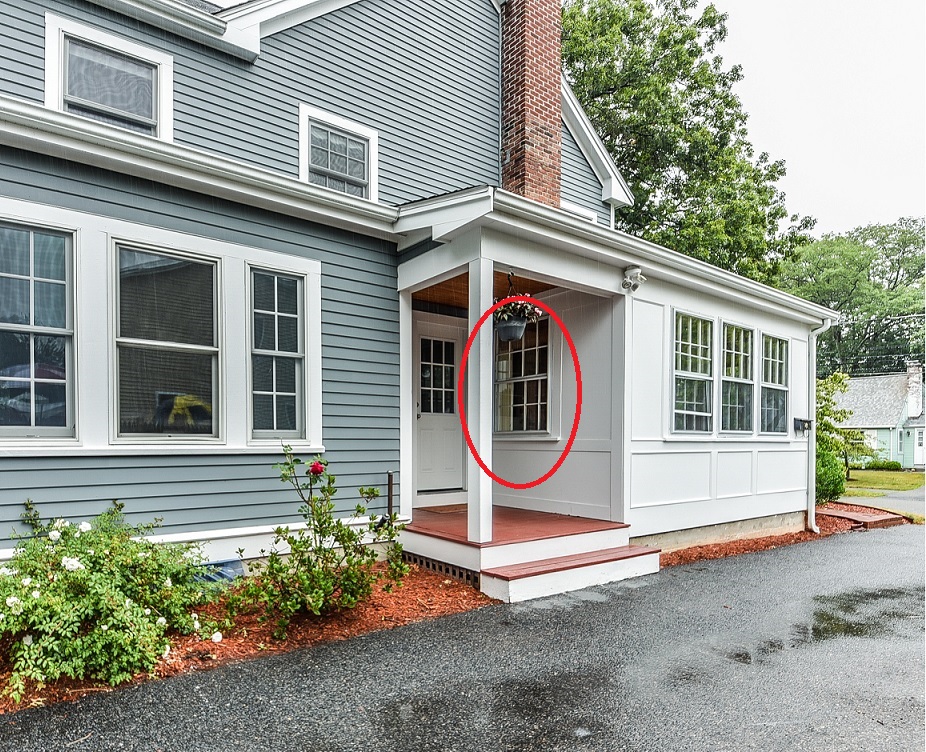
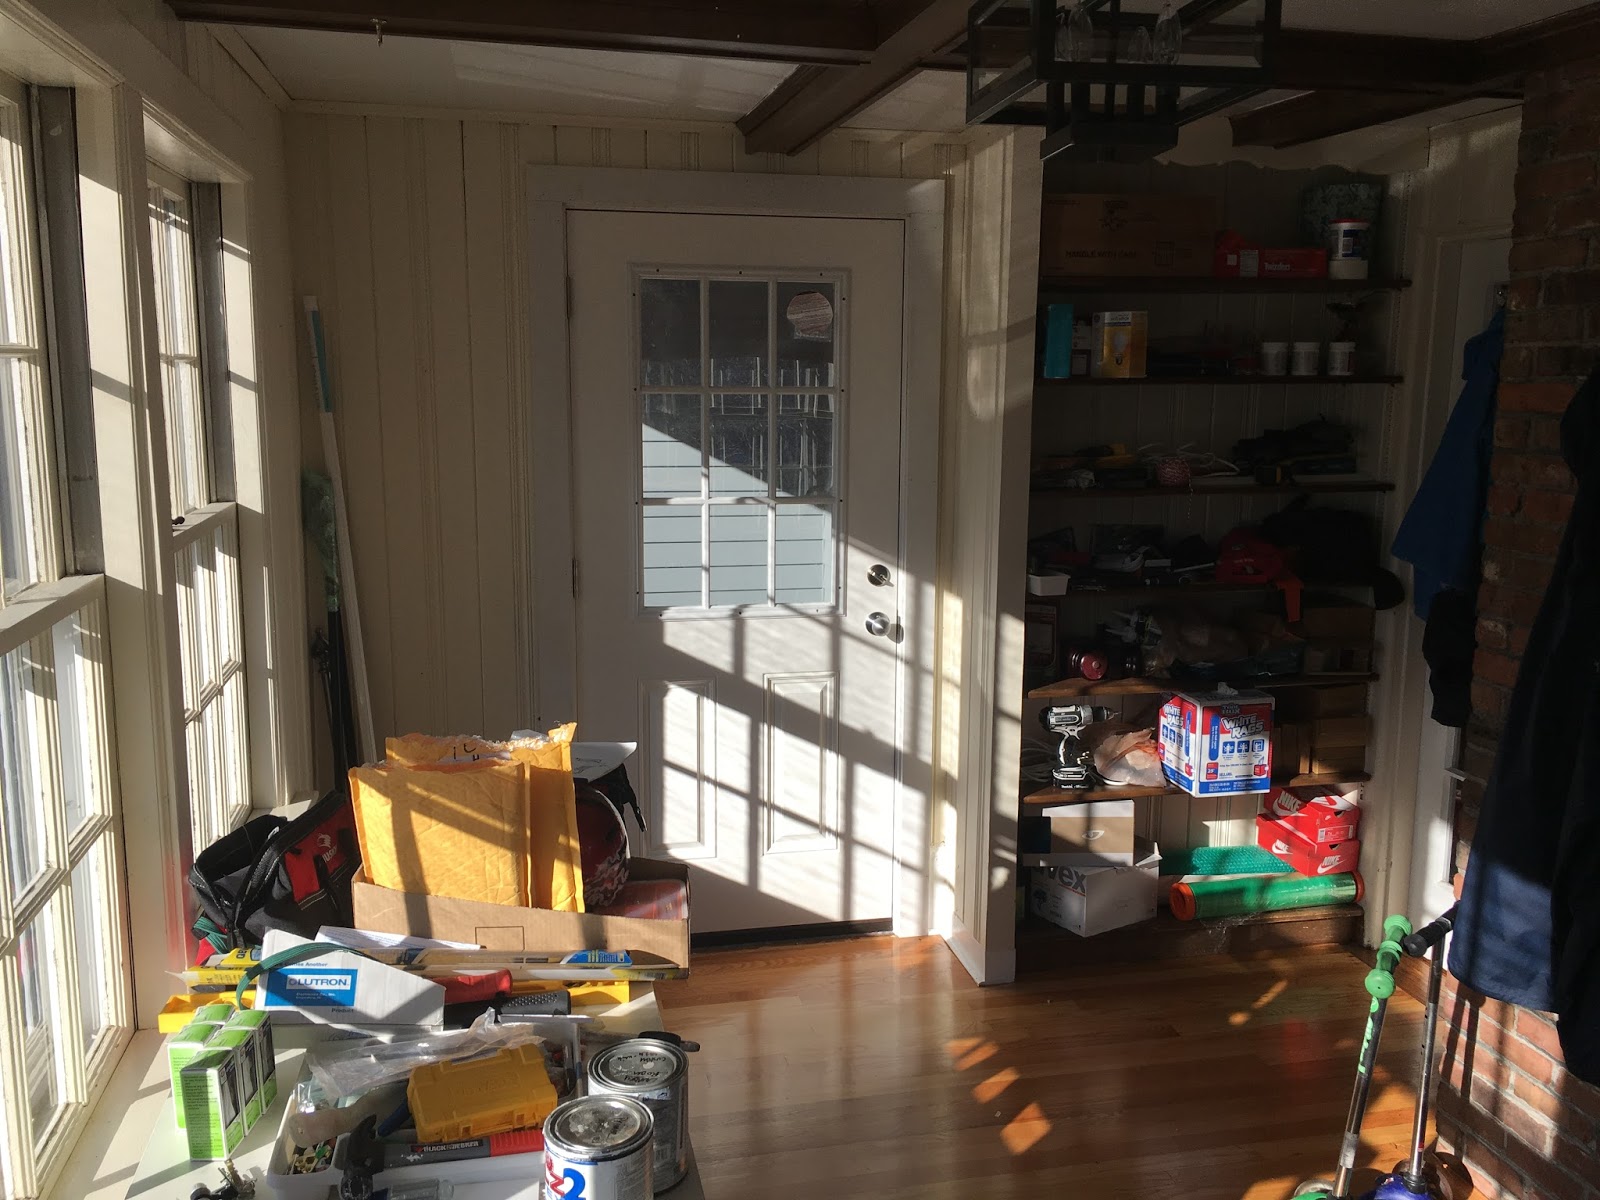
Coming up our driveway a little further you can see the side door, which is an entrance directly into the kitchen (where the shoe pileup is). See the lovely red circle next to it? That is the window I knew would have to become a door.
So this past November, that’s what happened.
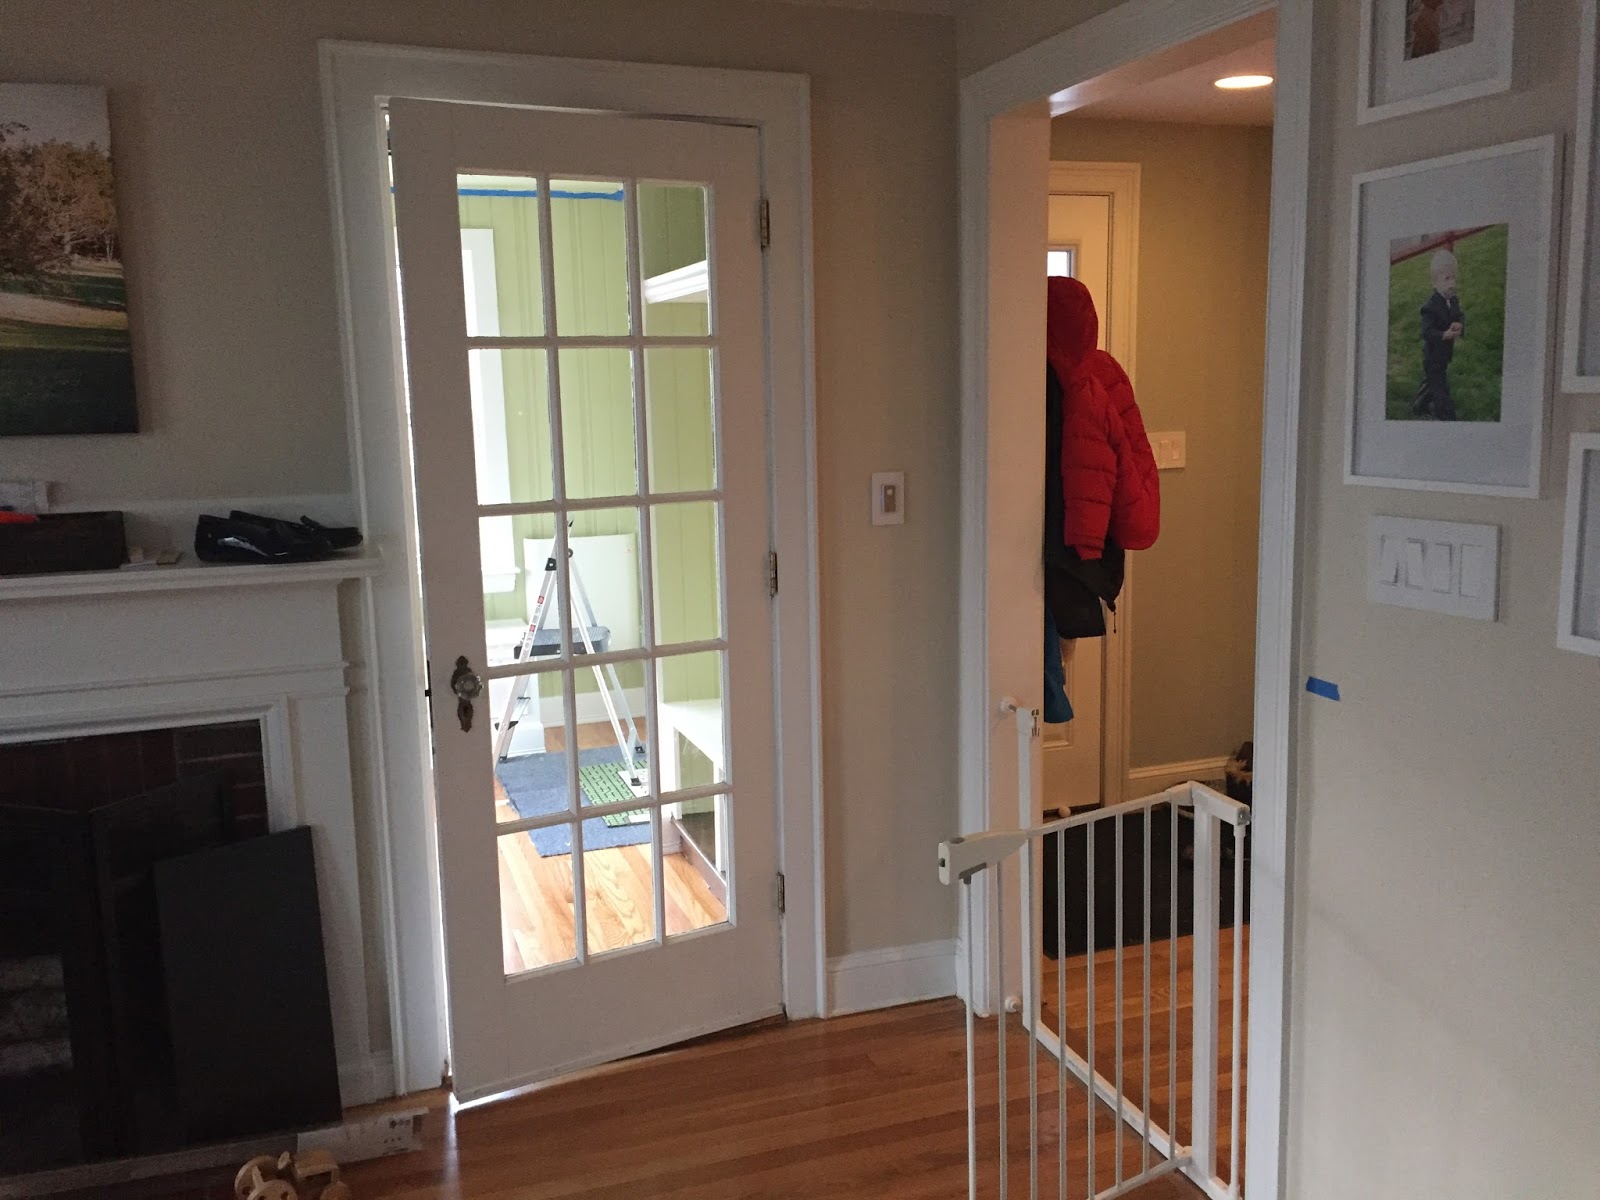
Now the sunroom had two doors: one exterior and one interior – the interior one opens into the foyer.
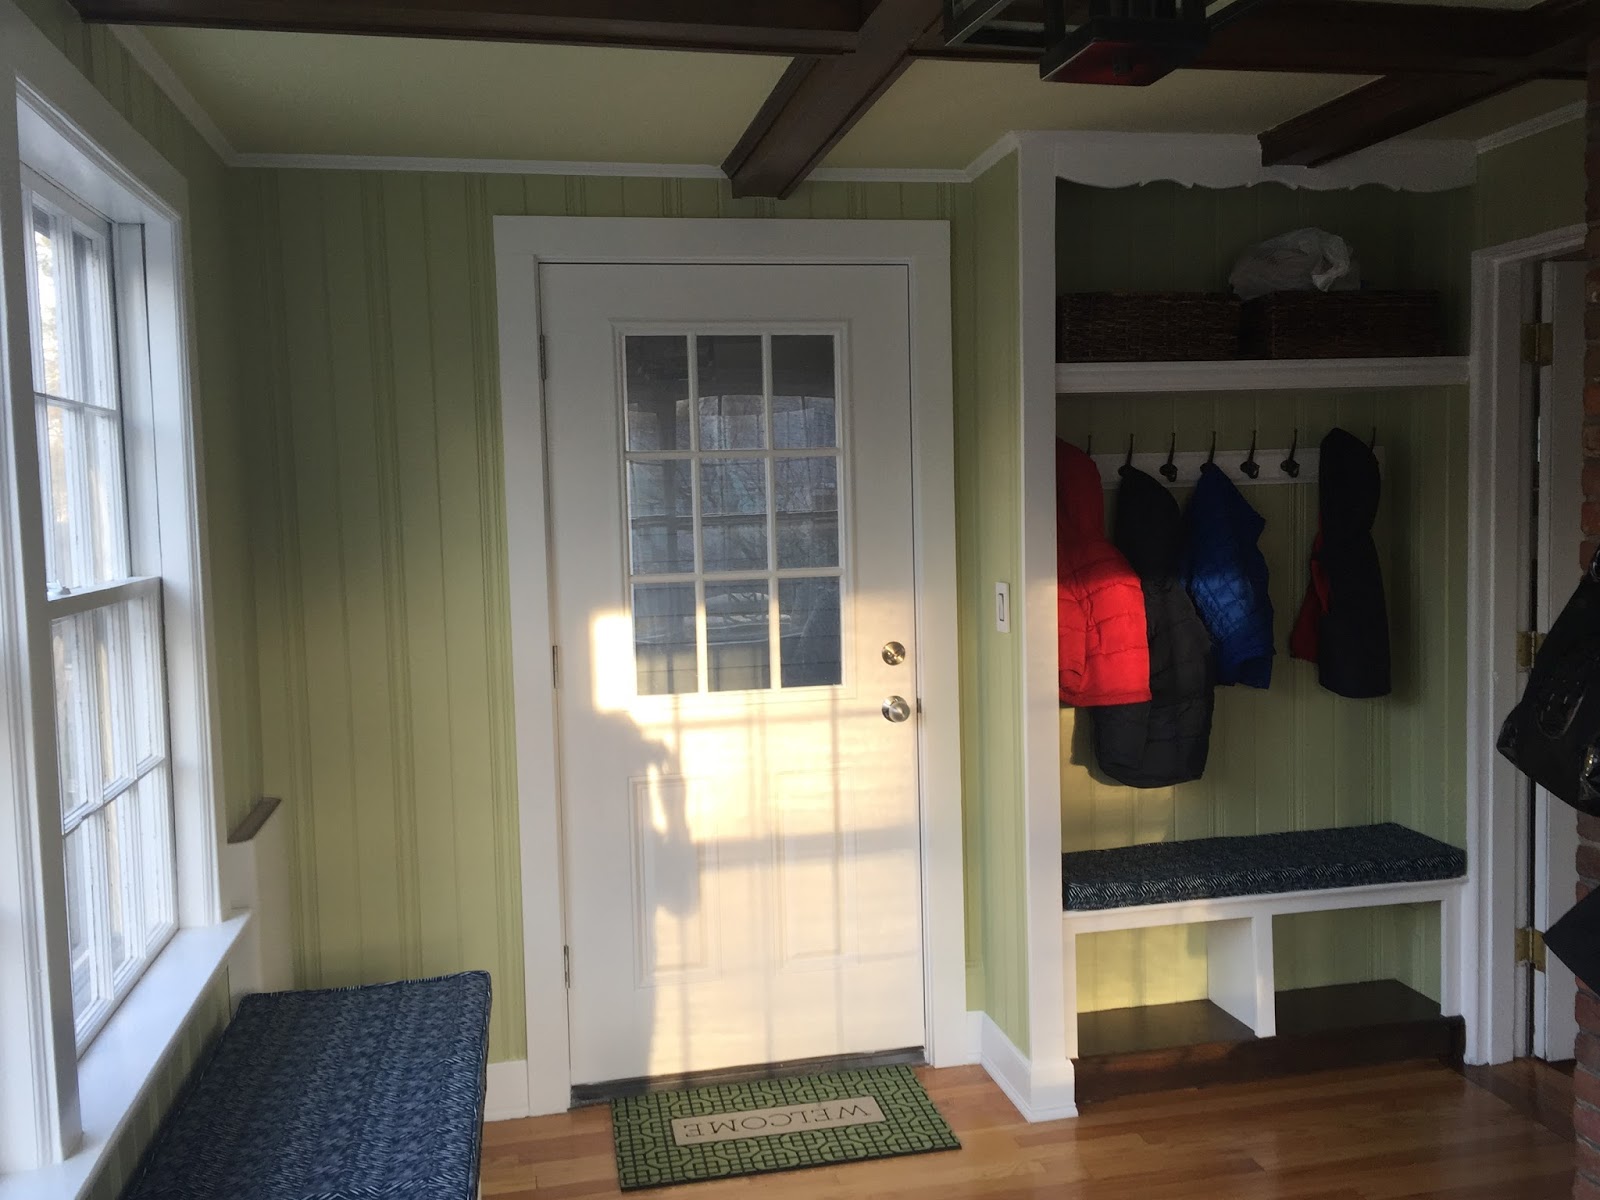
Readers, here comes the critical point. It was now conceivable that someone could come in the new exterior door and find themselves in a proper place to take off their boots, hang up their jacket, and then enter the house. [SHOCK] & [AWE]. The mudroom is just steps to the left from what has been our usual dumping ground.
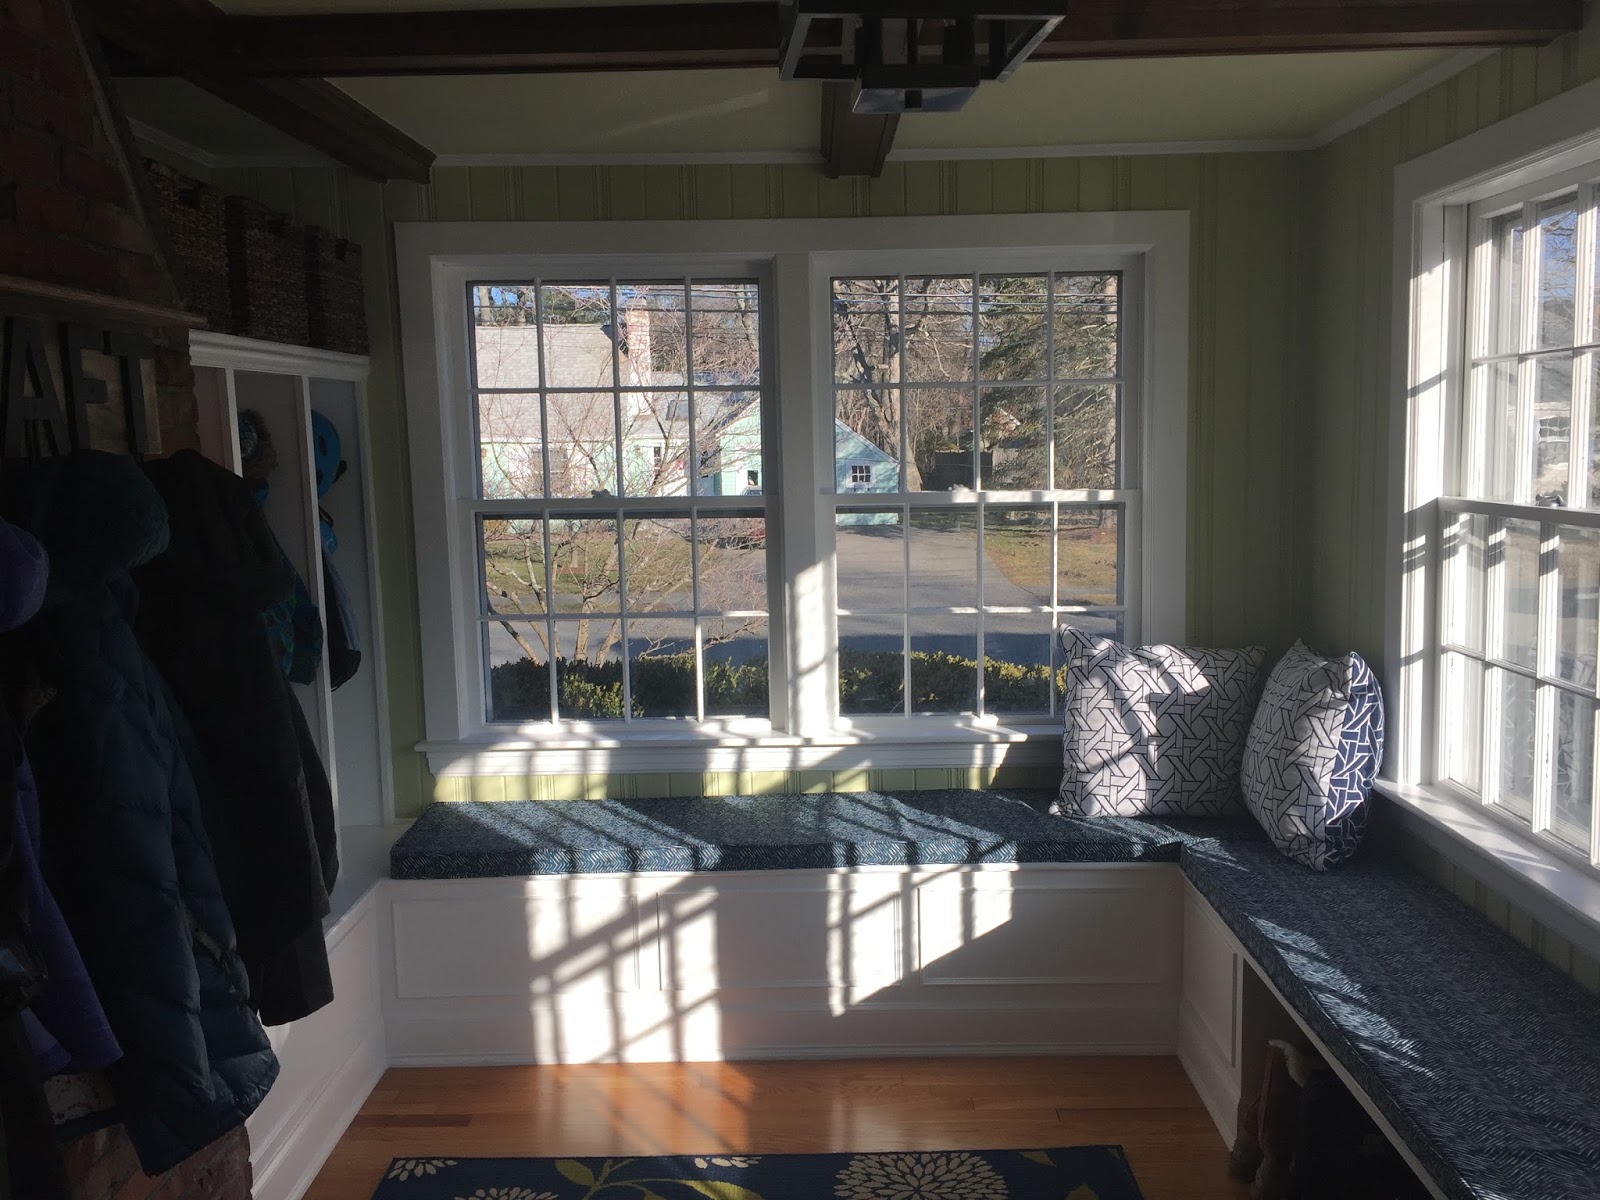
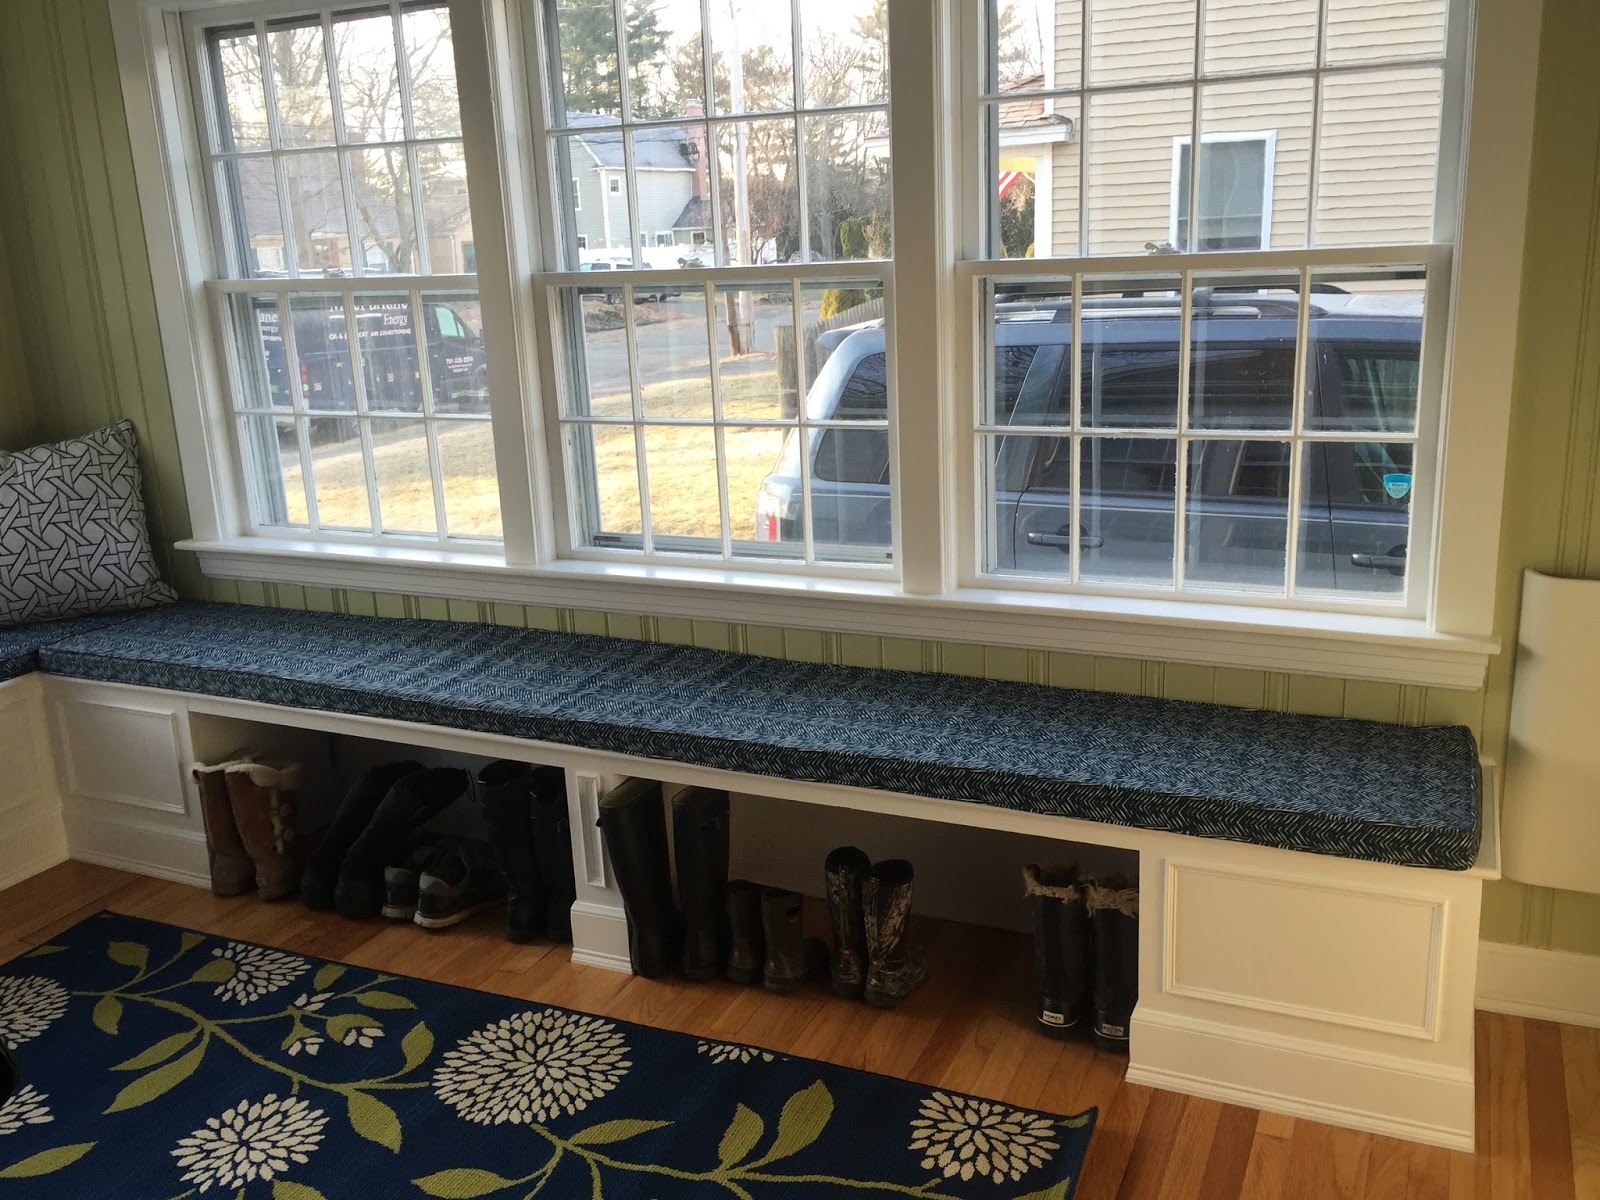
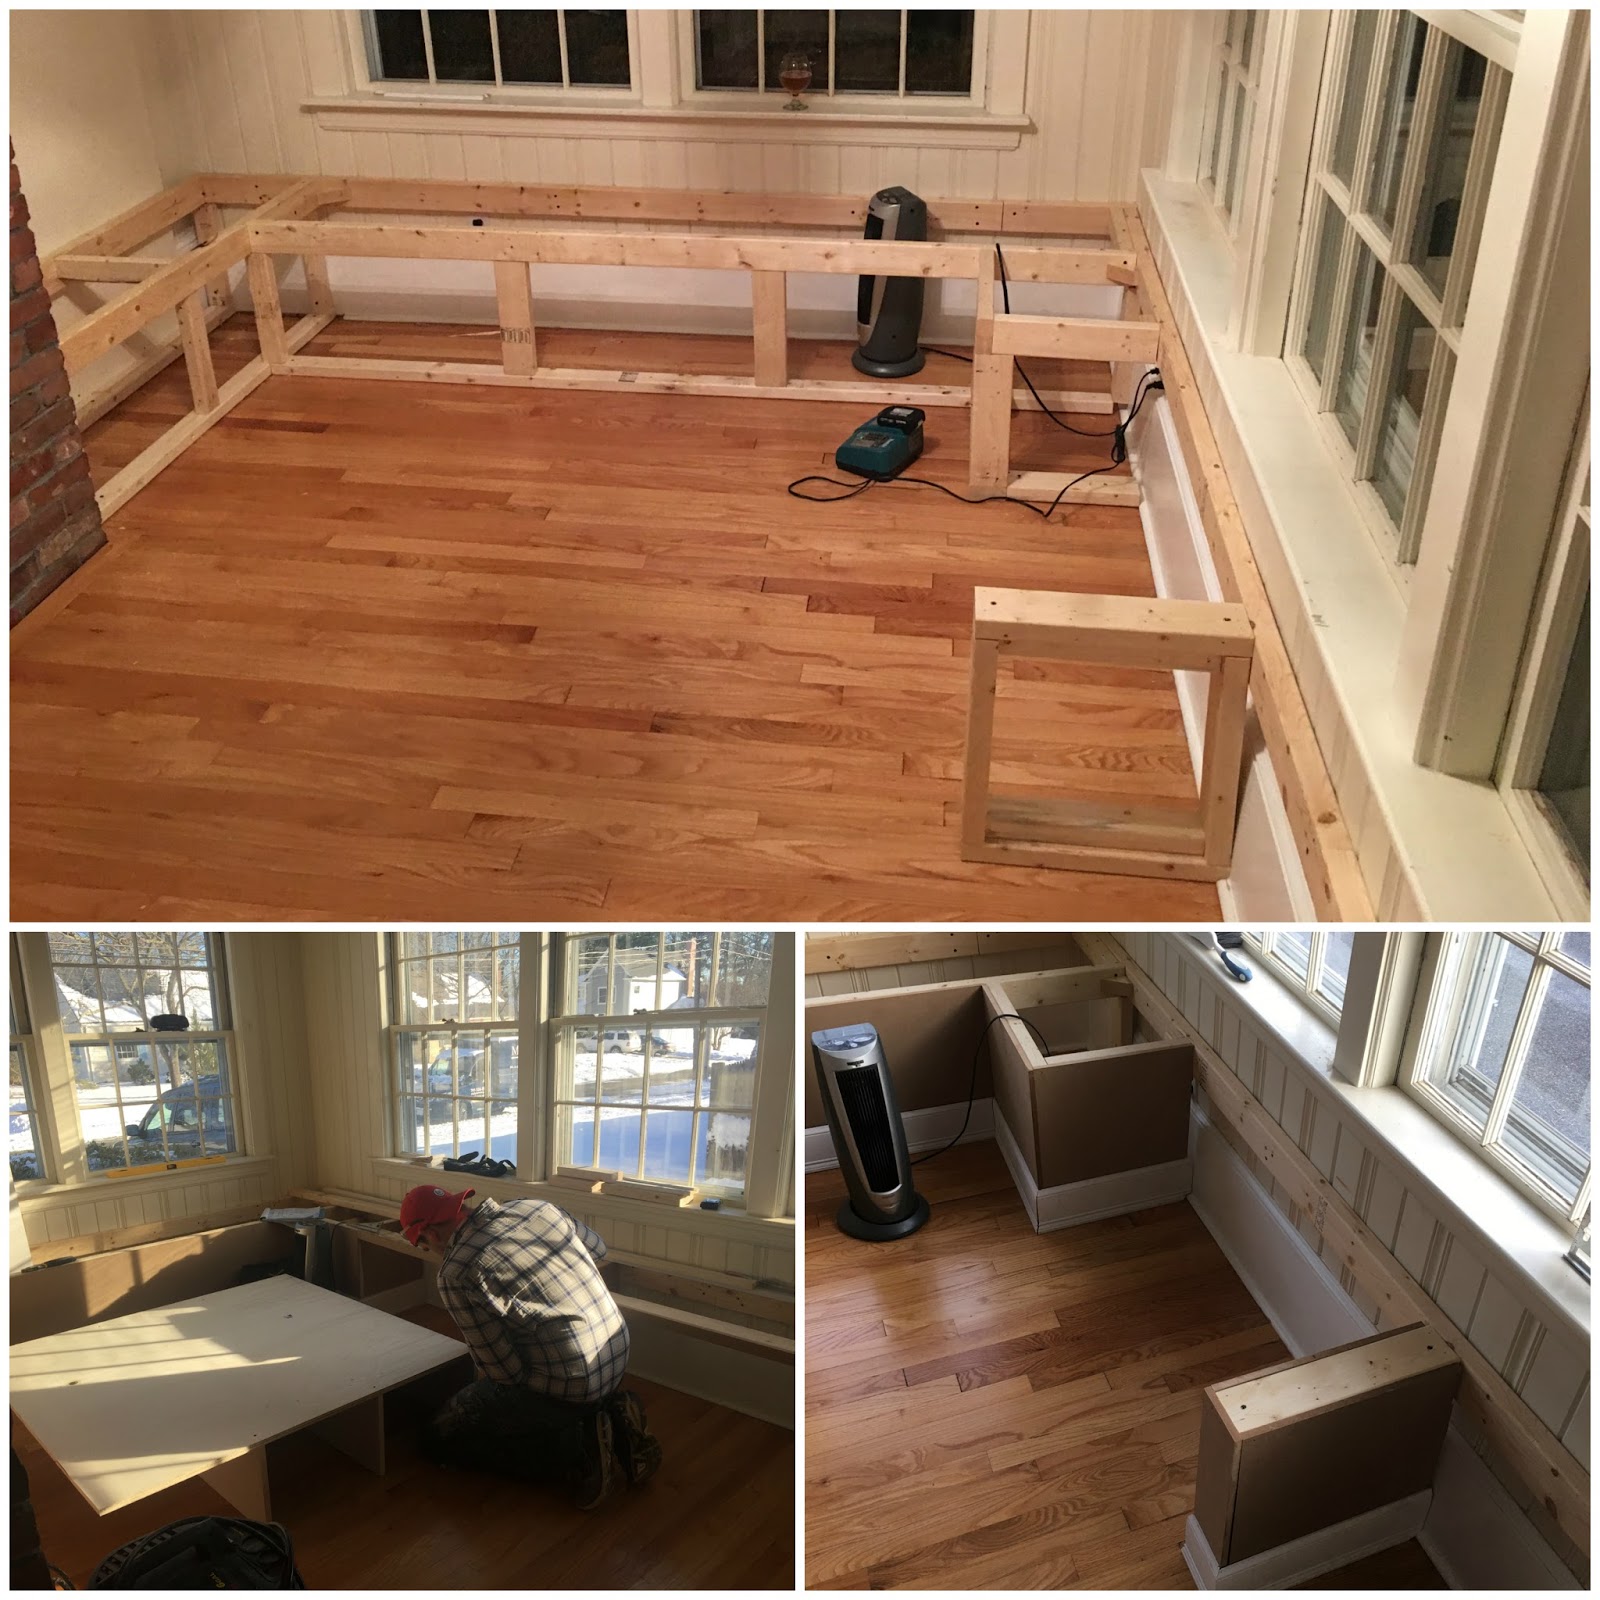
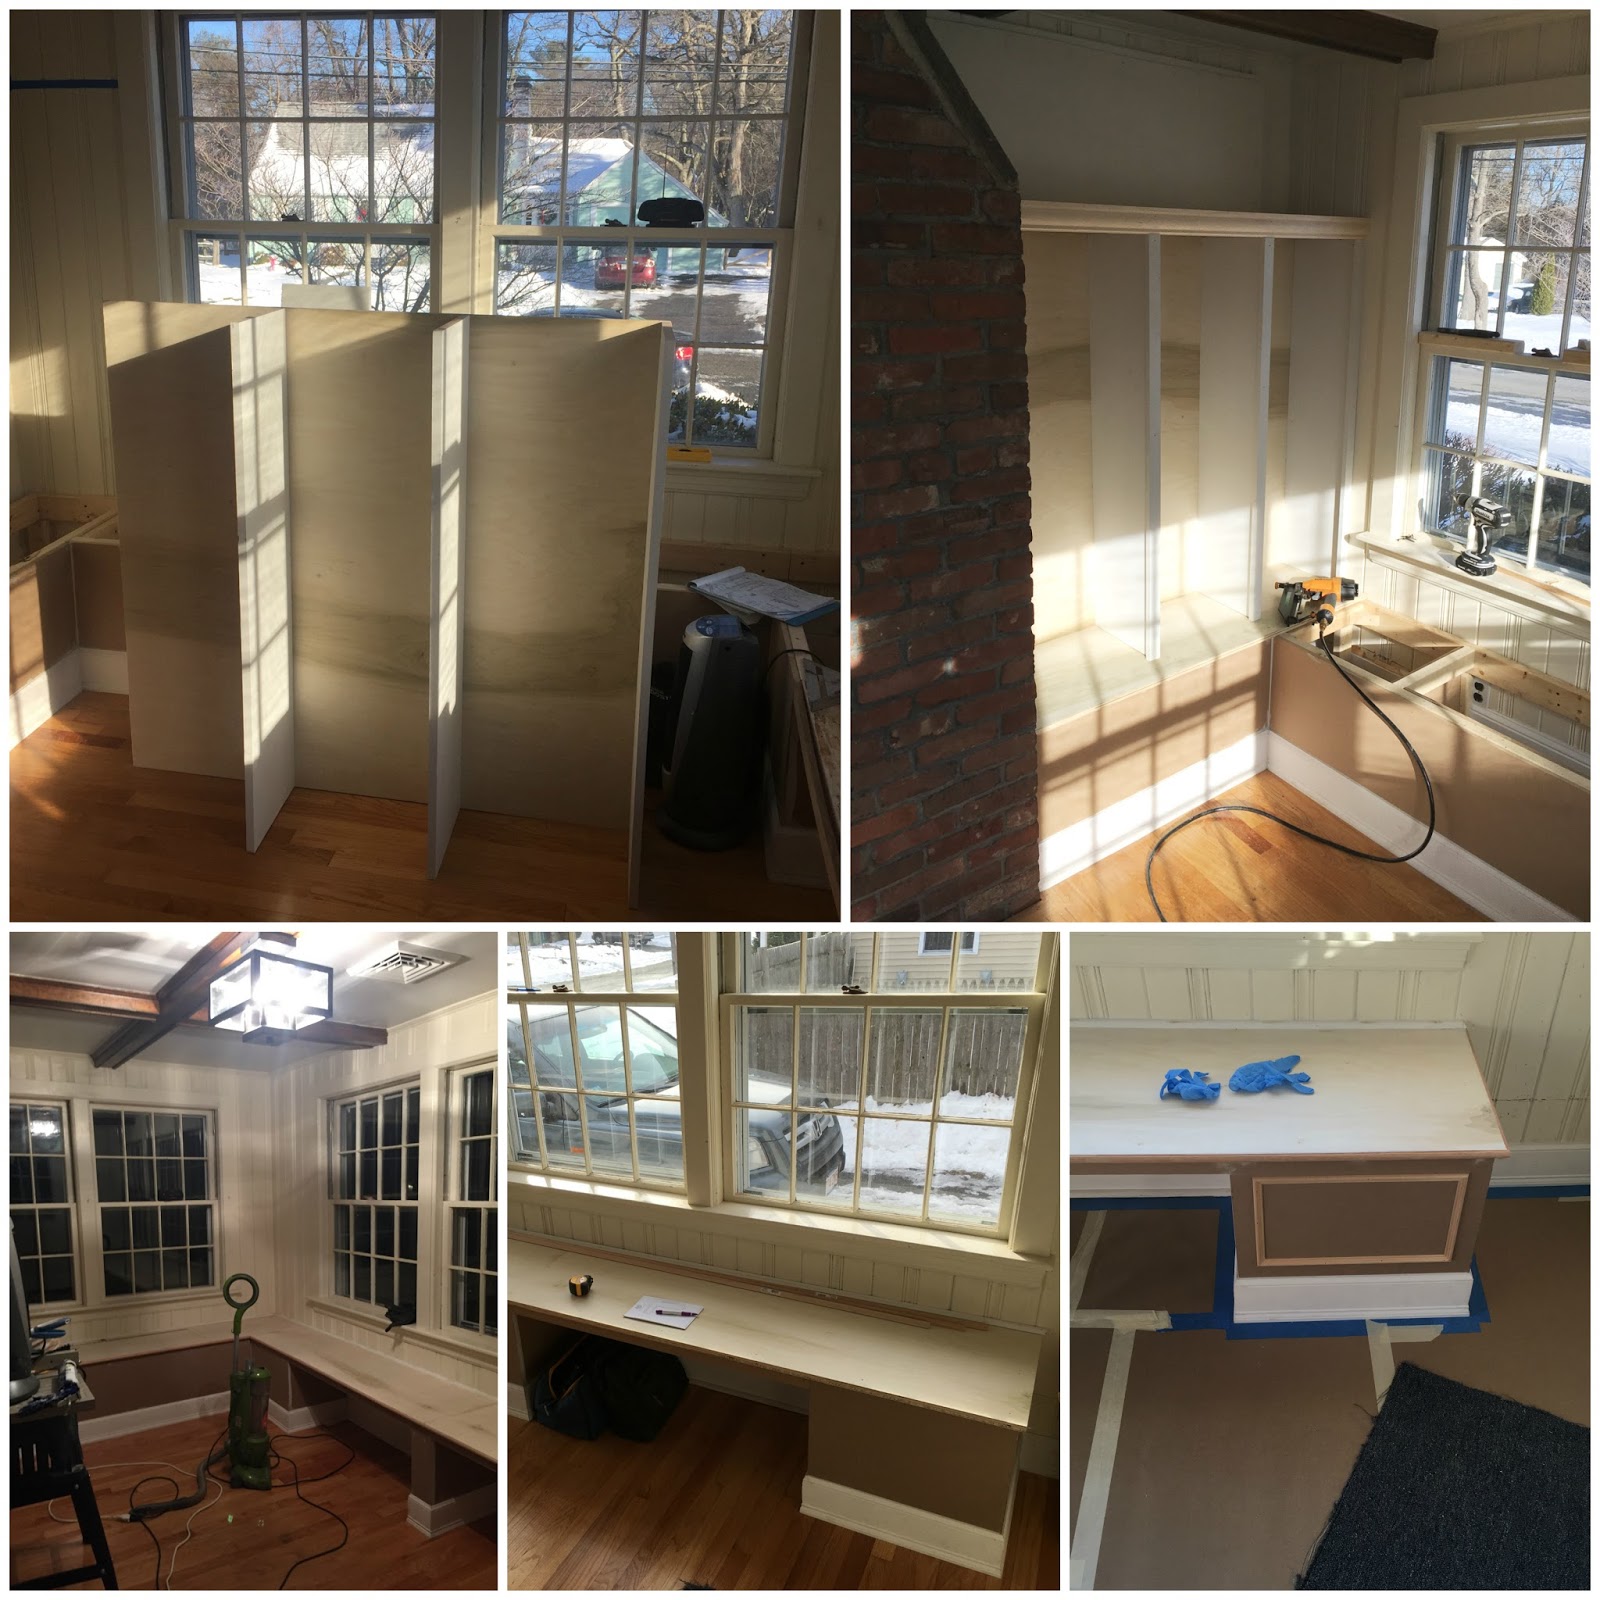
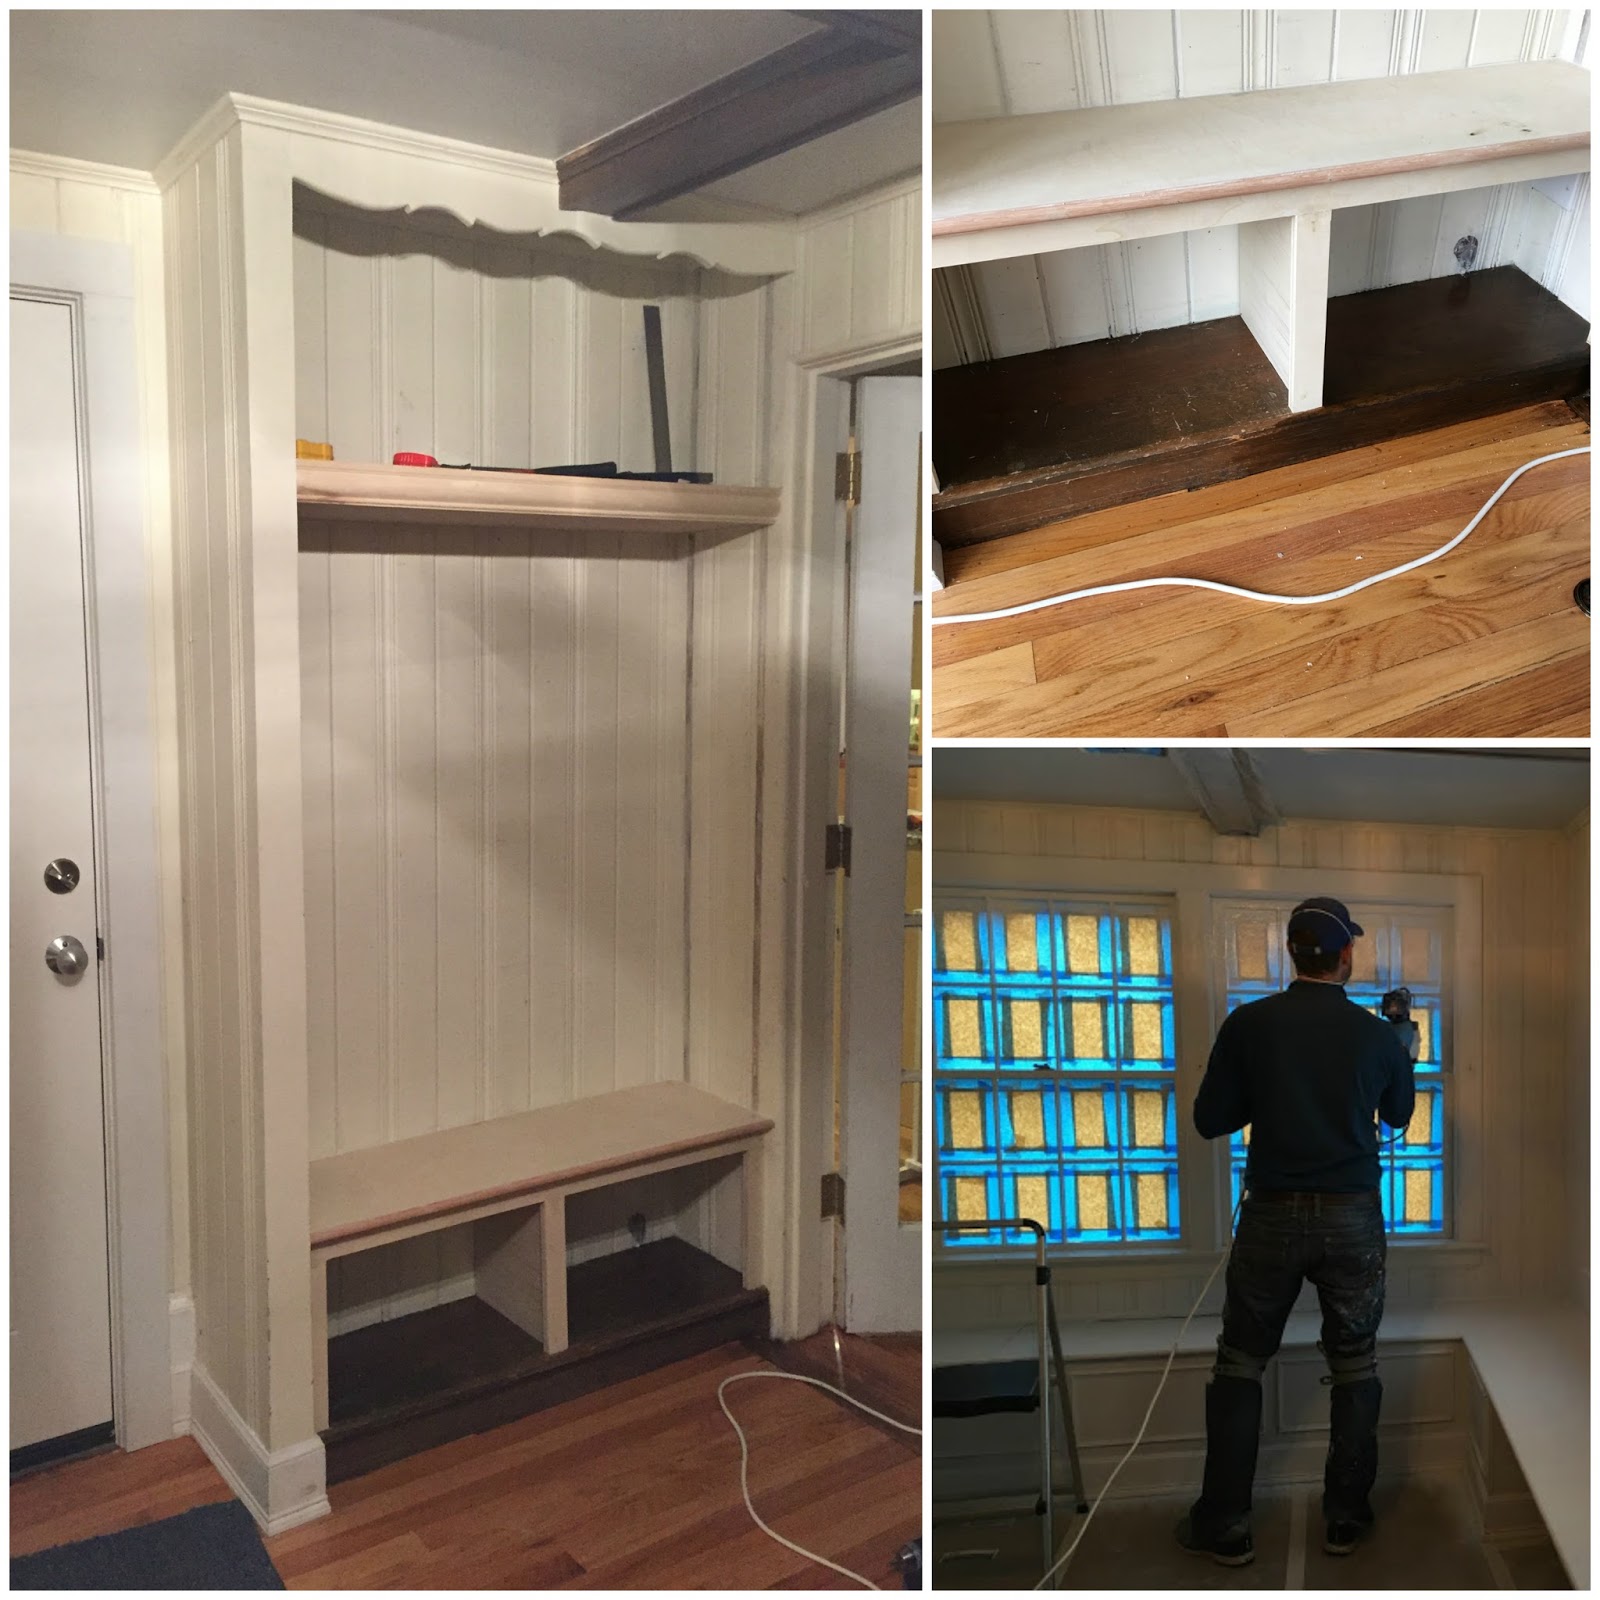
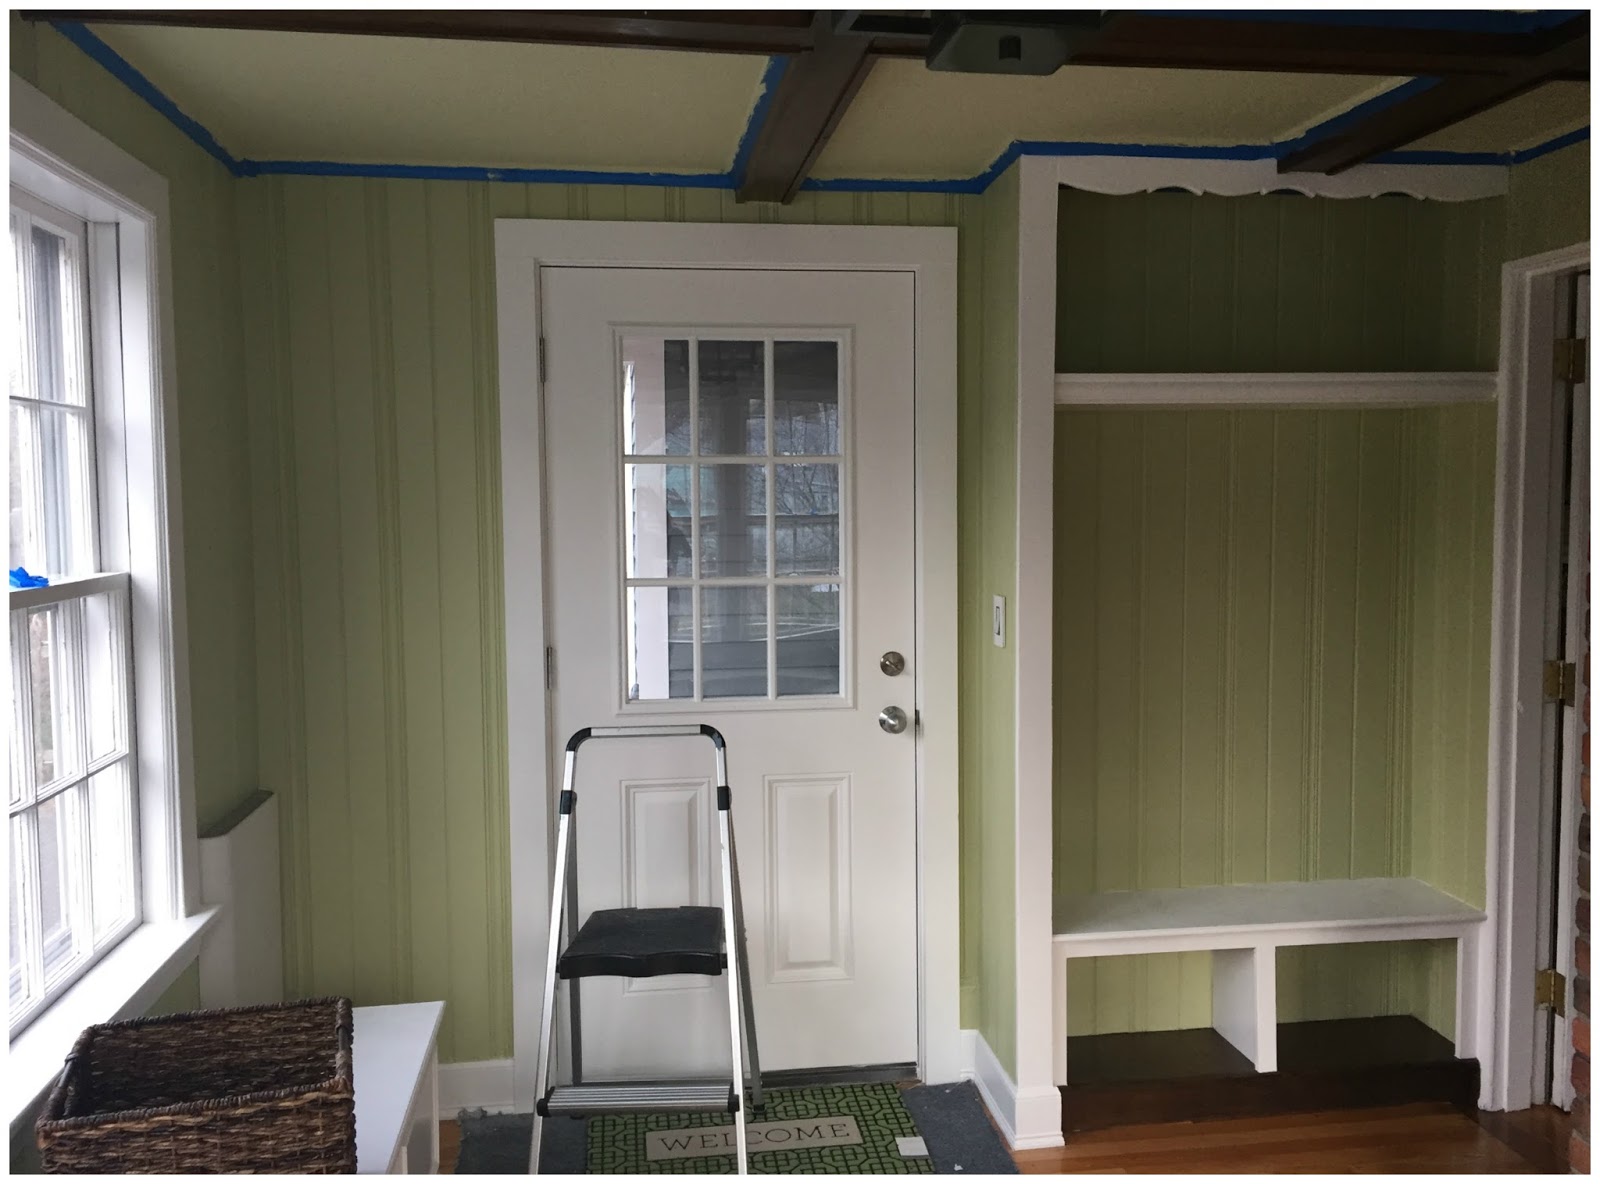
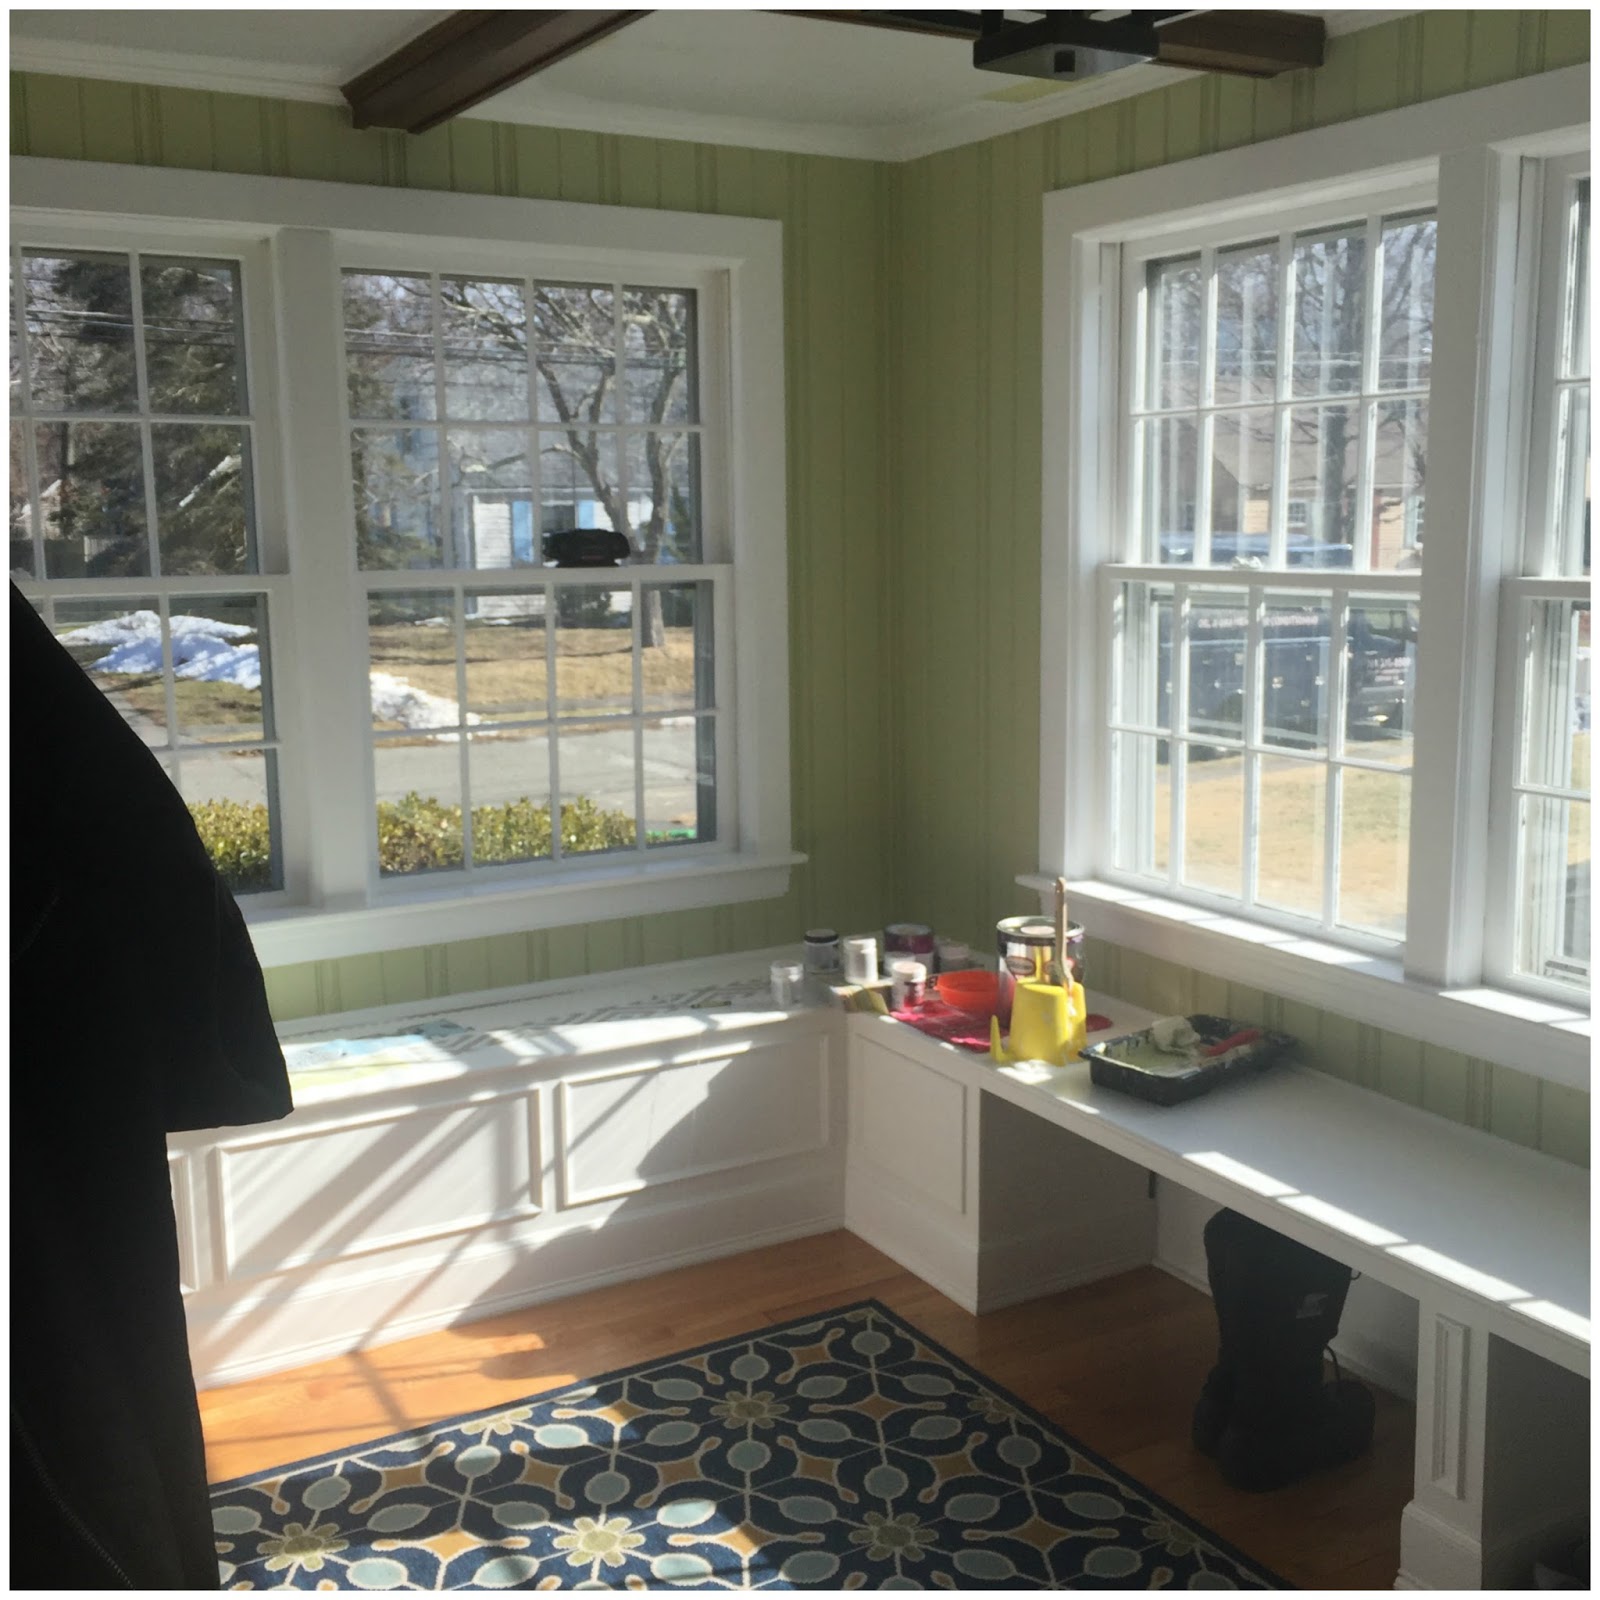
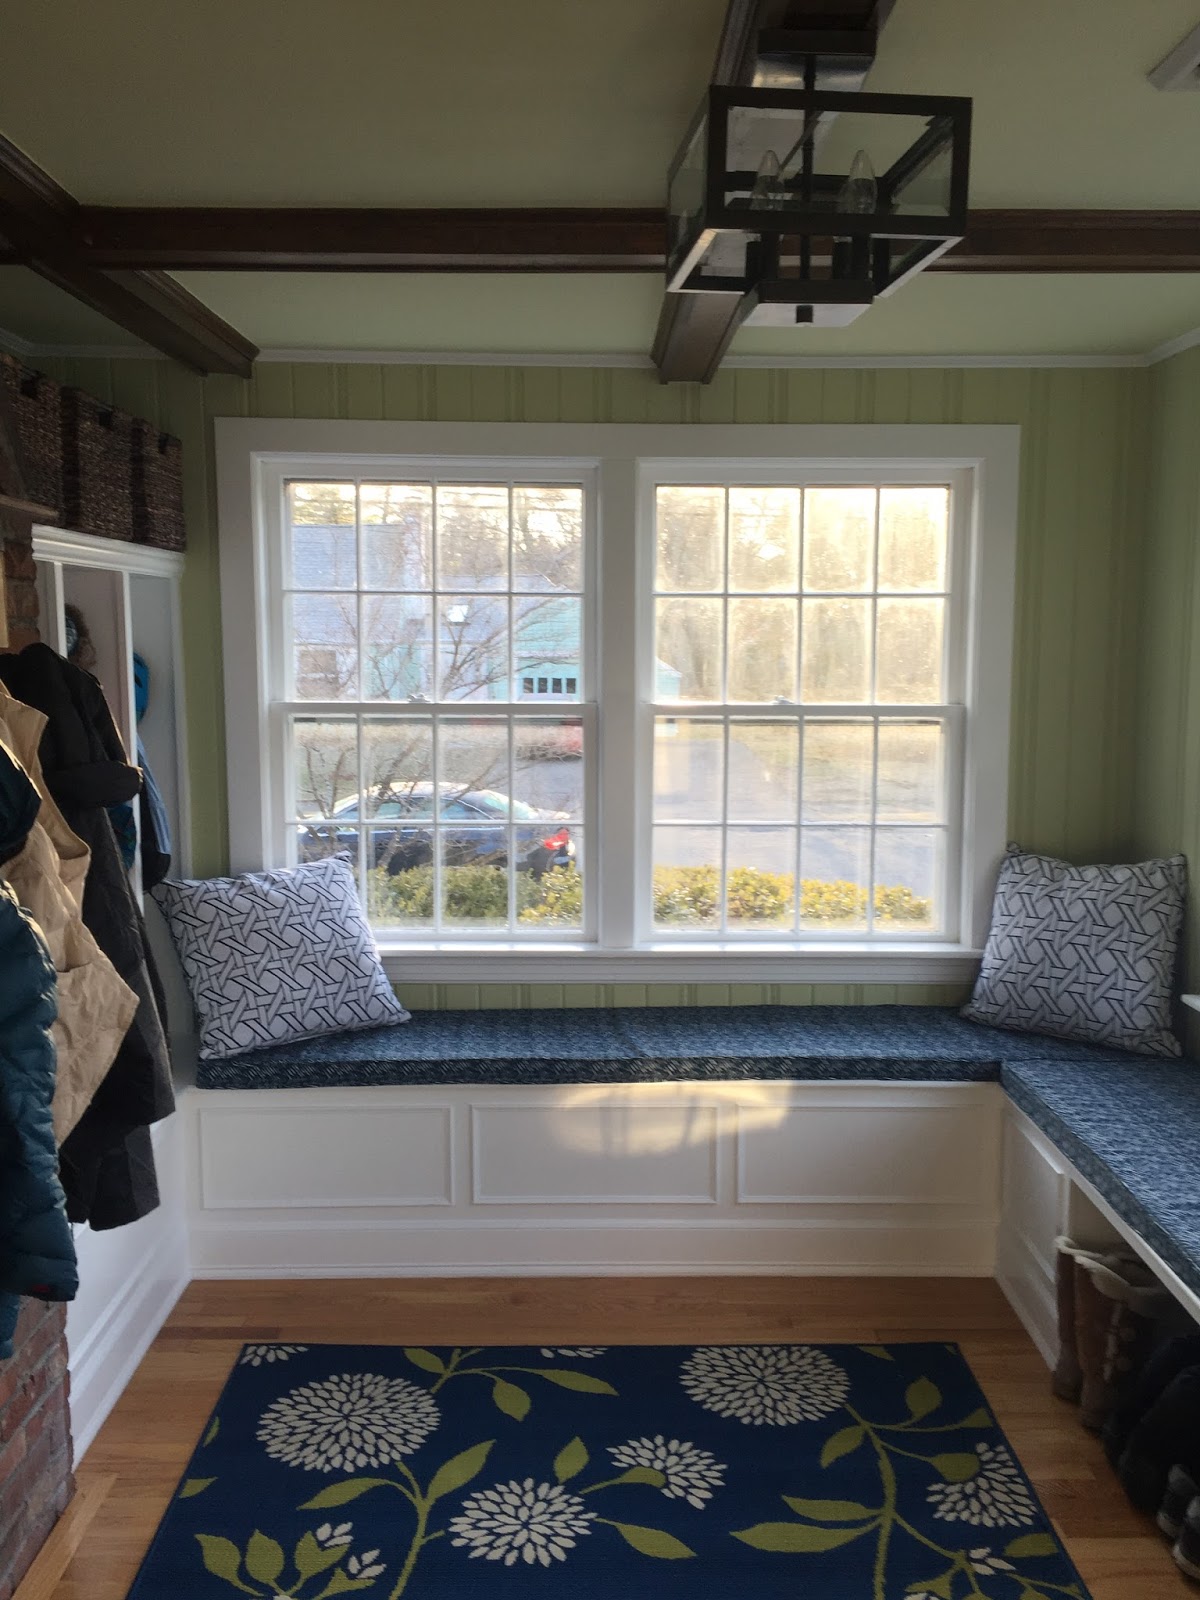
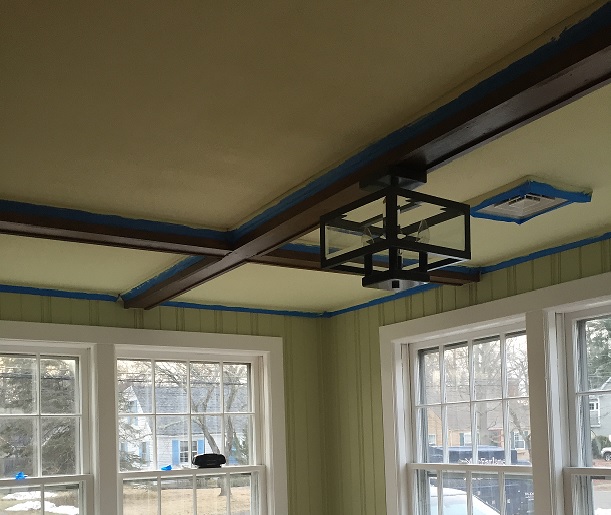
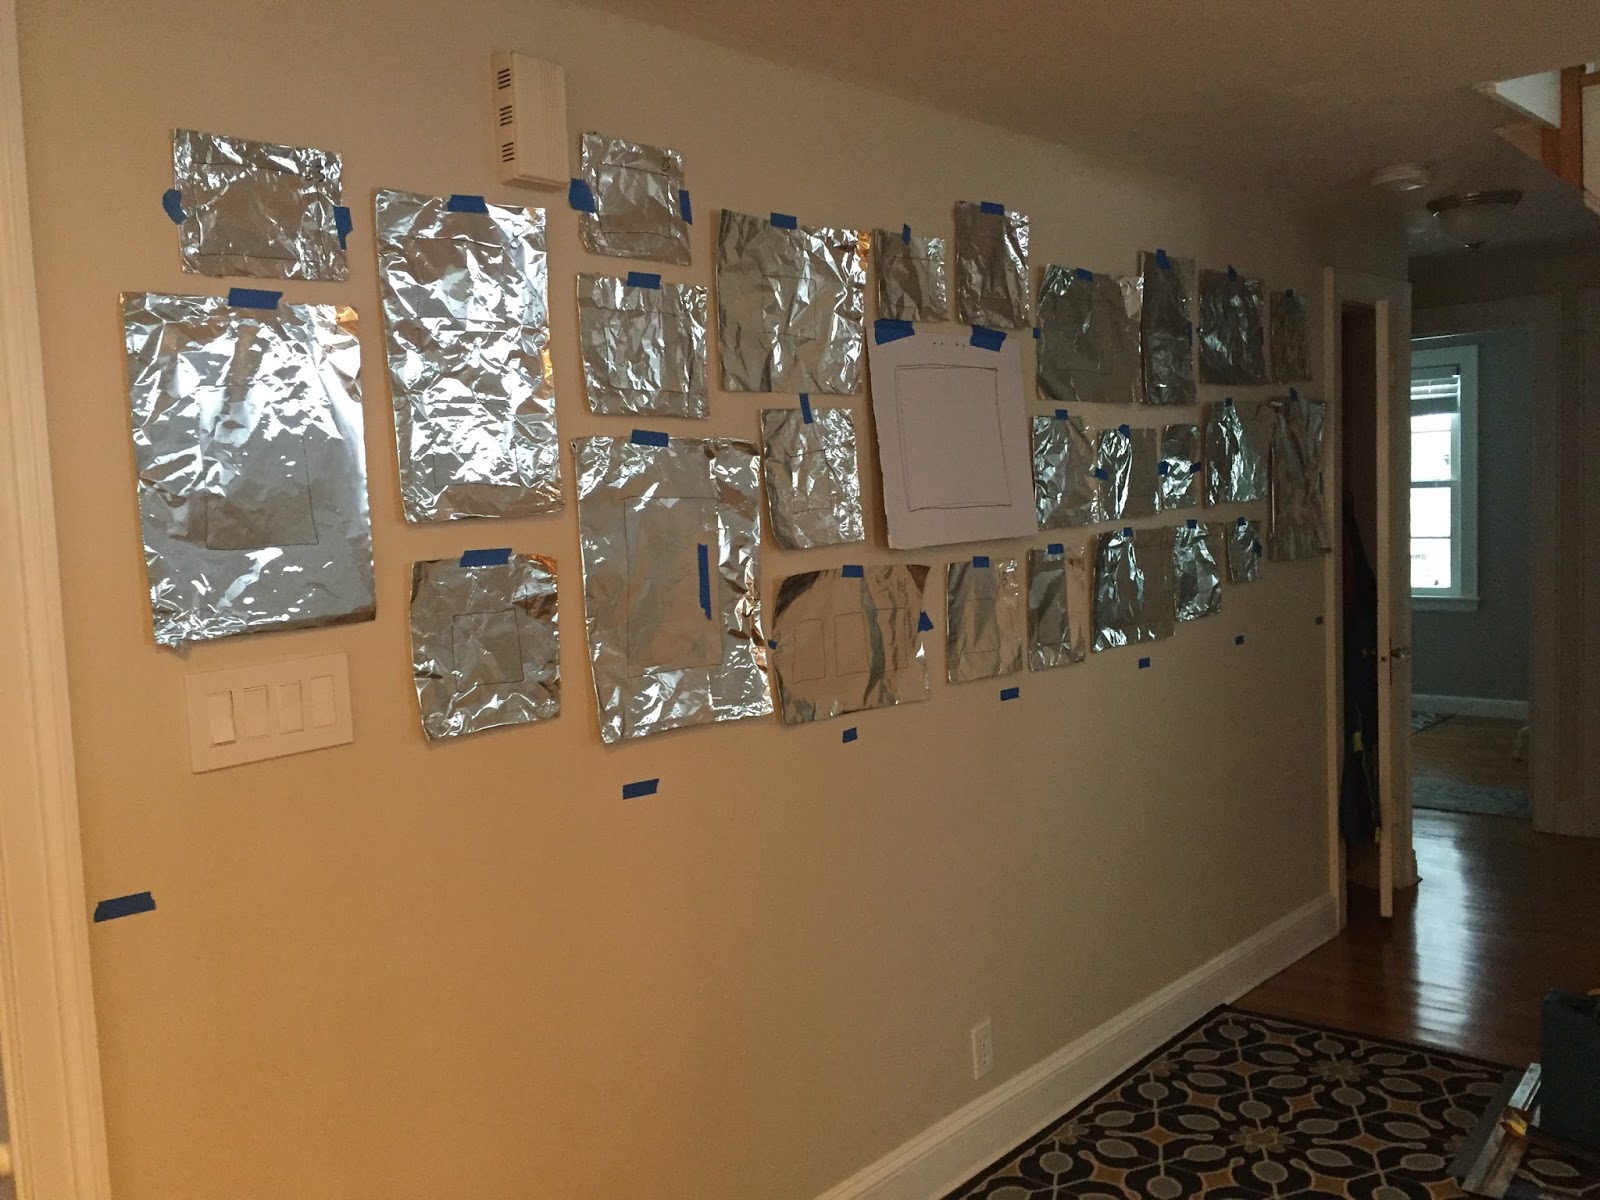
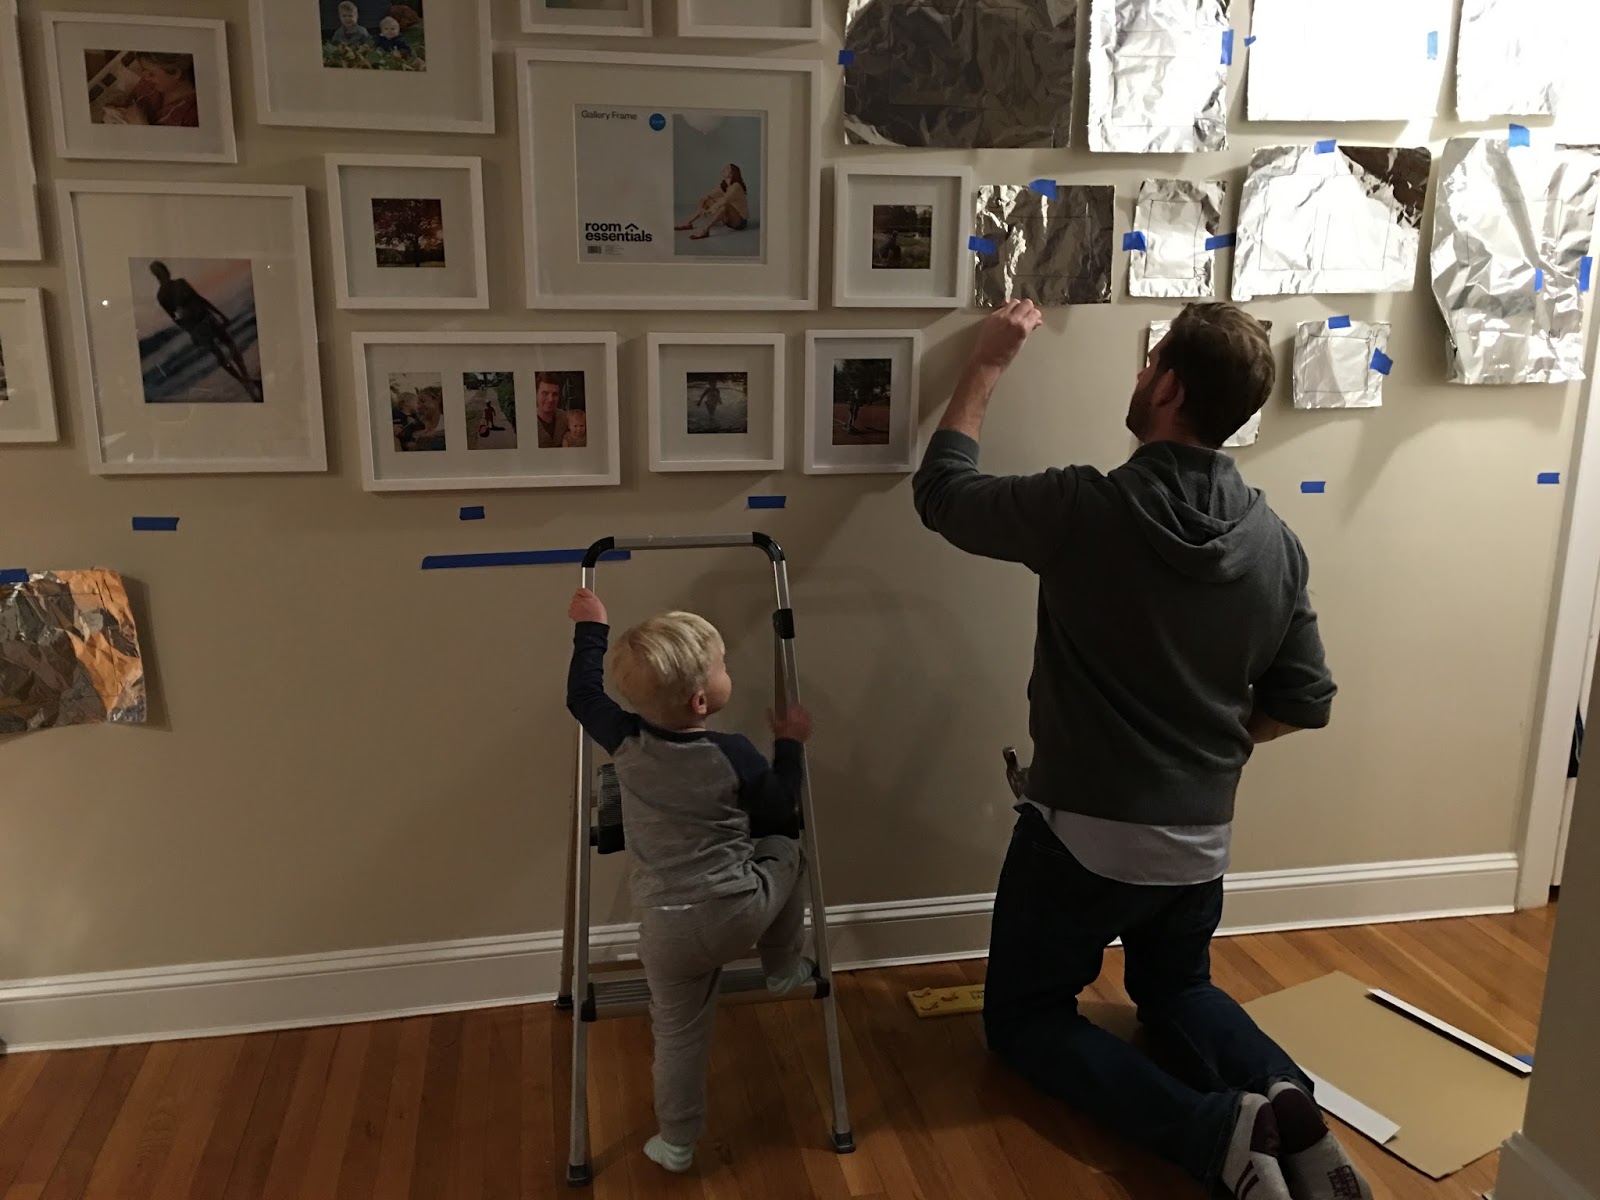
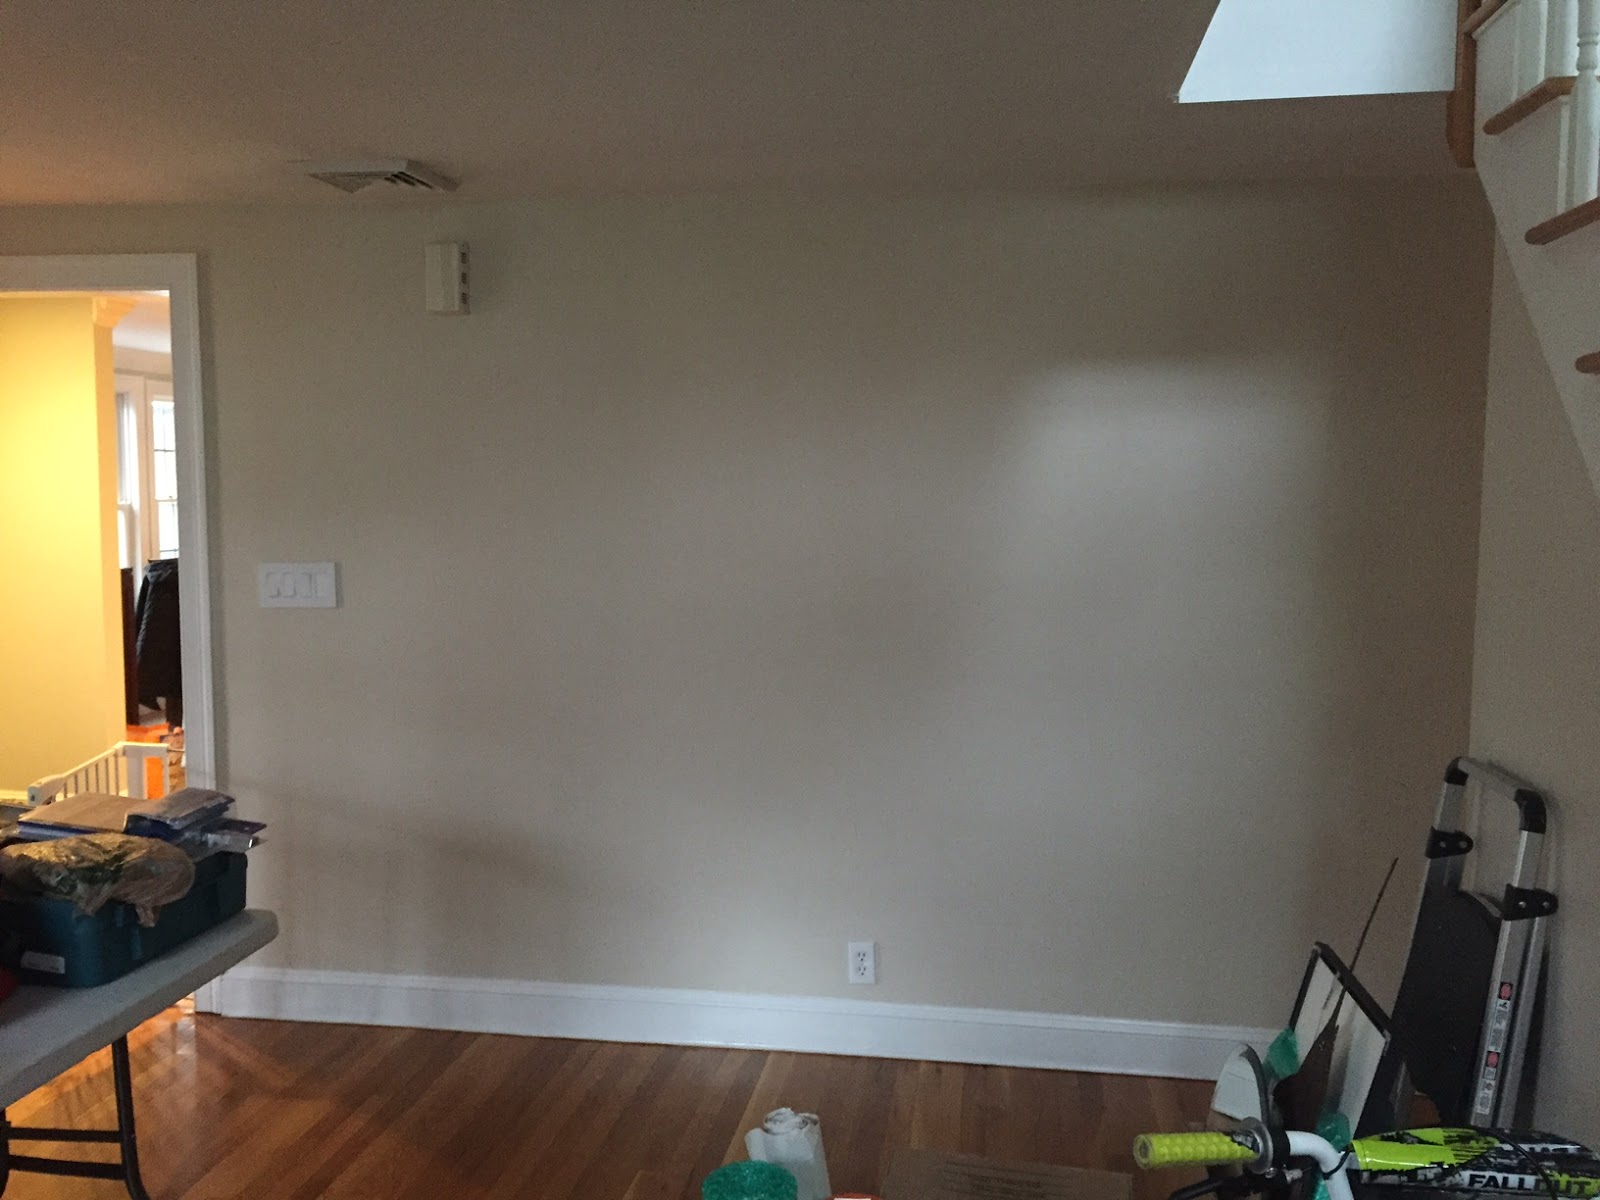
All Jason had to do was build out this nirvana. We planned for one big L-shaped bench, some lockers, and a row of hooks where the bookshelves used to be. I was obsessed with painting it a fun color (we ended up with Shagreen by Sherwin Williams) and also doing the awesome beamed ceiling that same color (but at 50%, which I detailed in my prior post). Then we needed to pick all the other stuff: the rug, the hooks, the baskets, the fabric for the bench cushions…of course this was all after Jason was done building everything. It was a big project, as it turned out, and there were a few hiccups.
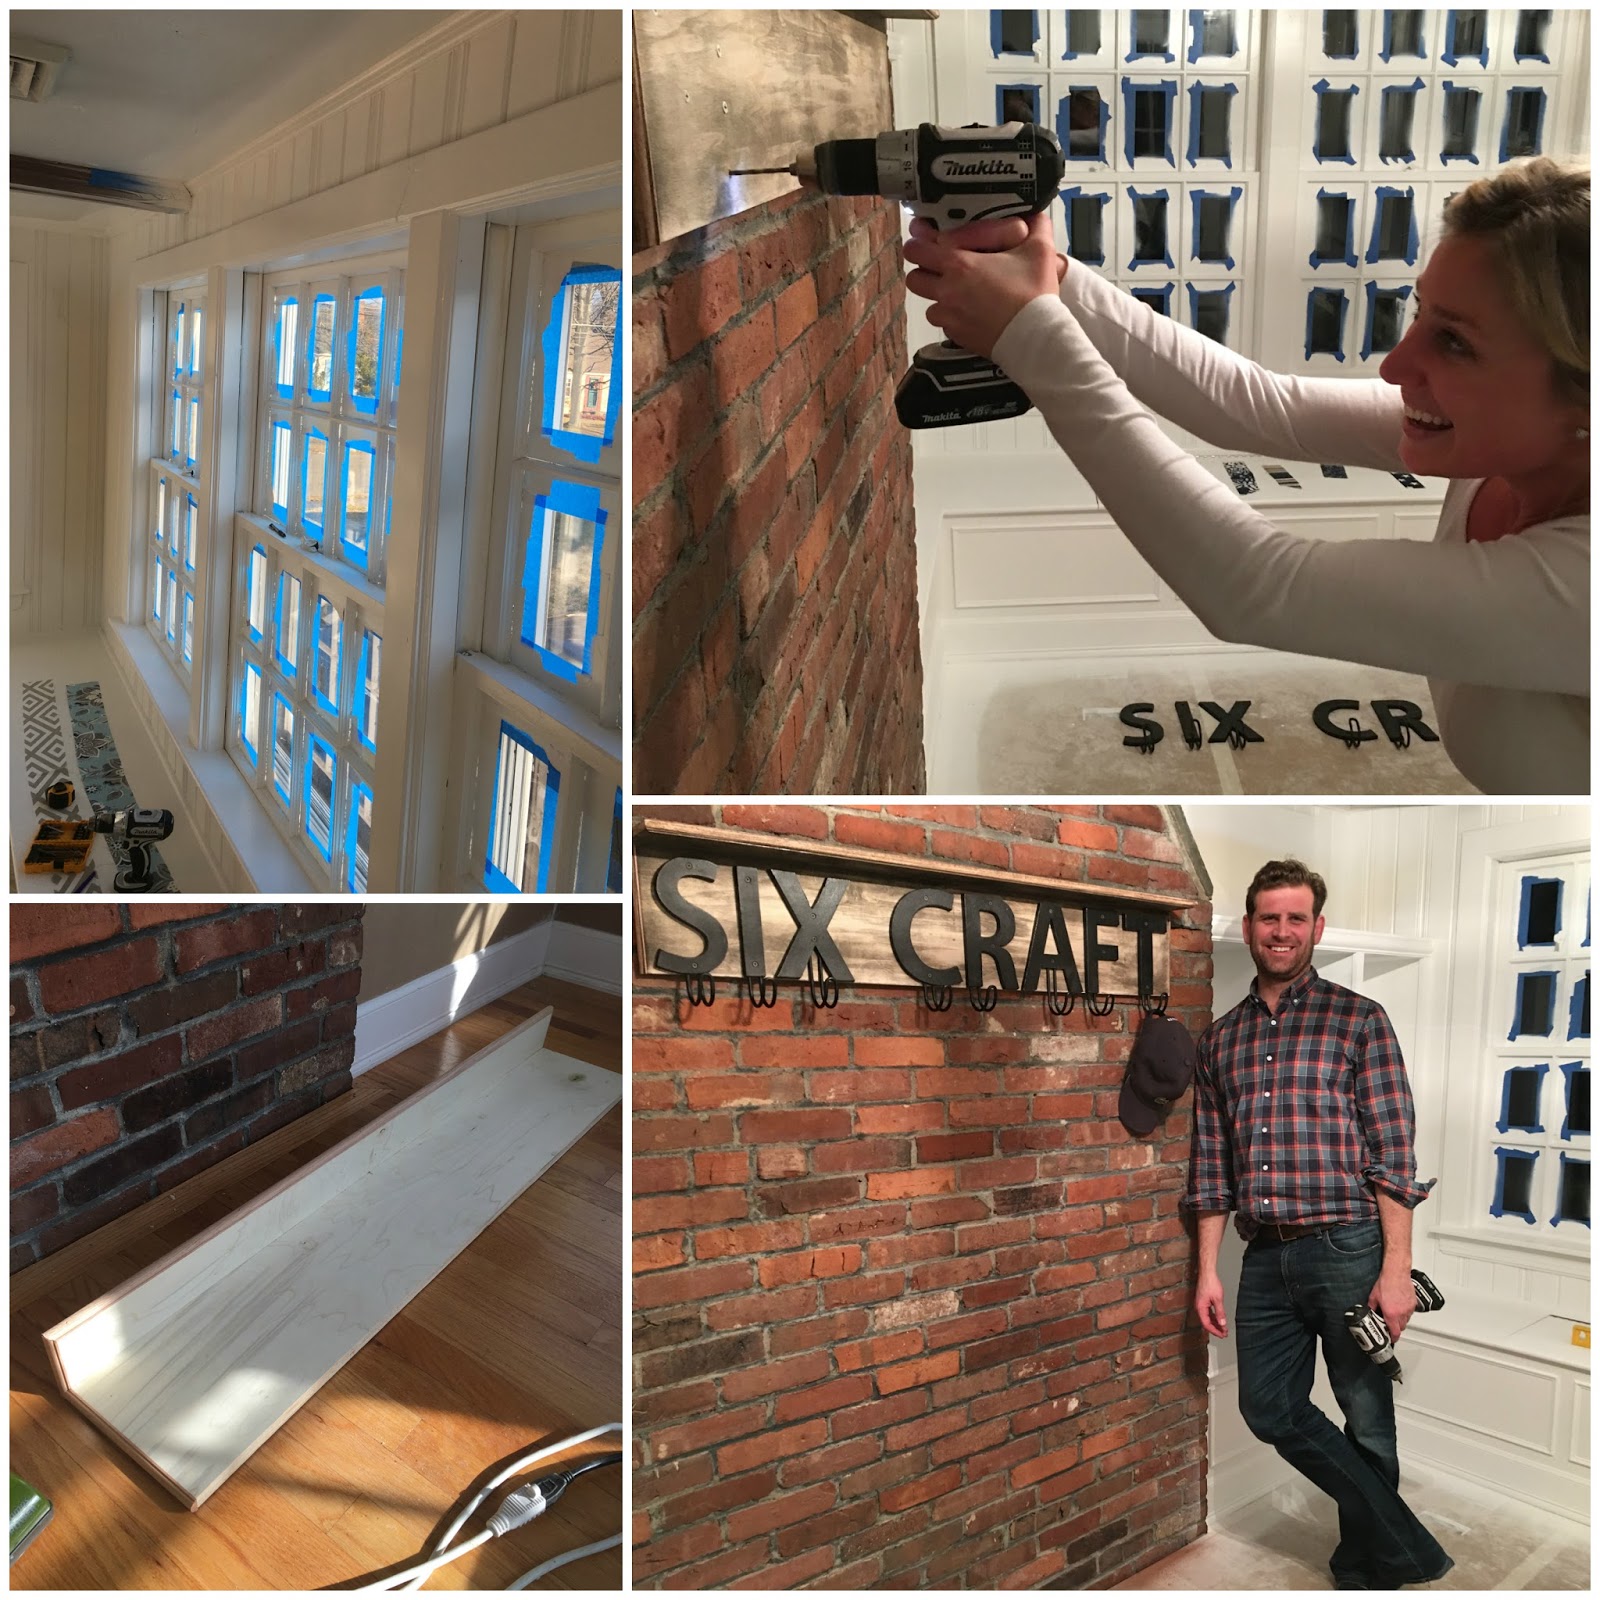
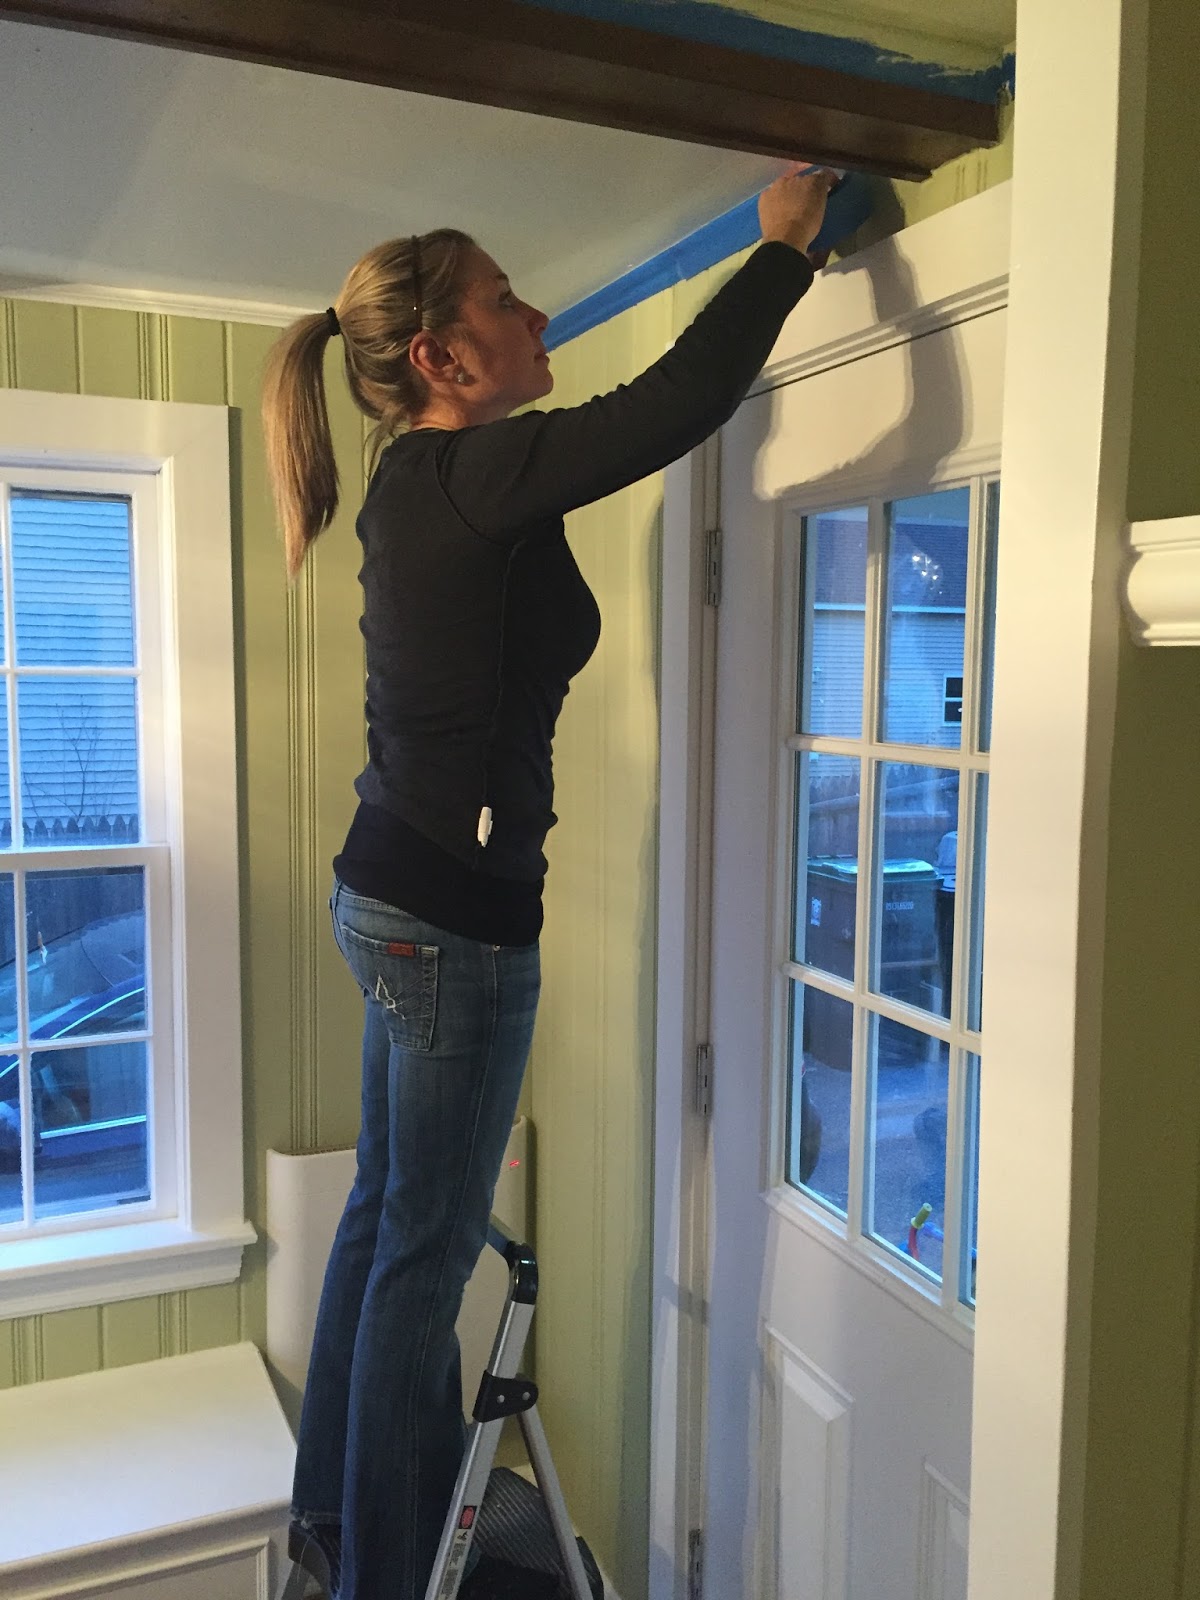
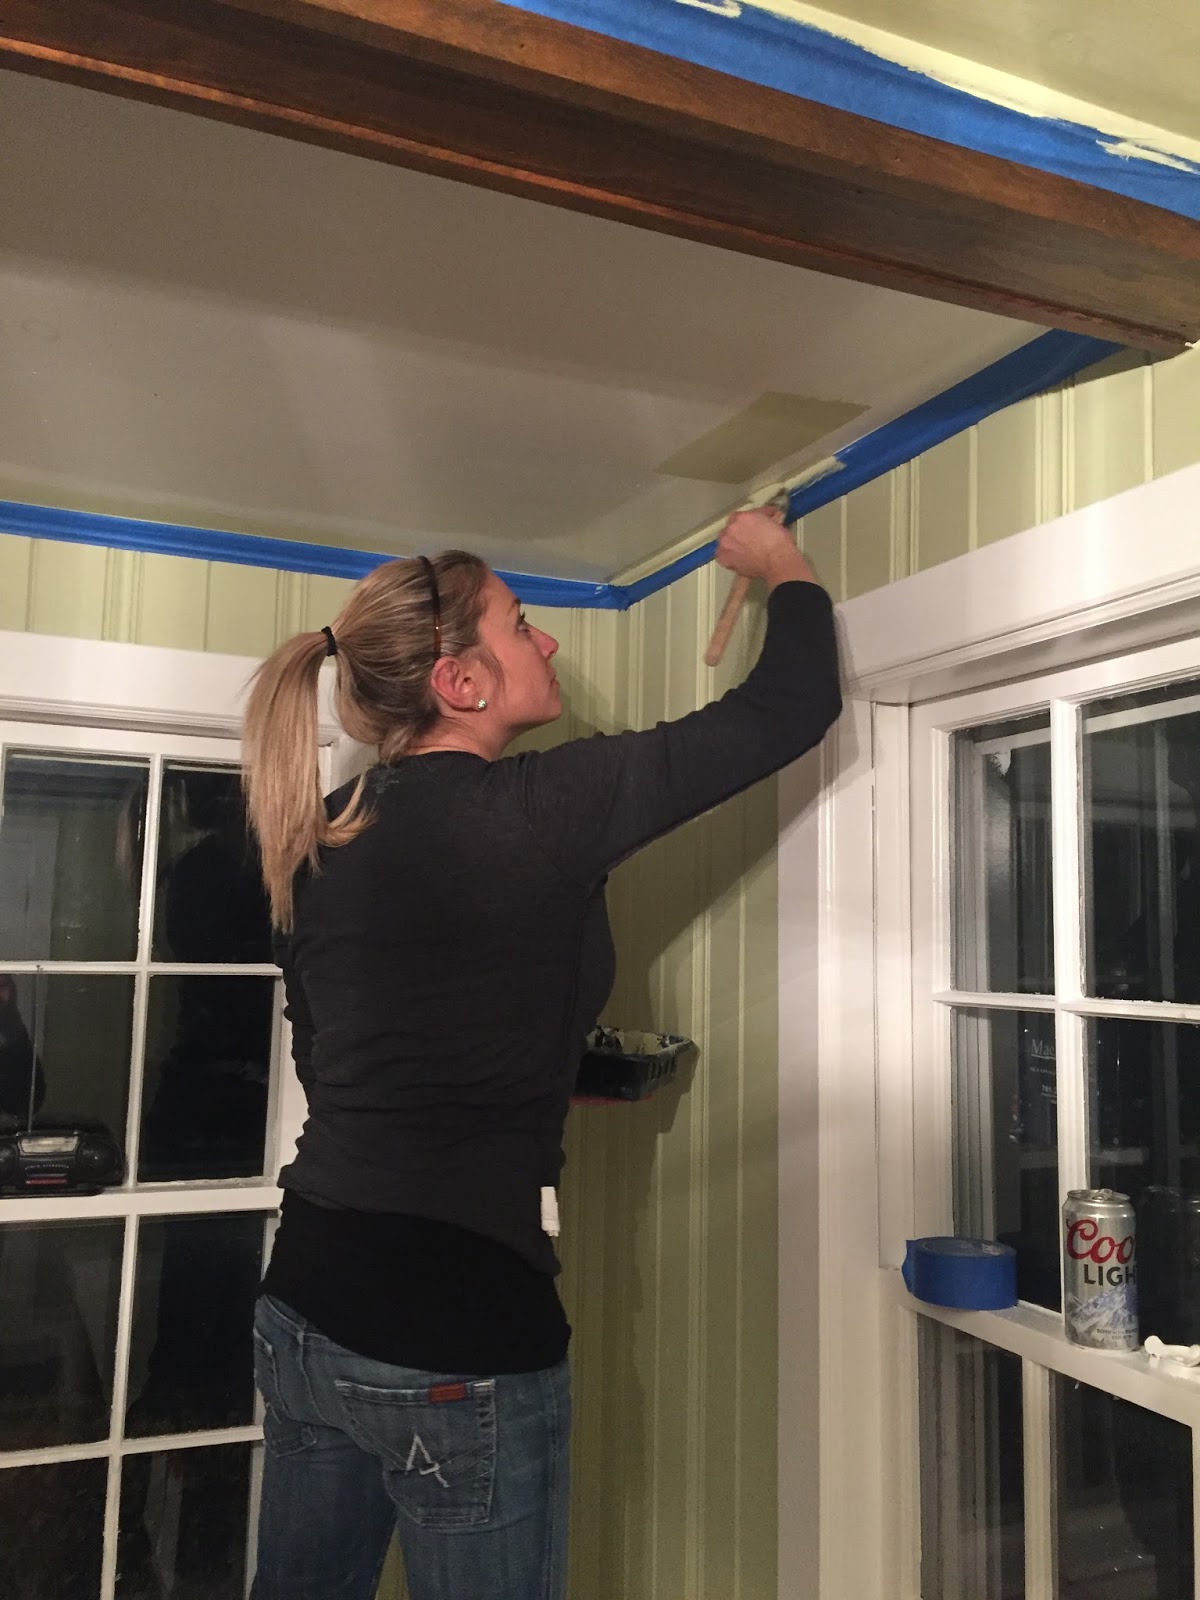
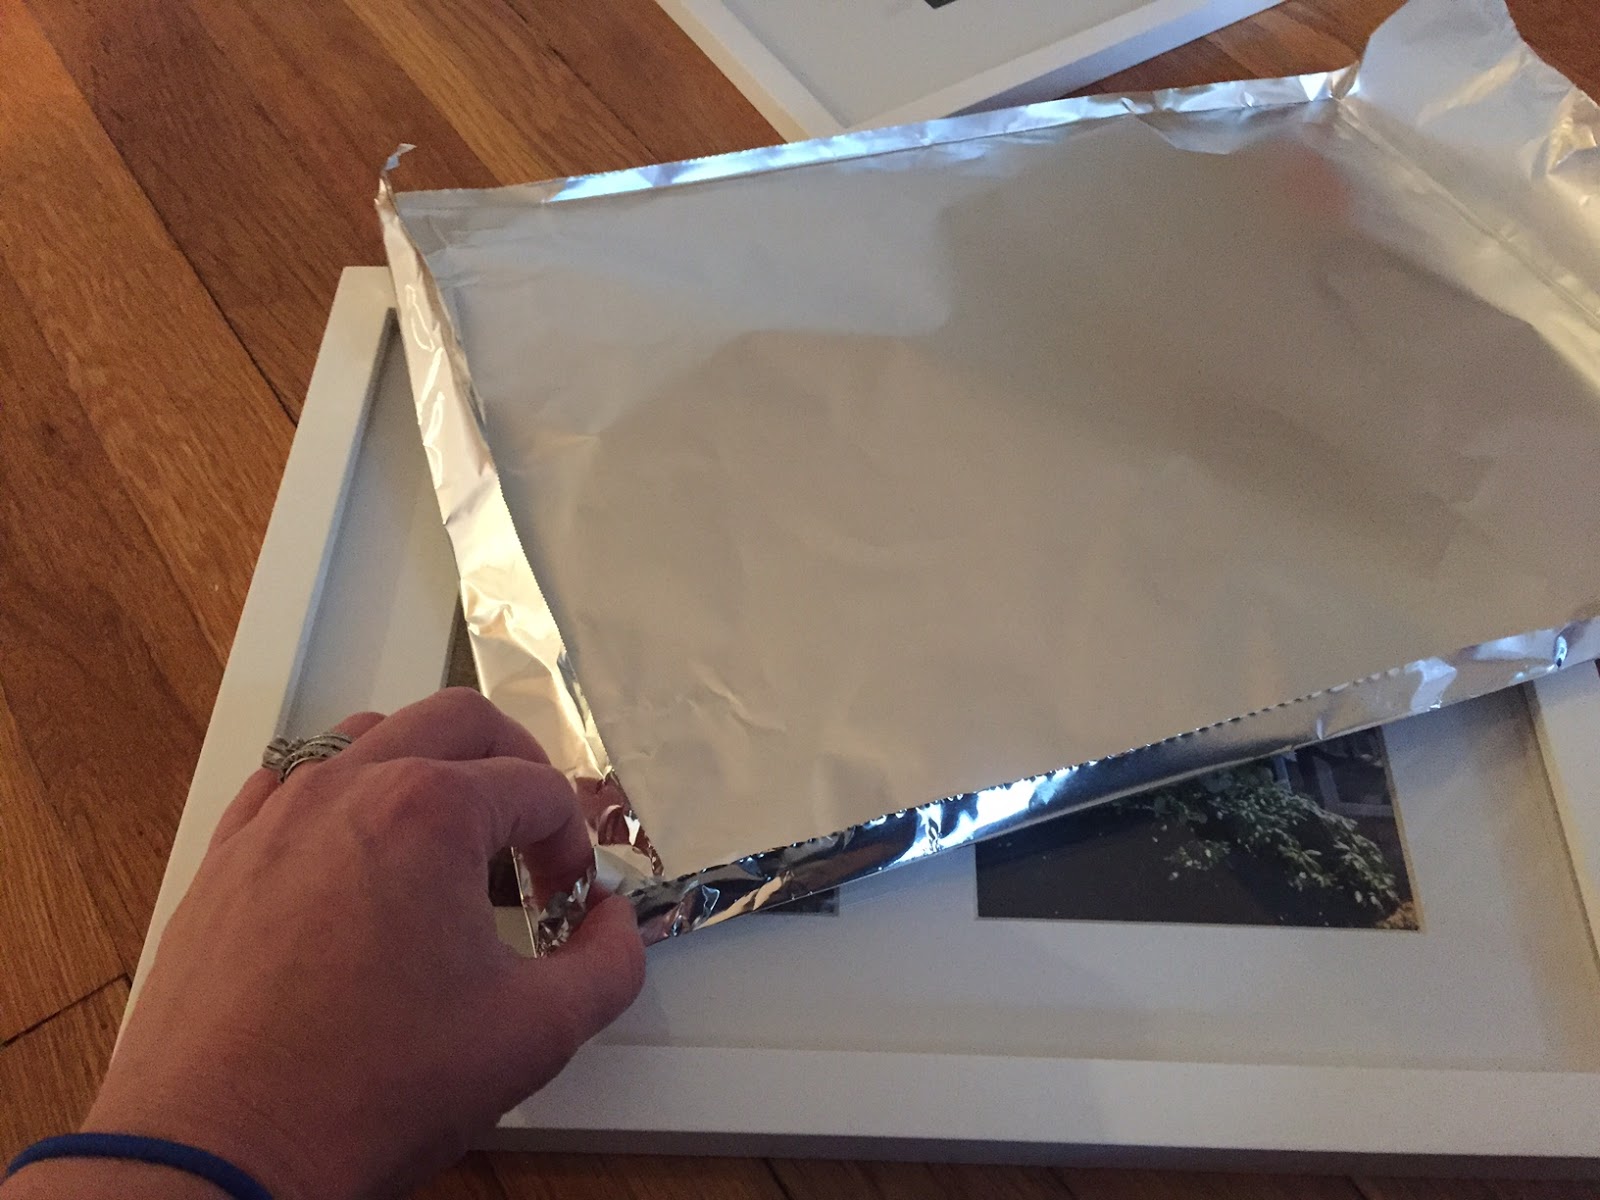
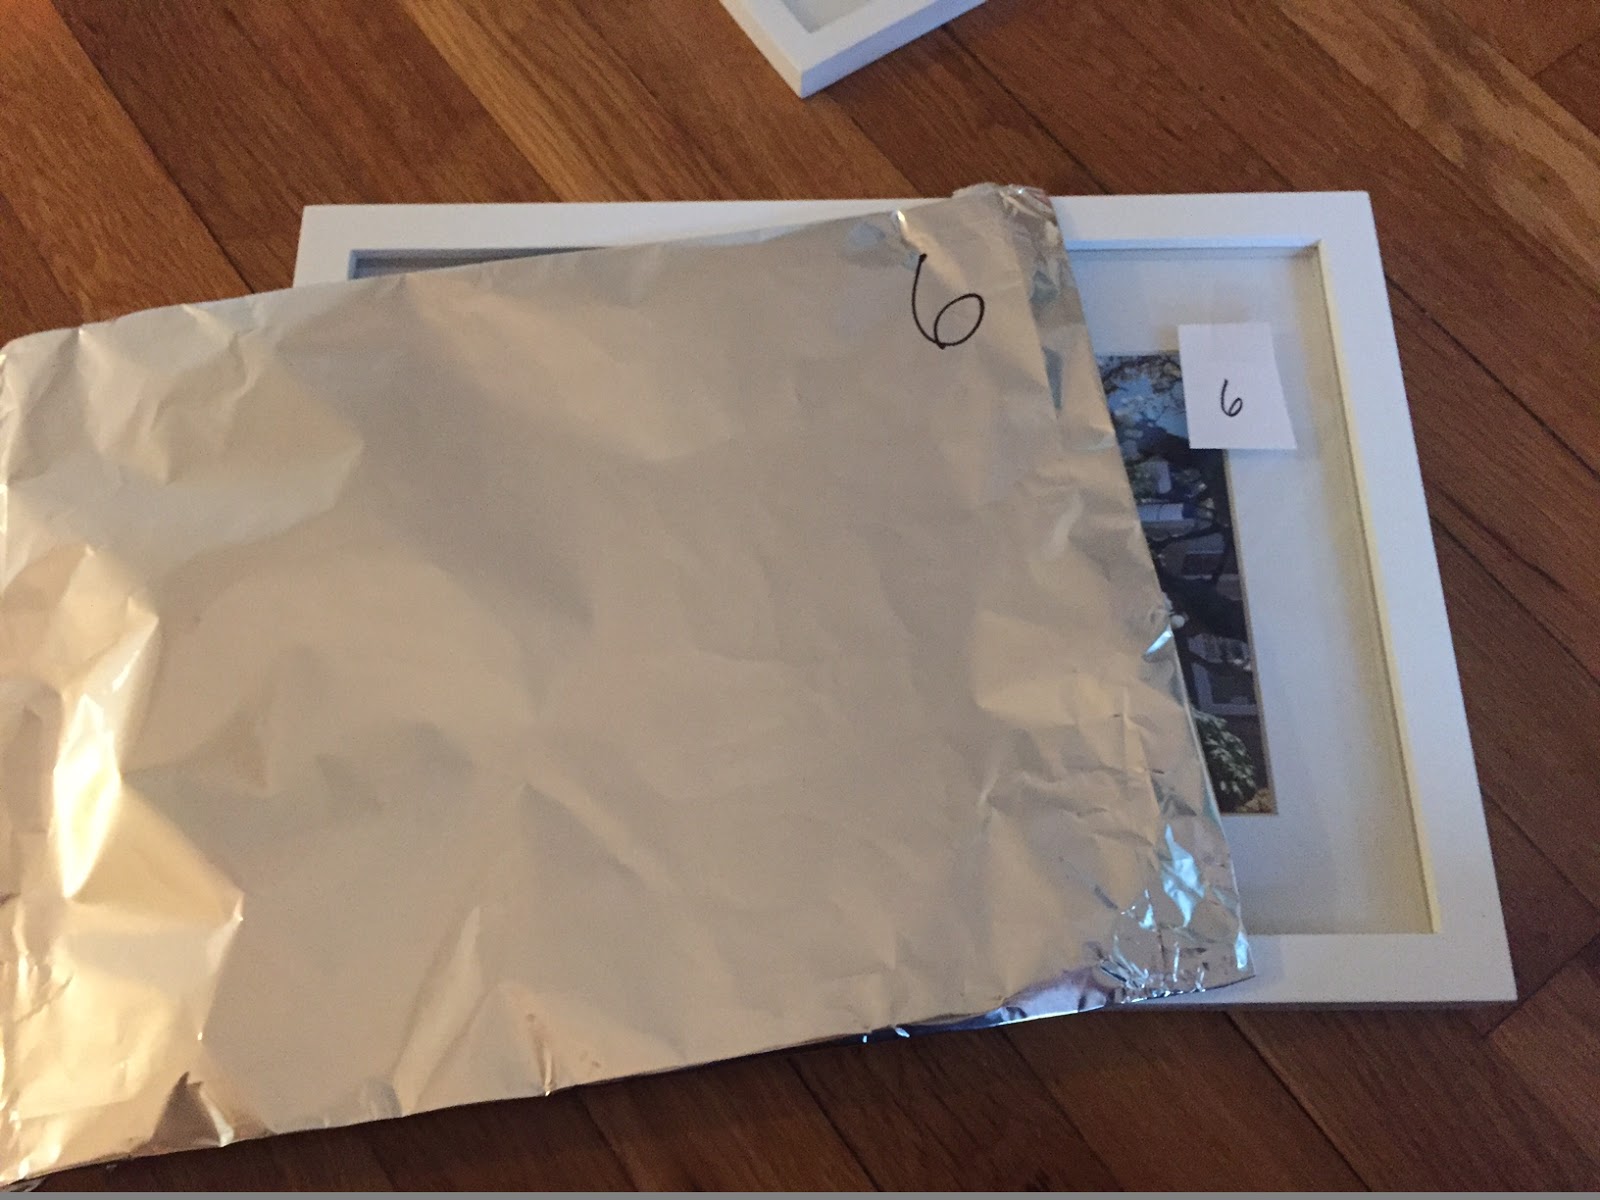
1) Everything was cream. The moldings, mullions (those little wooden bars between the window panes), baseboards, all of it. We initially thought to just keep it that color but I needed that fresh, cheery bright white. I whined a lot about it and Jason was finally like “Are you cah-RAZY? Do you know how long it will take me to paint all that??” I said DUH you are not going to do it with a brush, you are going to do it with a sprayer! (Luckily Jason gets very excited about new toys tools so I played that to my advantage.) After welcoming the Graco TrueCoat Plus II 1300-PSI Electric Handheld Airless Paint Sprayer to our family, we bought stock in painters tape and had at it. The prep work took one hundred times as long as the actual painting because we covered each pane with resin paper and taped all the sides.

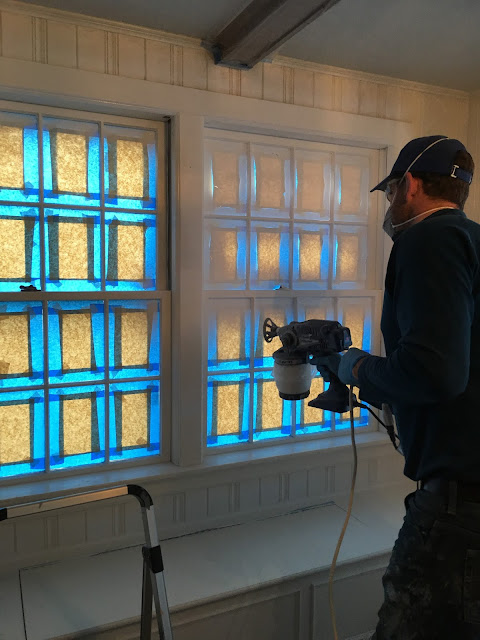
He had to do a couple coats but the end result is pretty flawless. No brush lines, even color application, and the room sparkles. A very good decision, that paint sprayer. So now that everything was white…
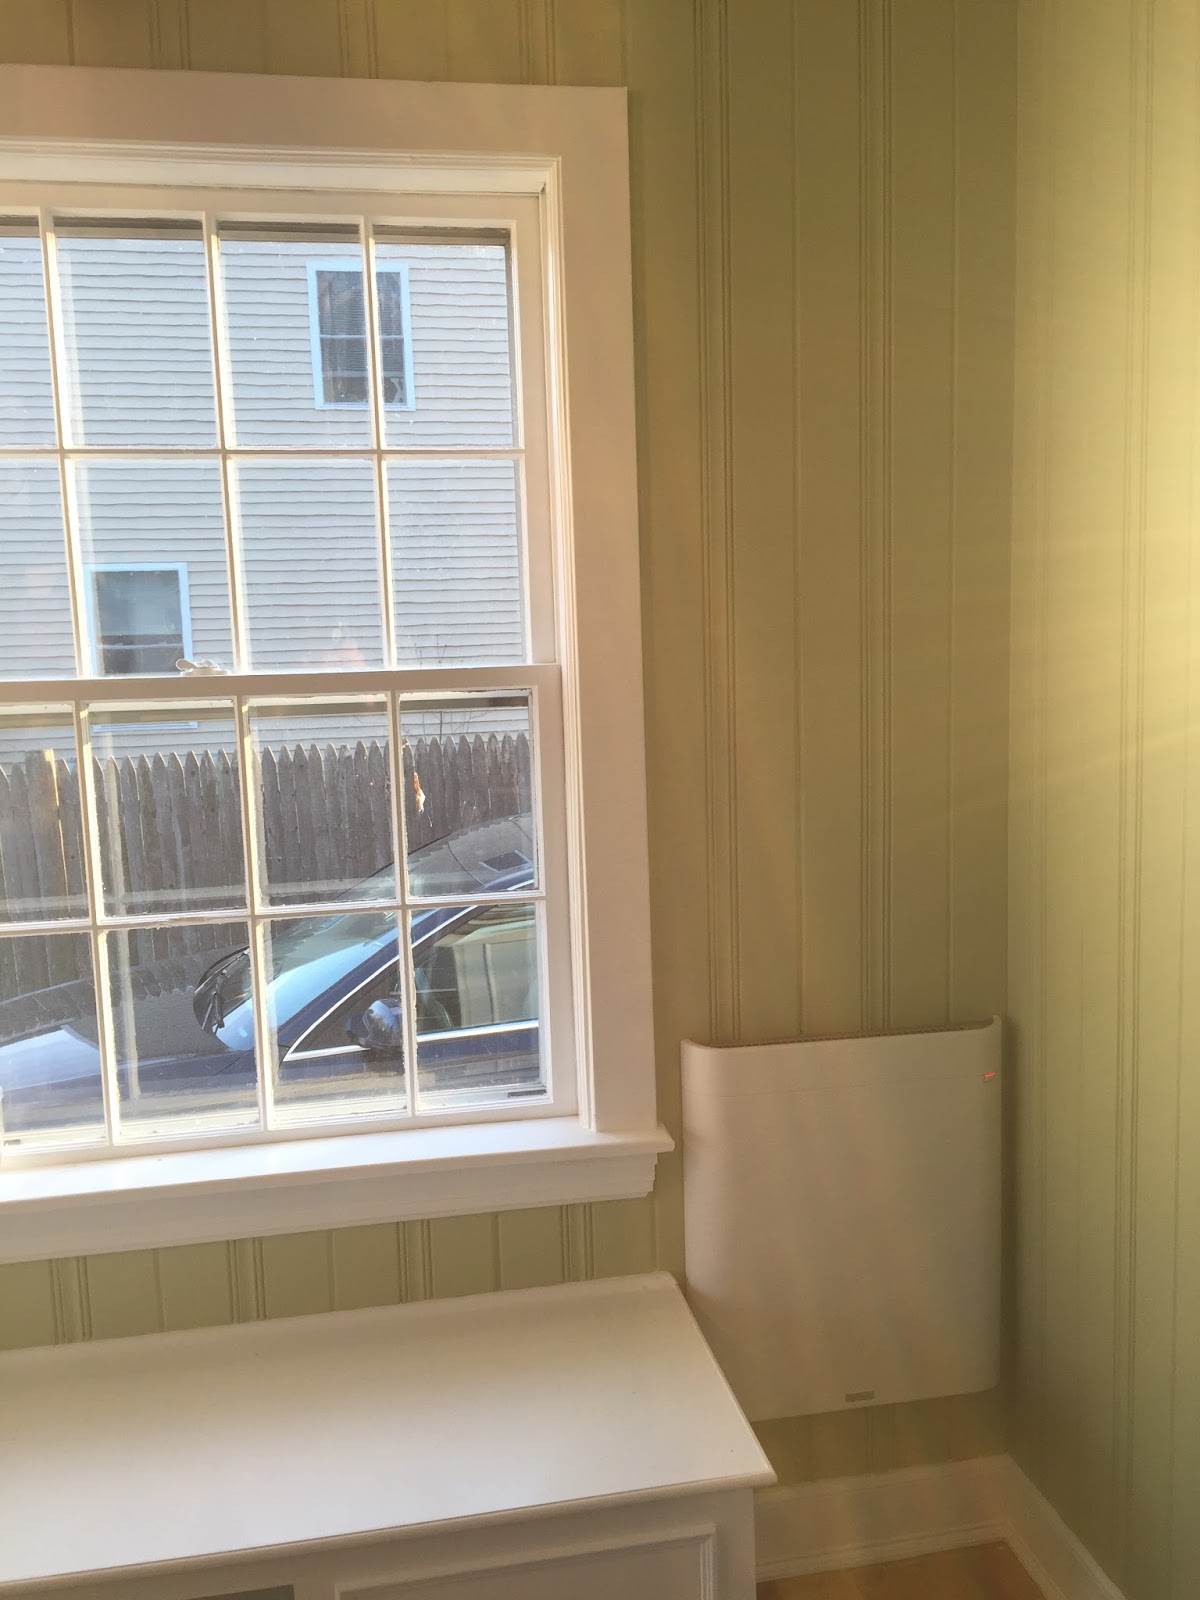
2) There was not really any heat. Actually, the room was freezing. Who wants to put on a cold jacket and icy mittens? No no no. There is a vent in the ceiling connected to our central air system but this room is on a cement slab with original windows and it just never warmed up. At first we thought about radiant heat in the floors, but I loved the hardwoods, and we eventually realized a wall-mounted electric panel heater was probably the answer. The problem was, they were all at least 24″ wide and we had a close-but-no-cigar 21″ between the bench and the wall. We searched and searched and I finally found this little guy (which, by the way, was so elusive because it is not sold on Amazon. I didn’t think there was anything left in the world that was not sold on Amazon, but apparently, there is and this is it). So we mounted it in the corner and checked that off the list.

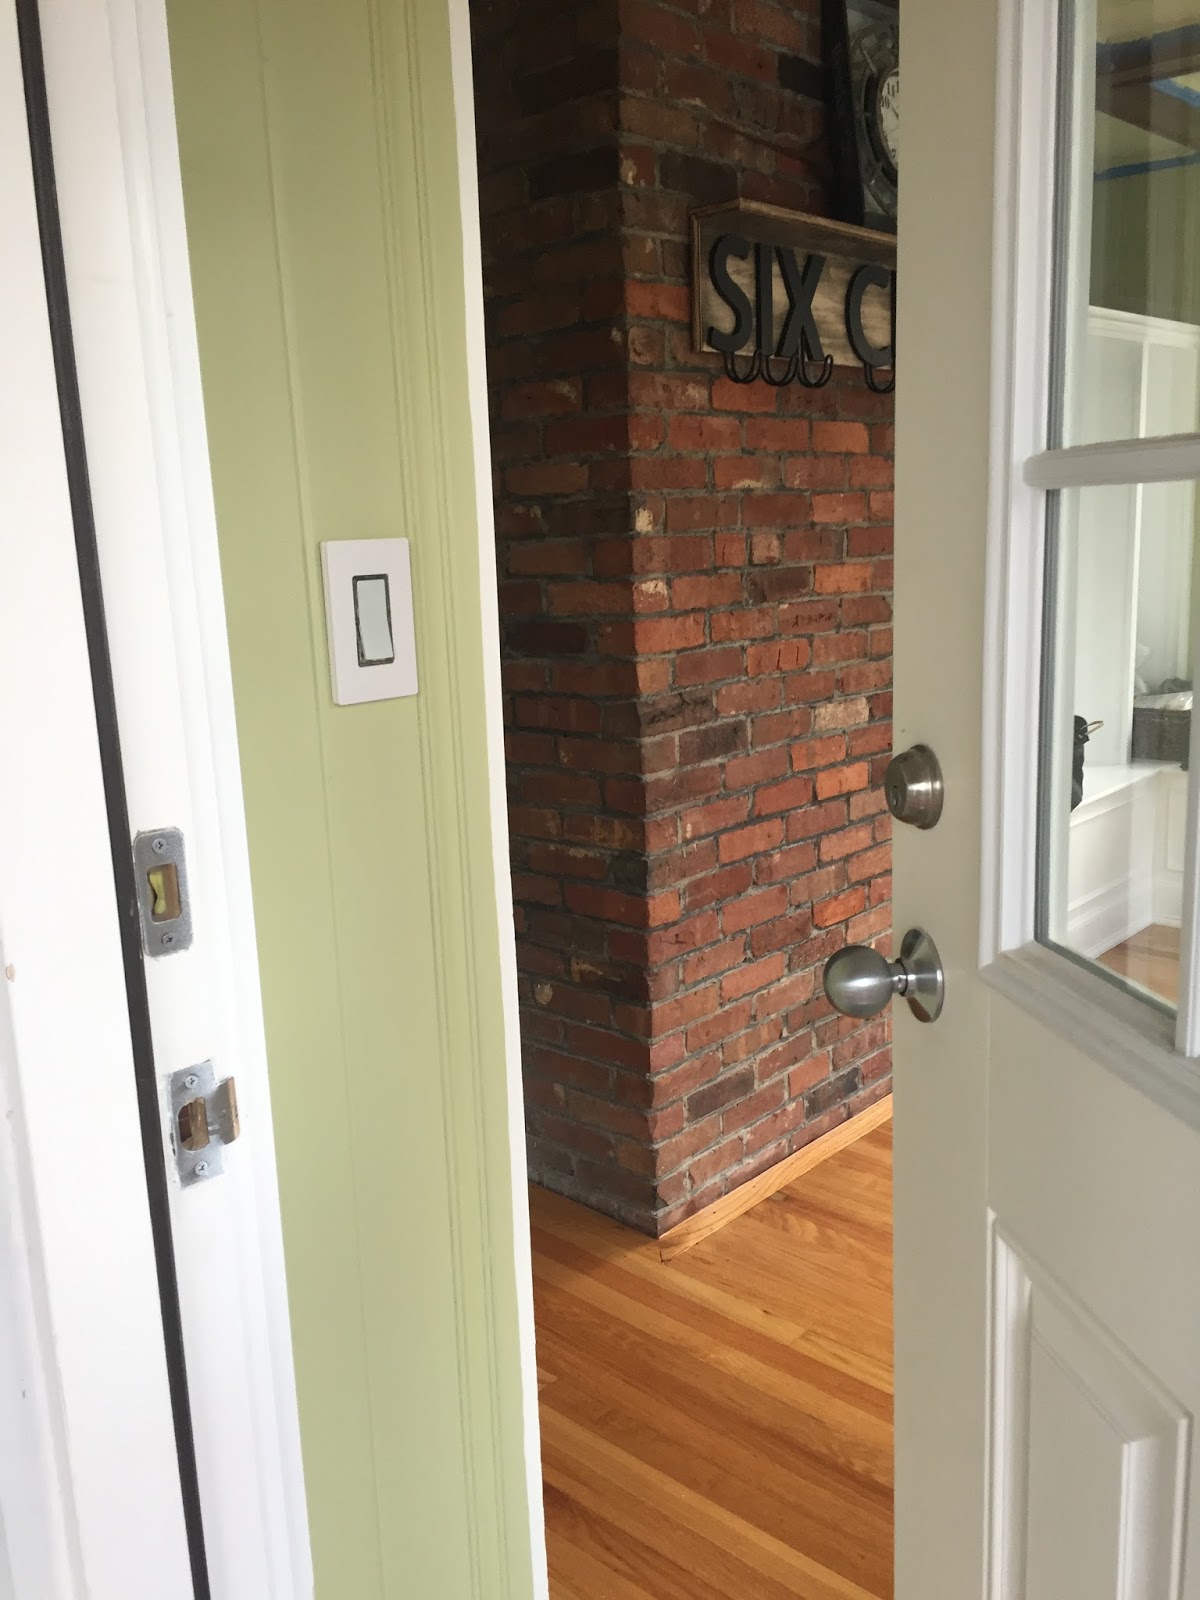
3) When you entered the mudroom through the new exterior door, there was no light switch. Often in winter, you come home and it’s dark out. It didn’t seem practical to have to pass through the mudroom and into the foyer to turn on the light! Because Jason is Jason, he found some sort of light remote kit where the original switch becomes the remote and then there is a wall mounted, faux-switch receiver, or something. We tacked this receiver to the mudroom wall just inside the door. Think of the Clapper (in fact, we probably could have installed one of those now that I think about it ha!). But this looks like a real switch without actually having any wiring behind it.
The old interior switch kind of looks like a button now.
There is a little delay in the light turning on when you hit both this one and the faux one, but honestly, who cares! So now we have the remote switch and the receiver that both turn on the same light, and both in convenient spots. Woo!
Without further ado…
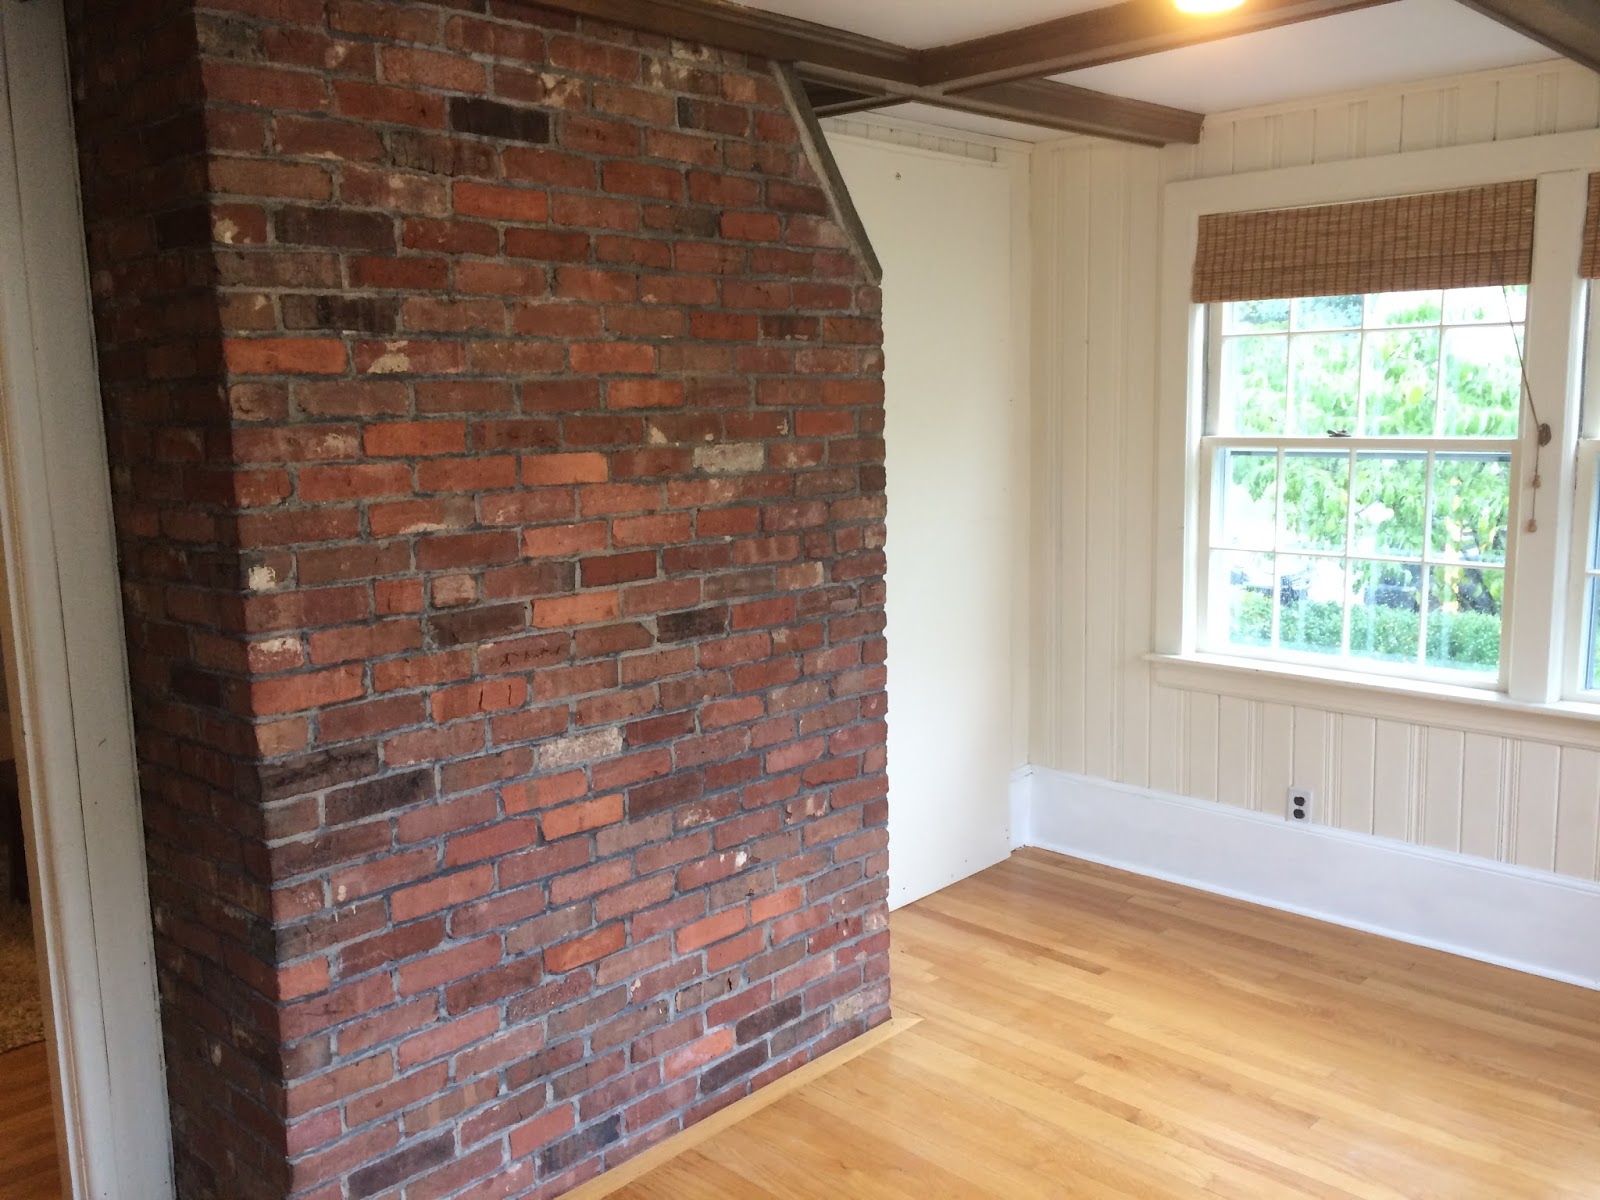
Before
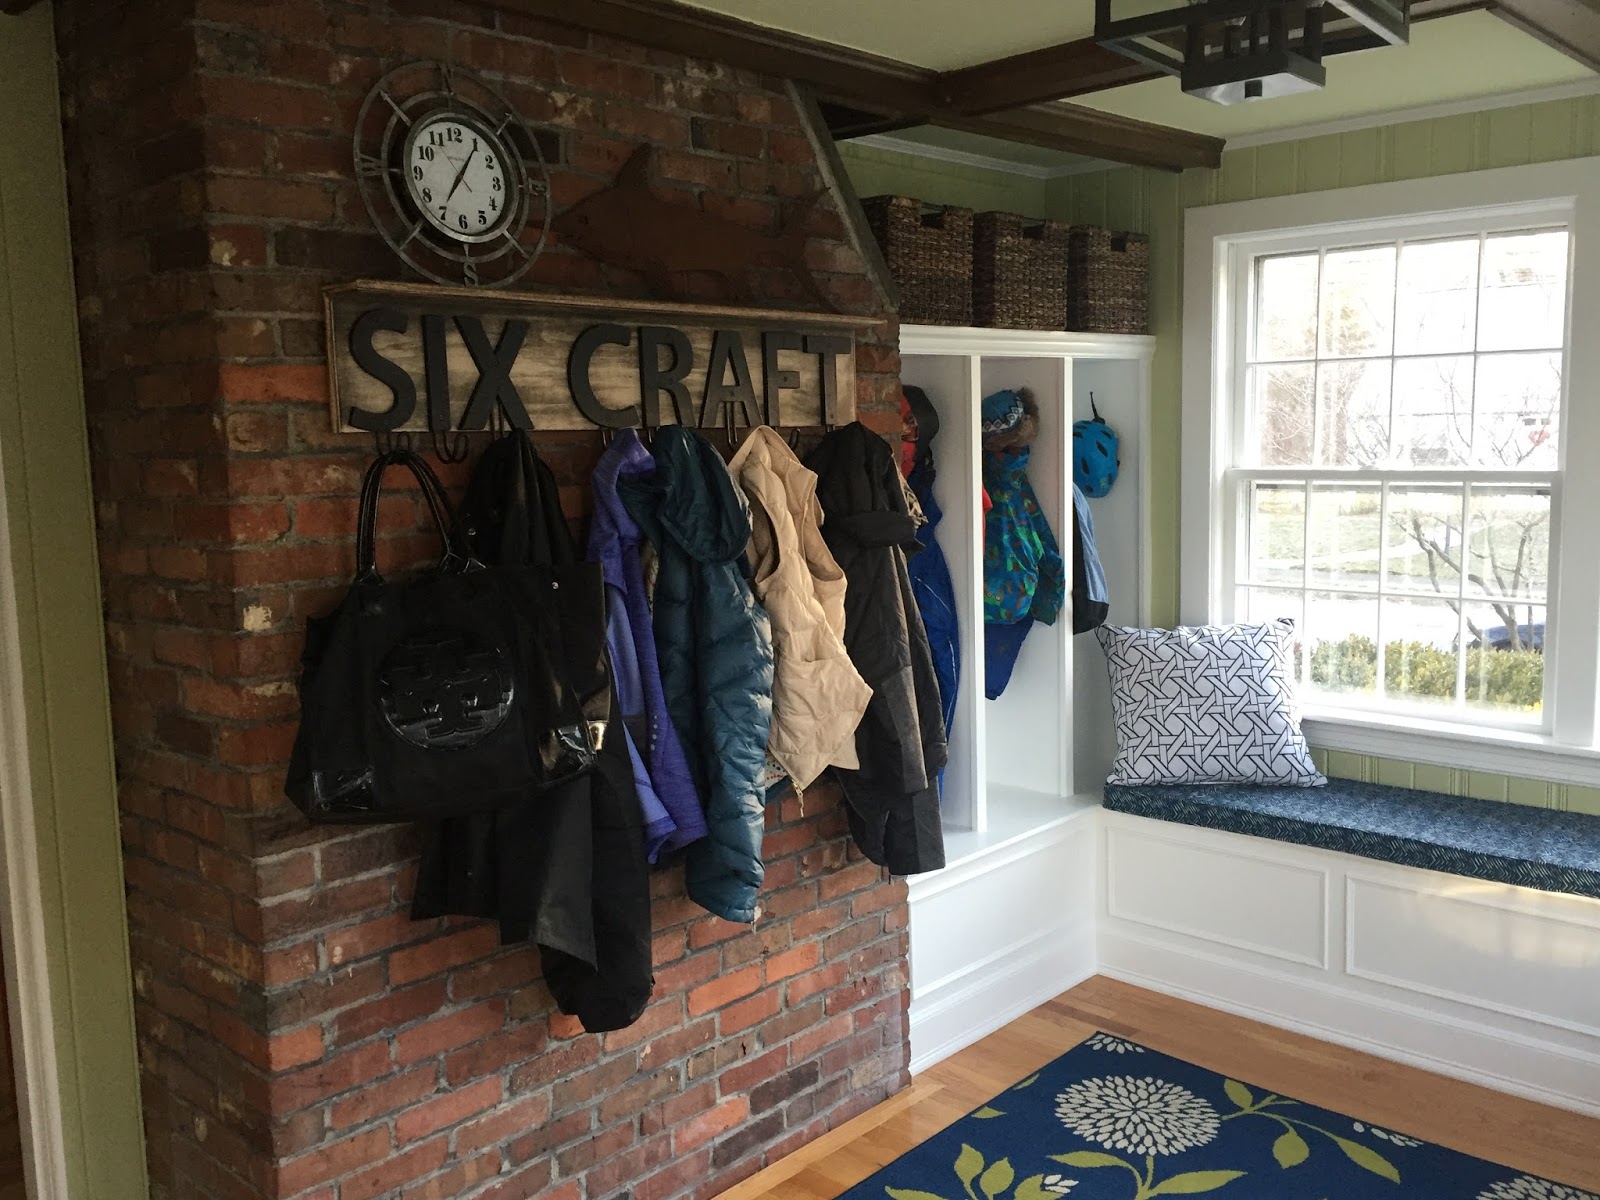
After
Before
After
Before
After
Before
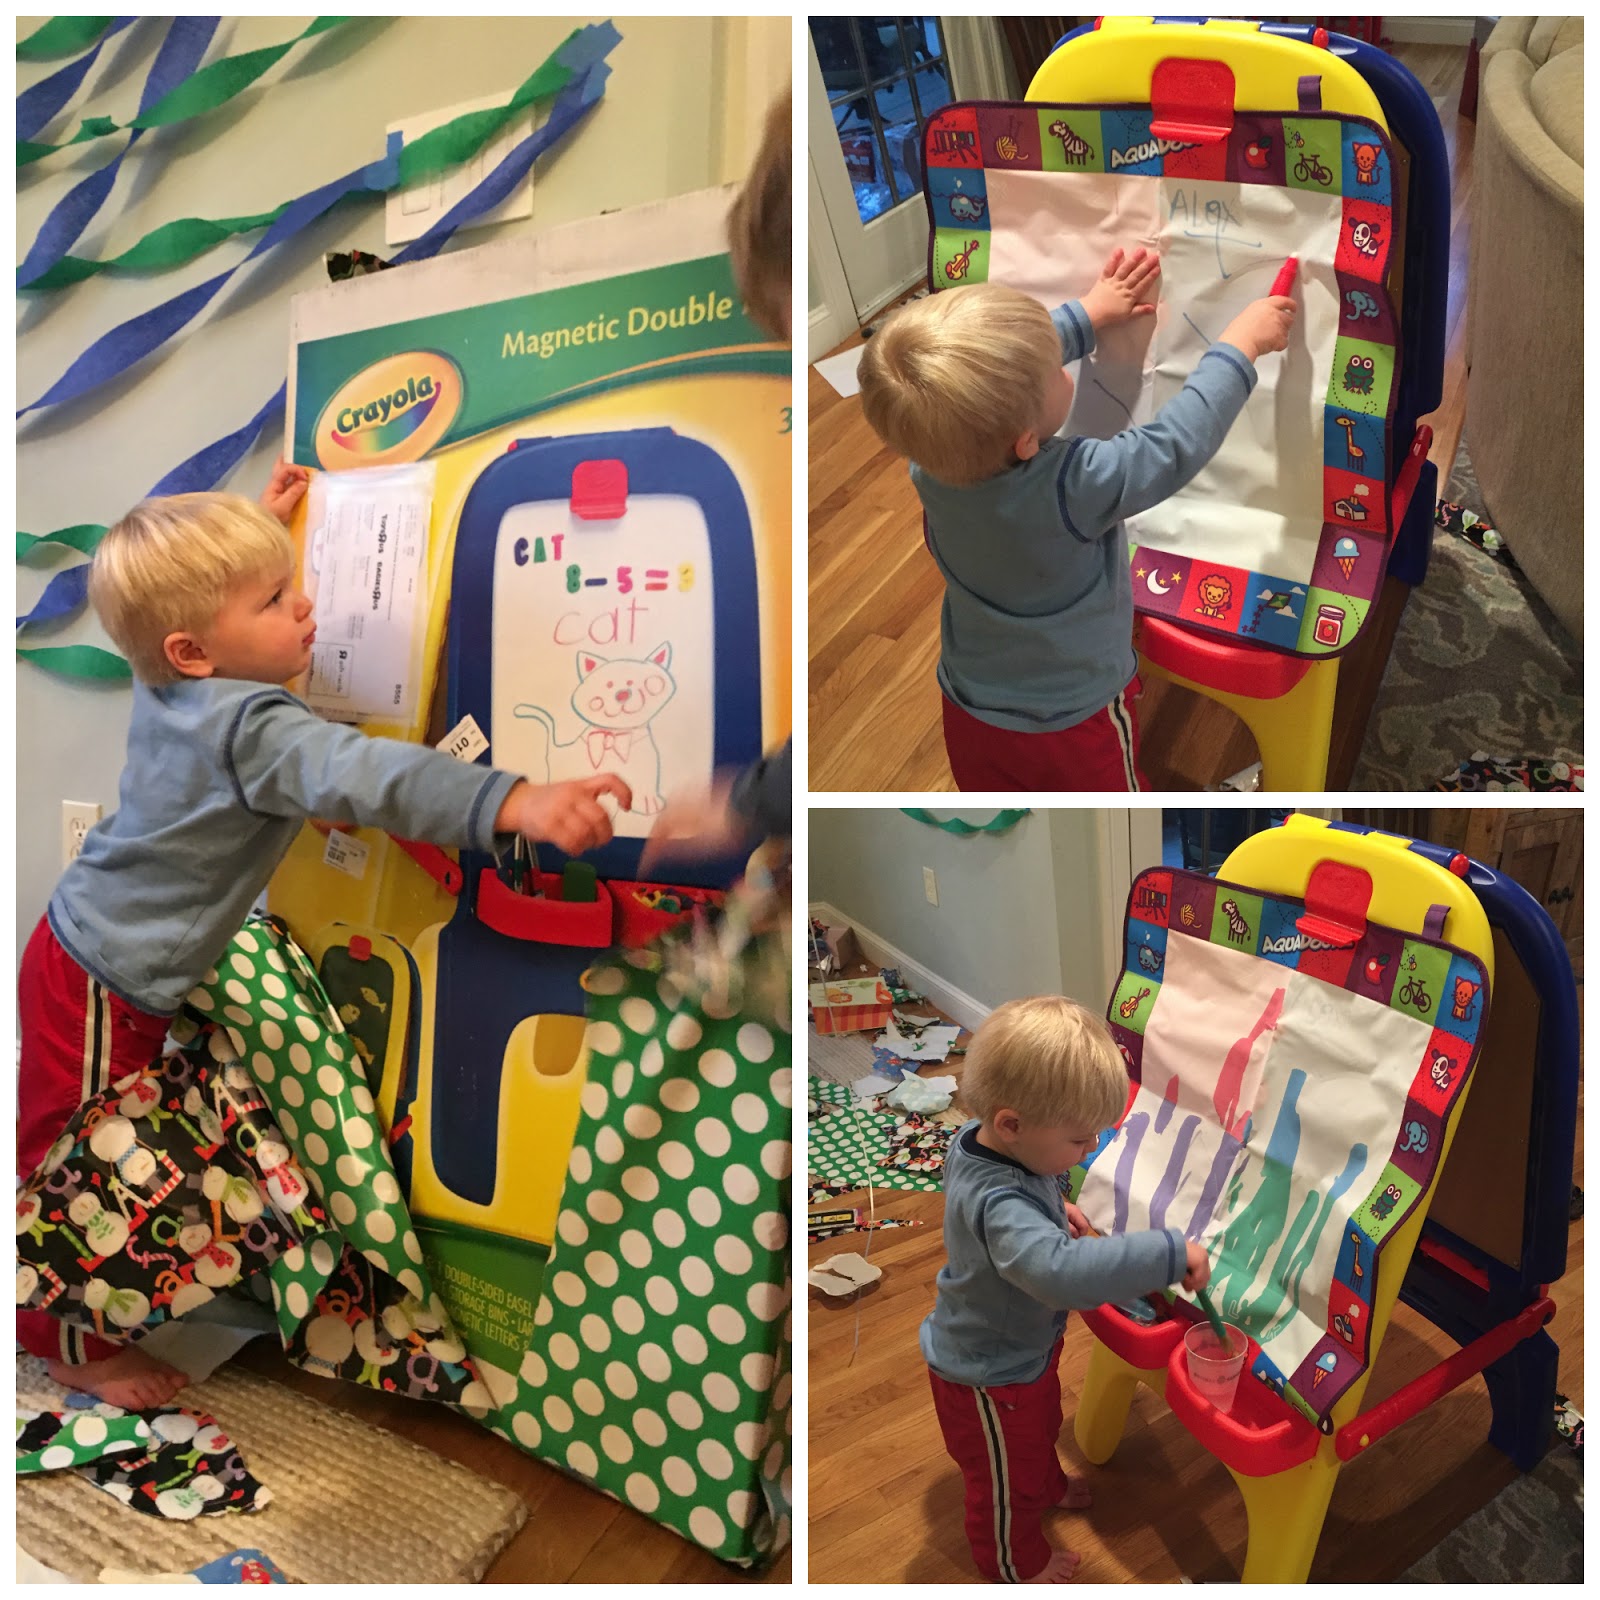
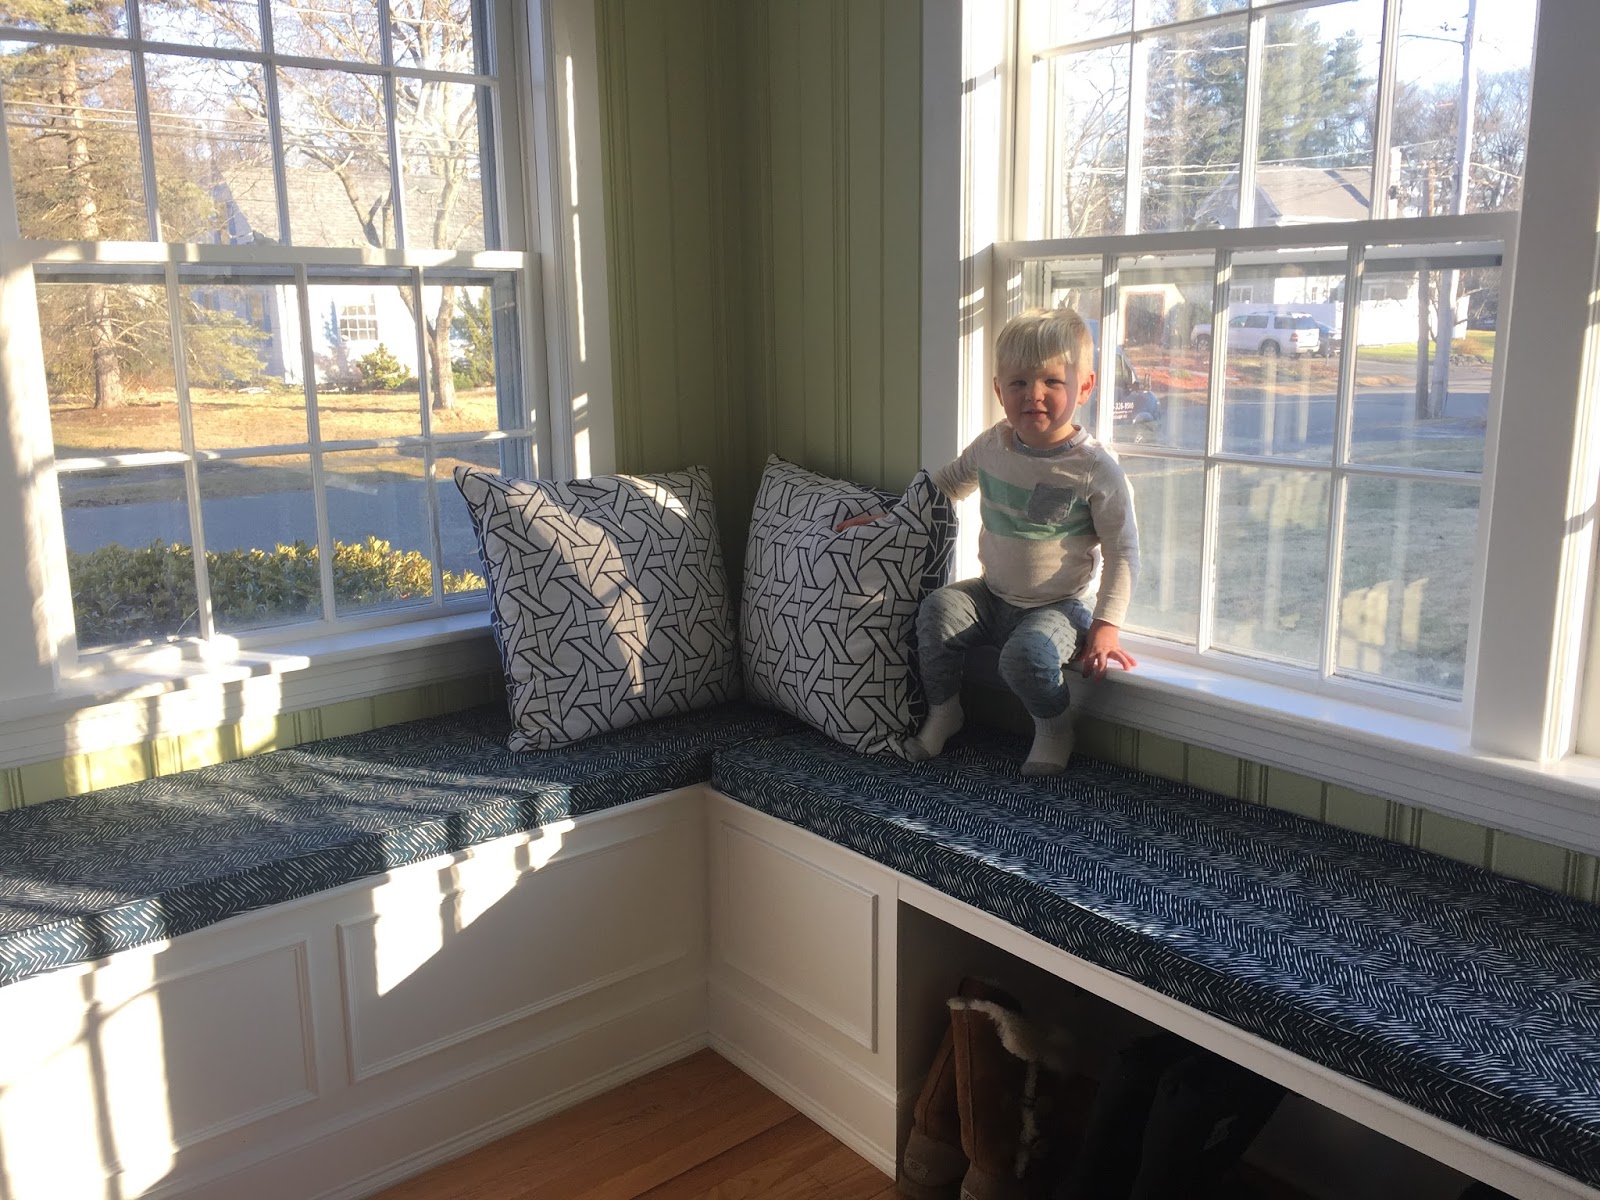
After (hi Alex!)
Before
After
And the overall timeline of transformation.
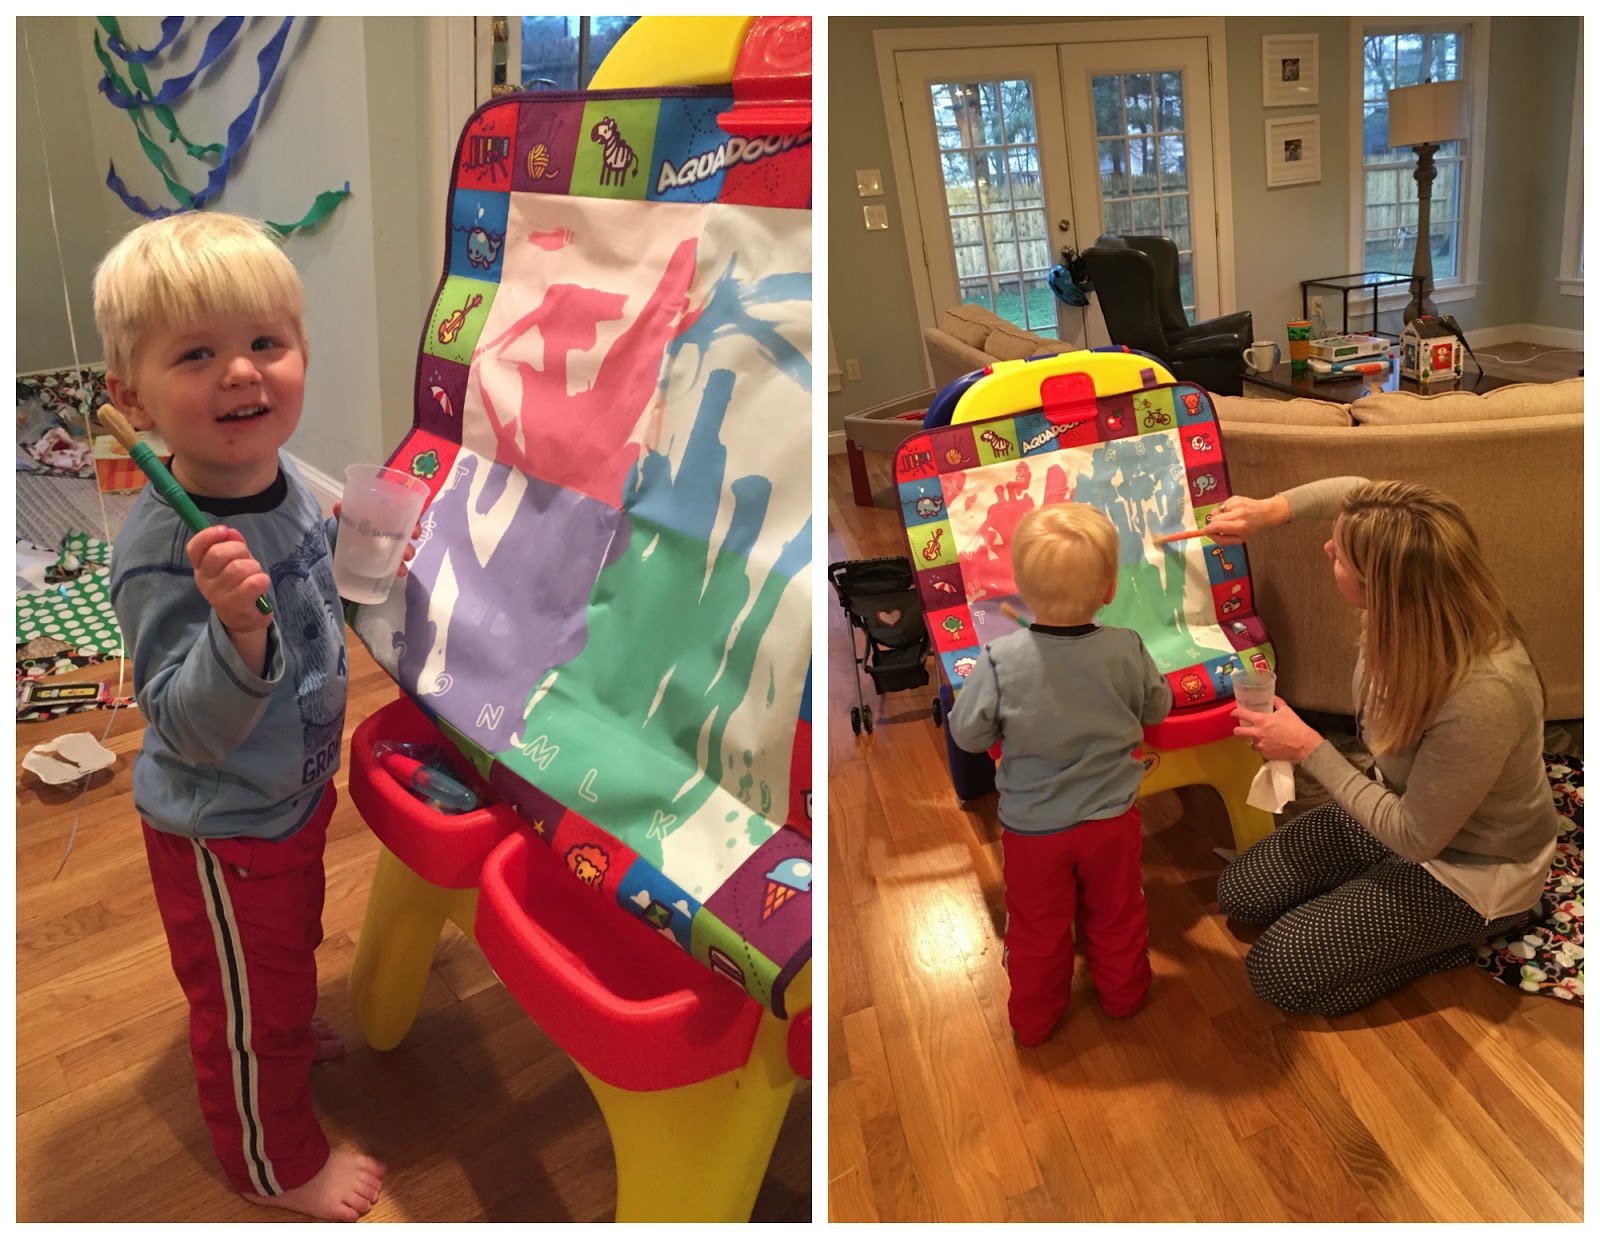
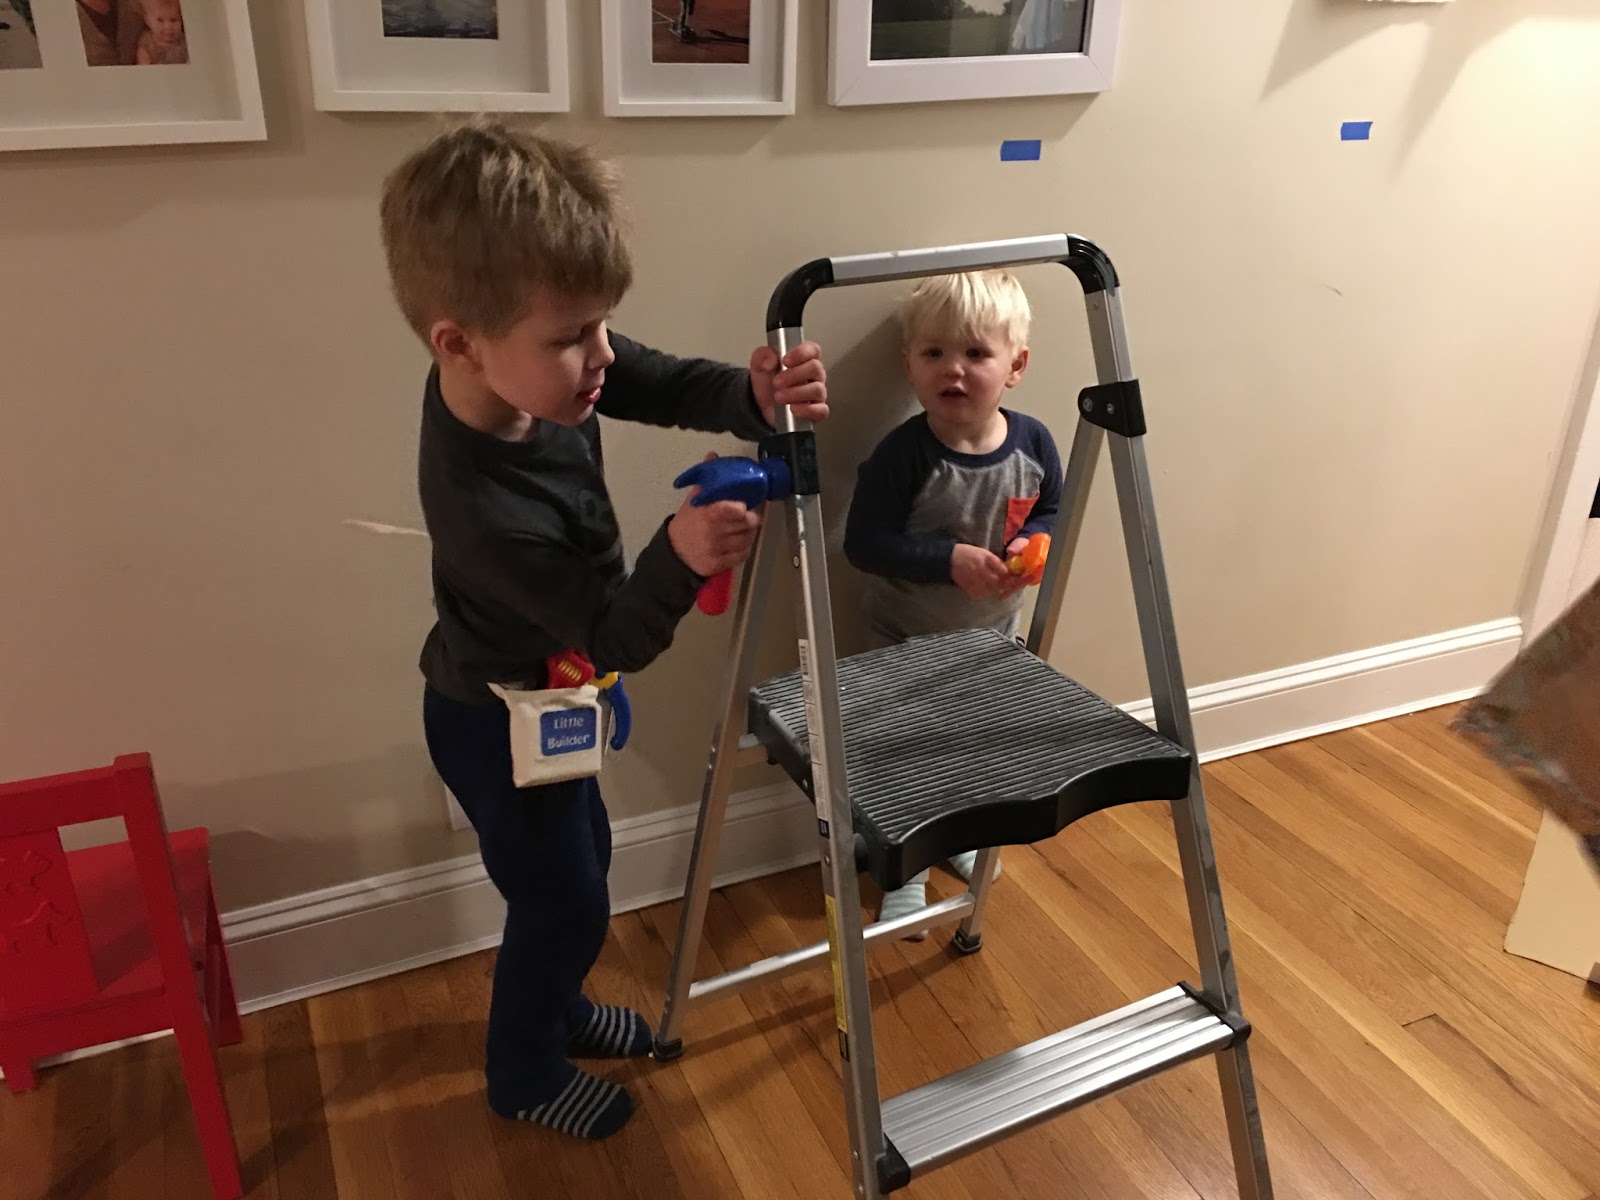
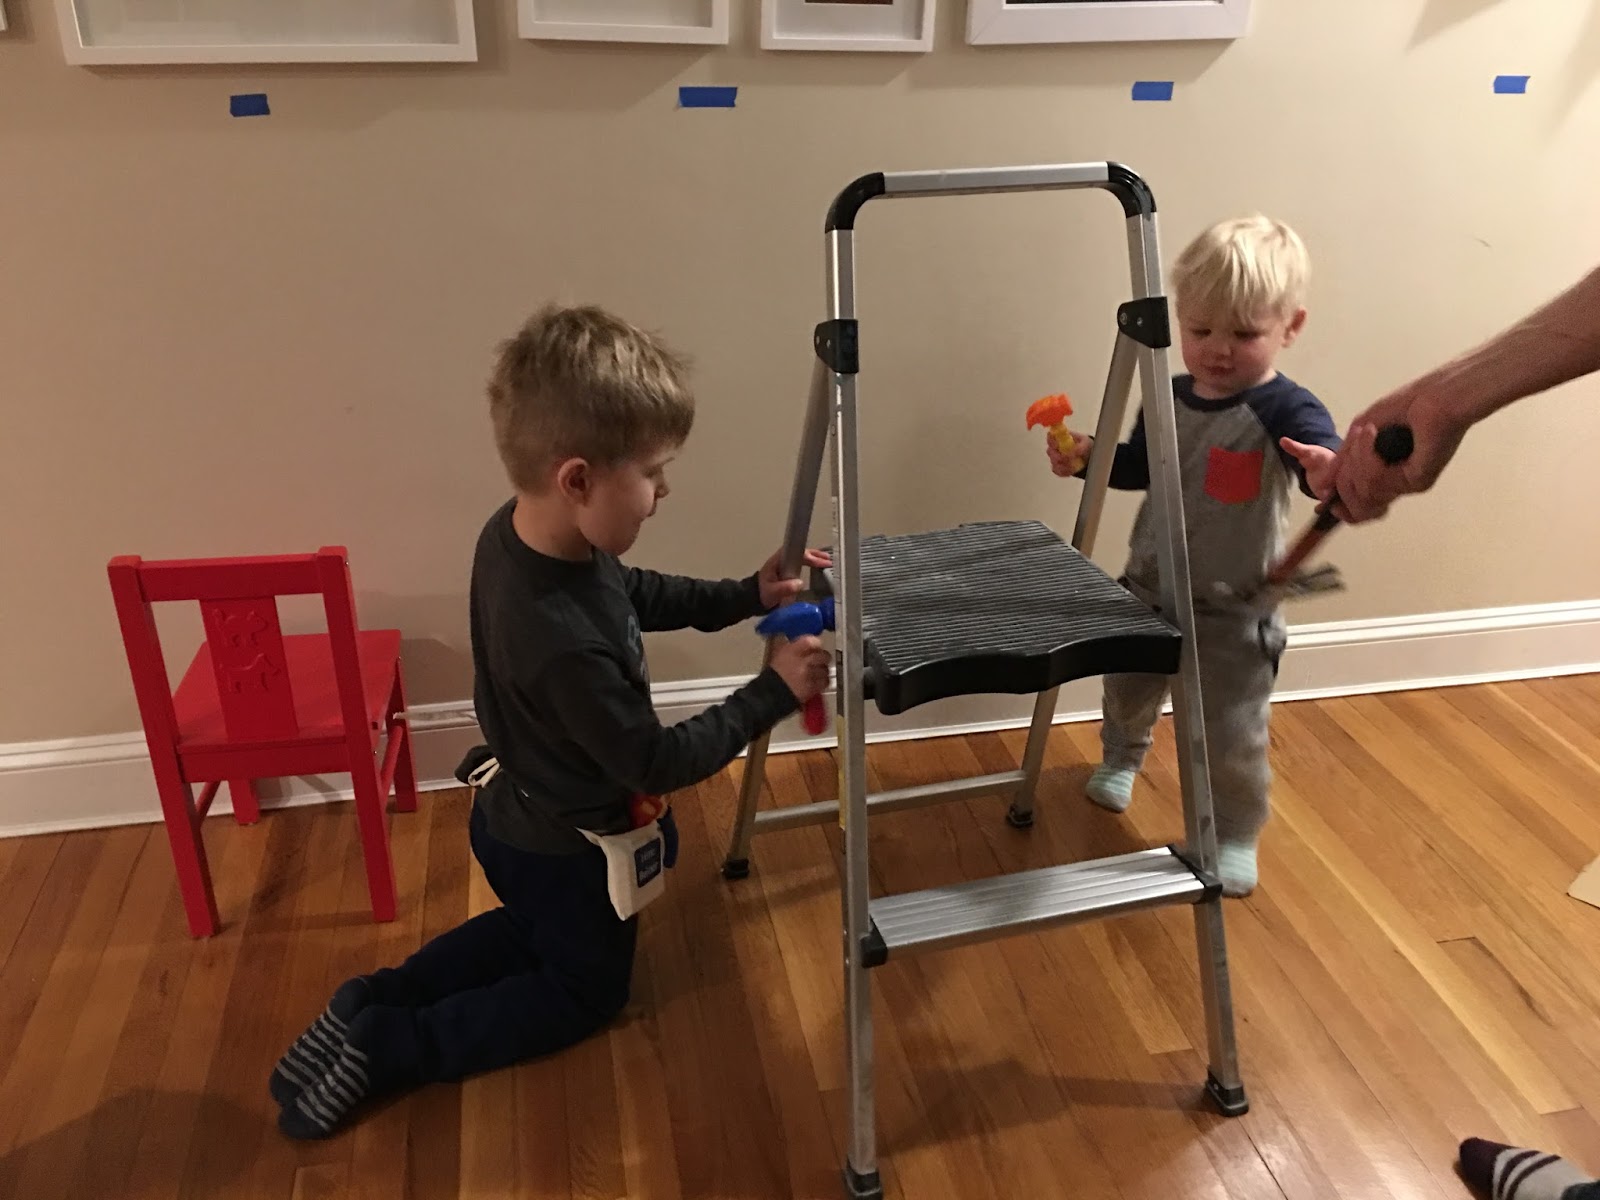
I might be guilty of overposting at this point. But I love it – the room is so sunny and cheerful, honestly the boys love to hang out in there! They race along the benches and squeeze their little bodies into the lockers (Ashton calls his his “closet”). One last glamour shot:
There are lots of things I didn’t go into detail about i.e. the front bench opens on a hinge for more storage, the light fixture is new (no thanks to the old ornate gold one), and Jason made the Six Craft board out of one of the original bookshelves by staining and sanding it down. I just love love love everything about this new space 🙂
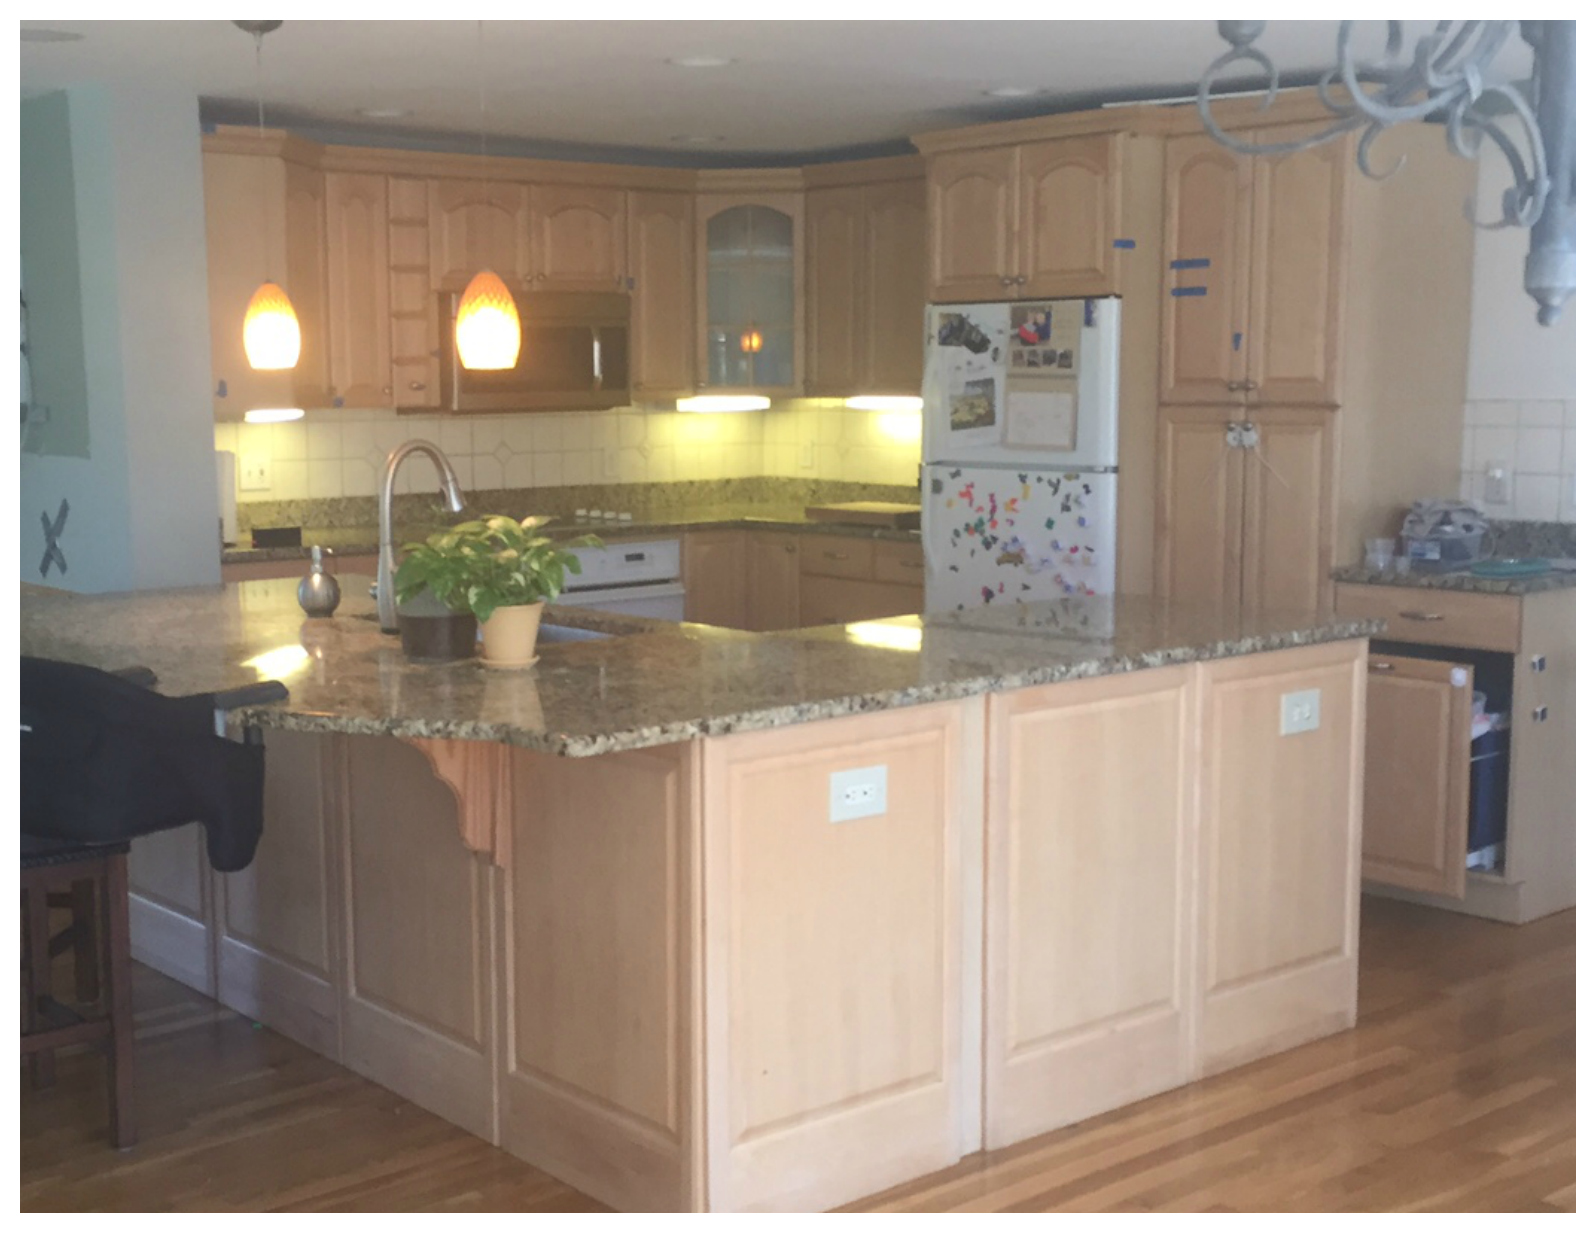
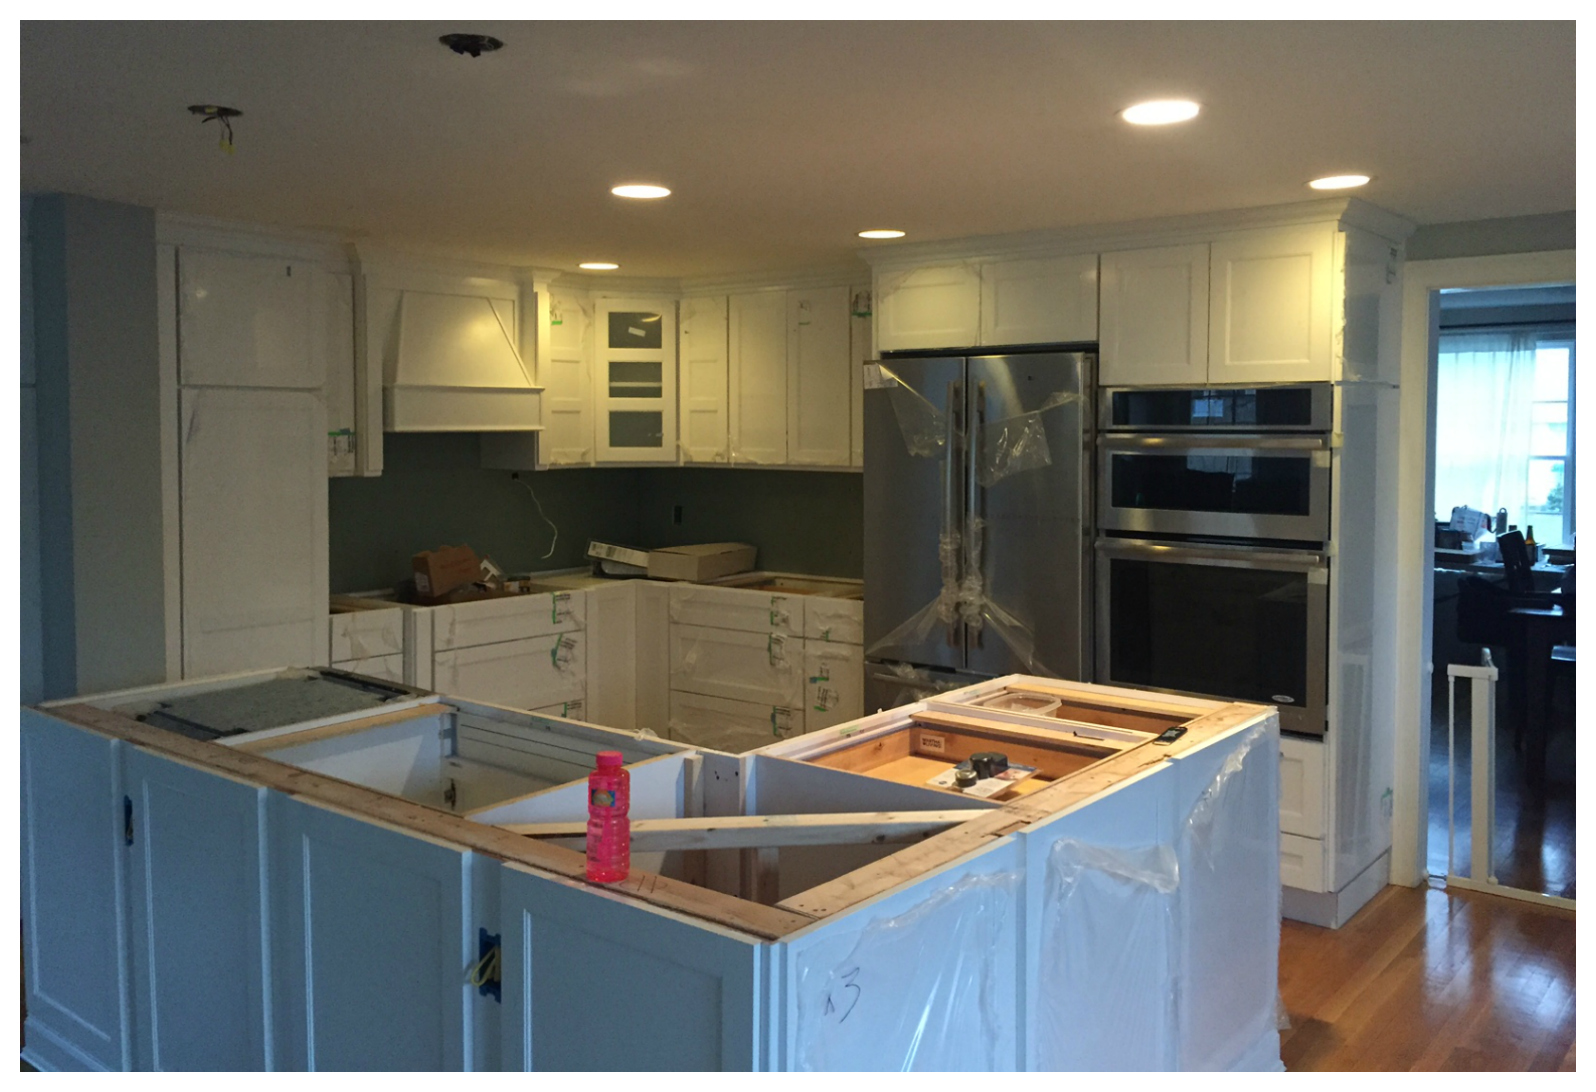
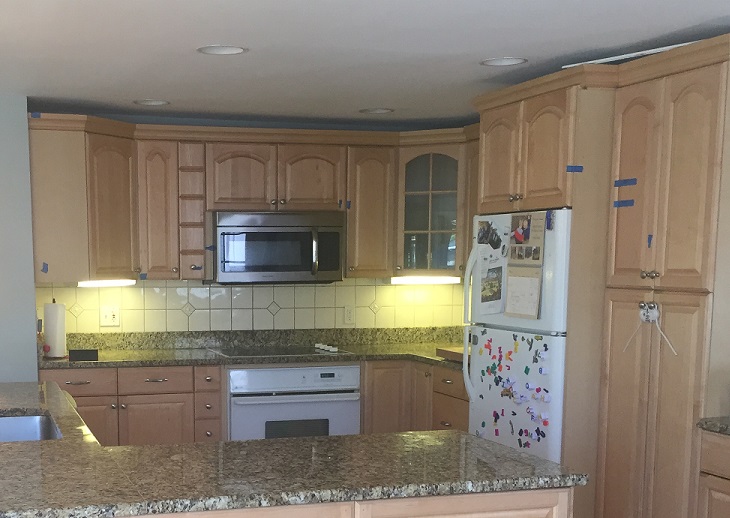
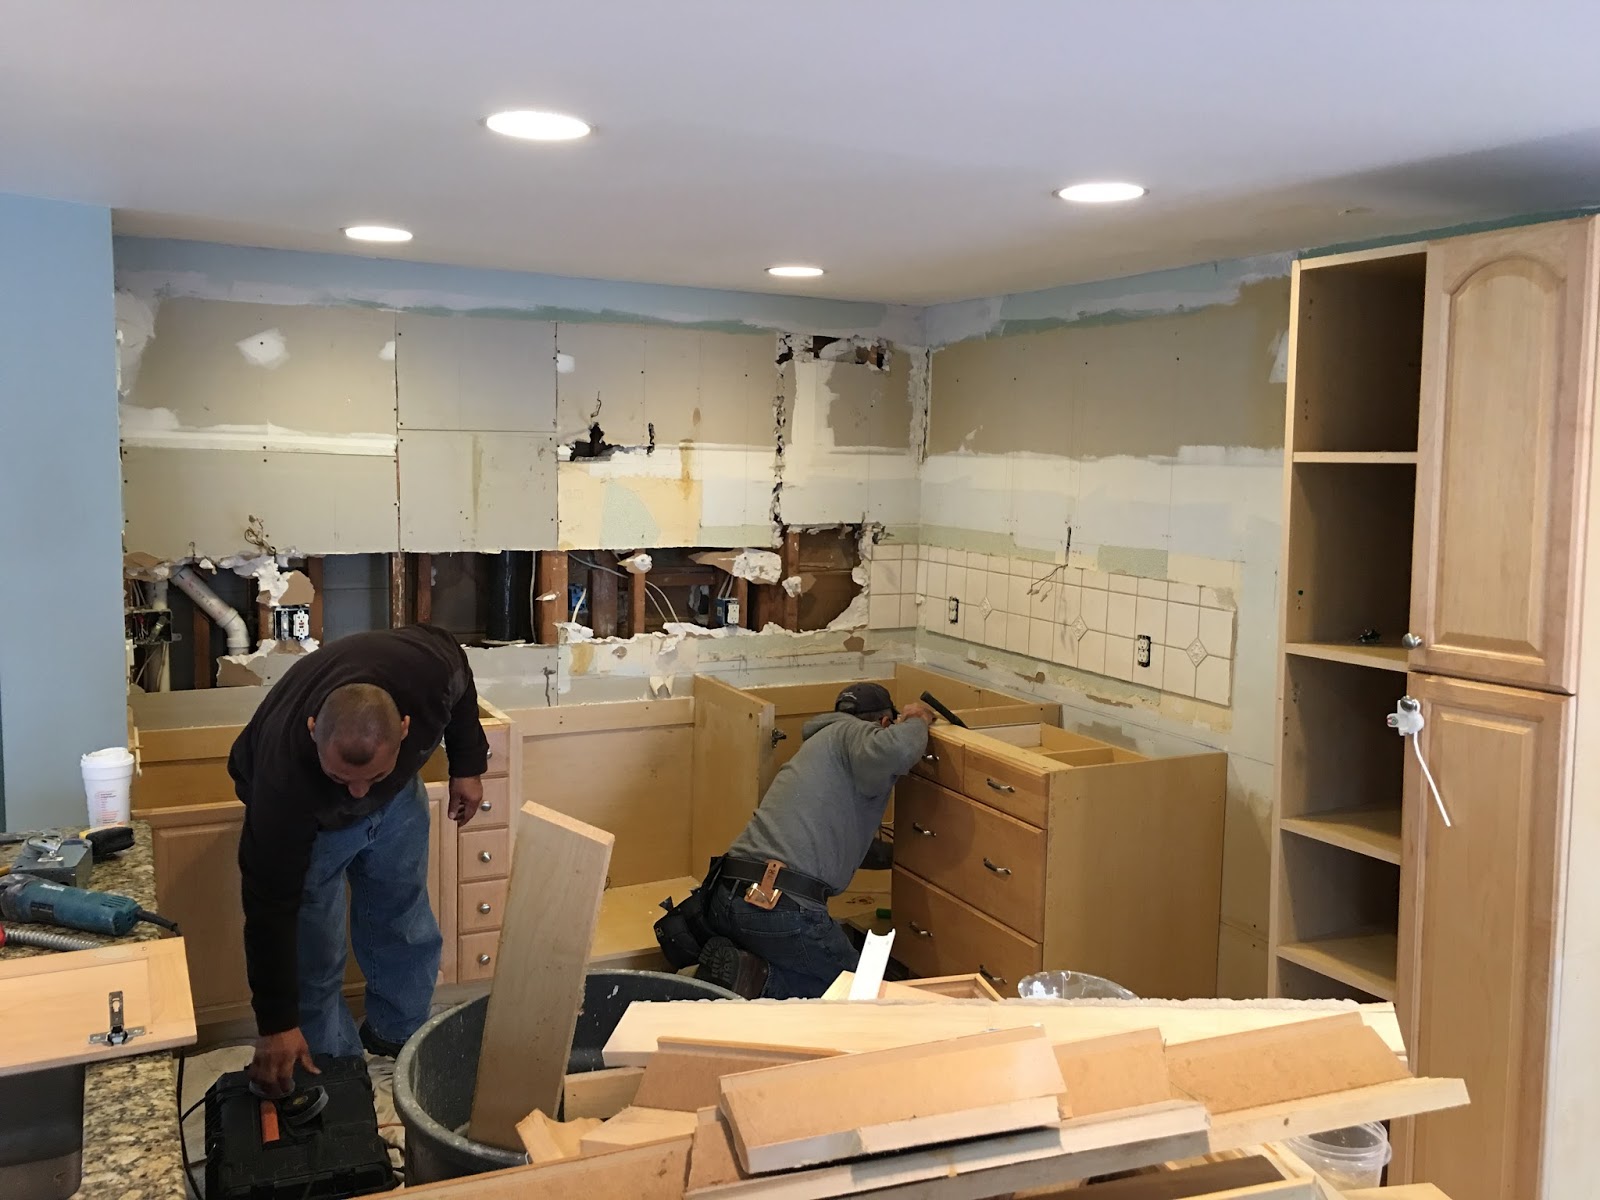
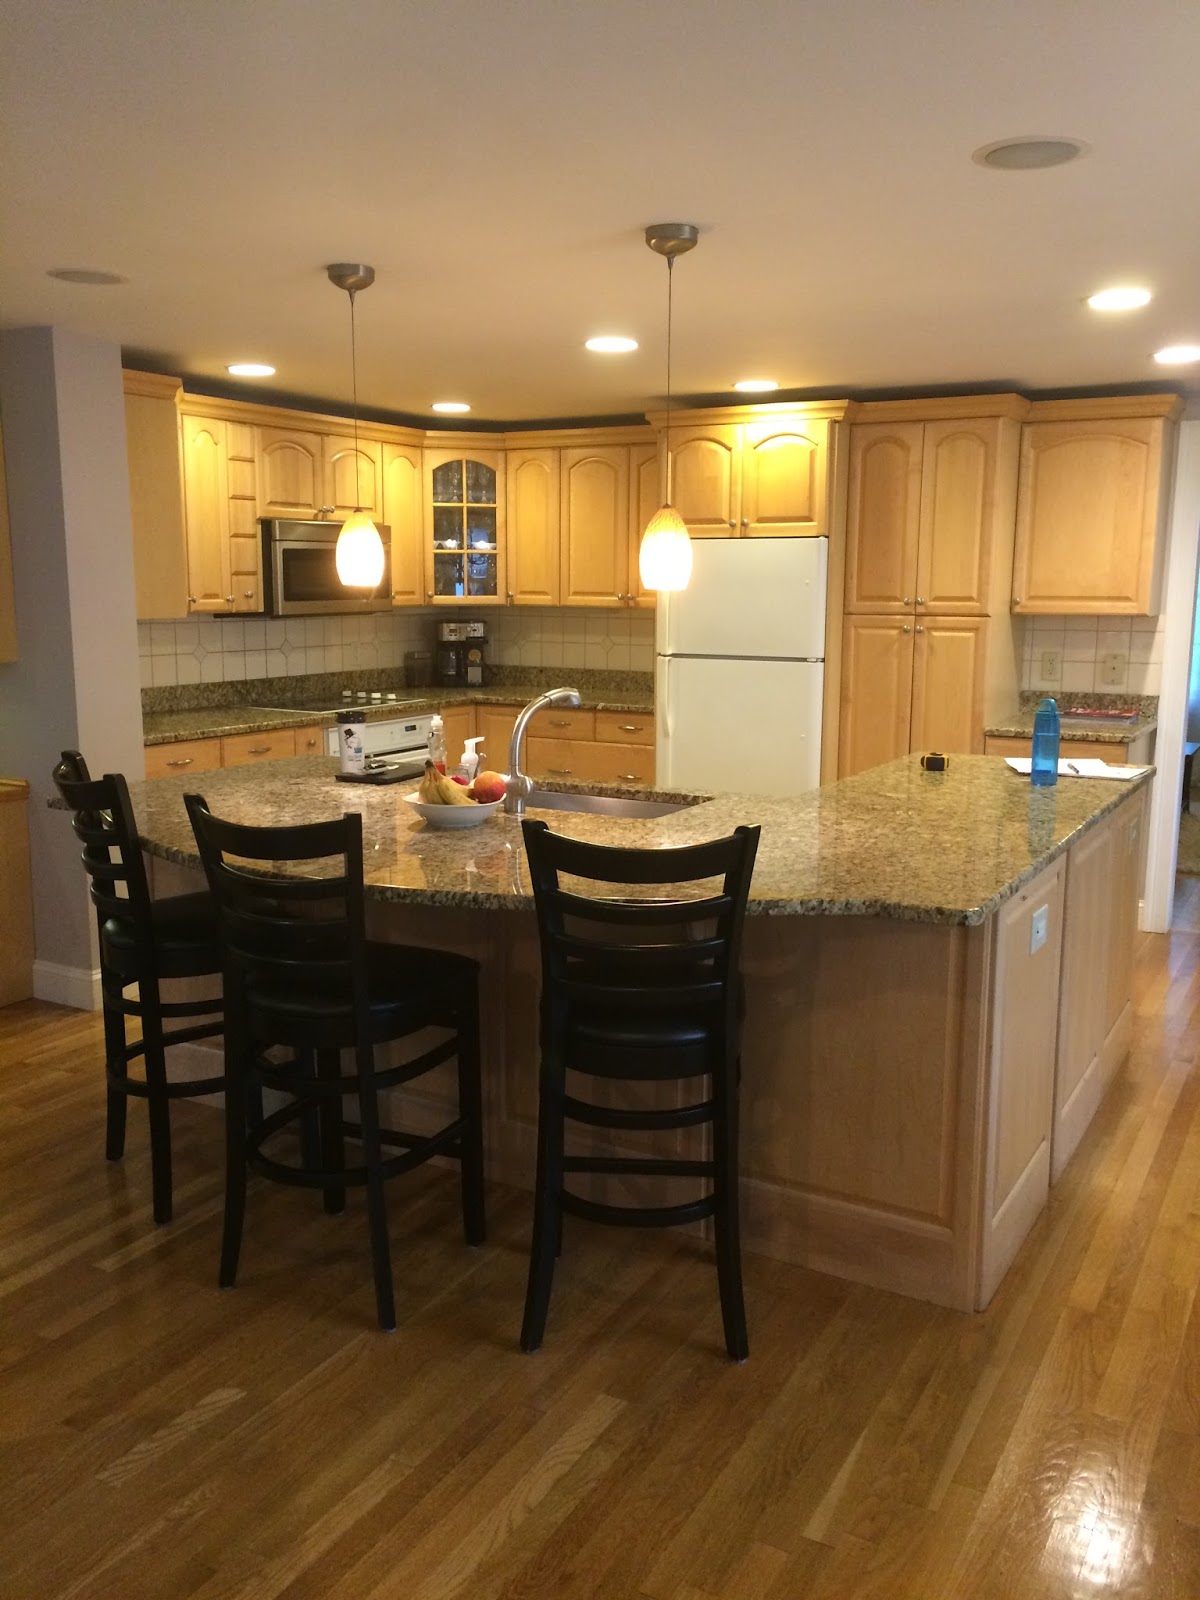
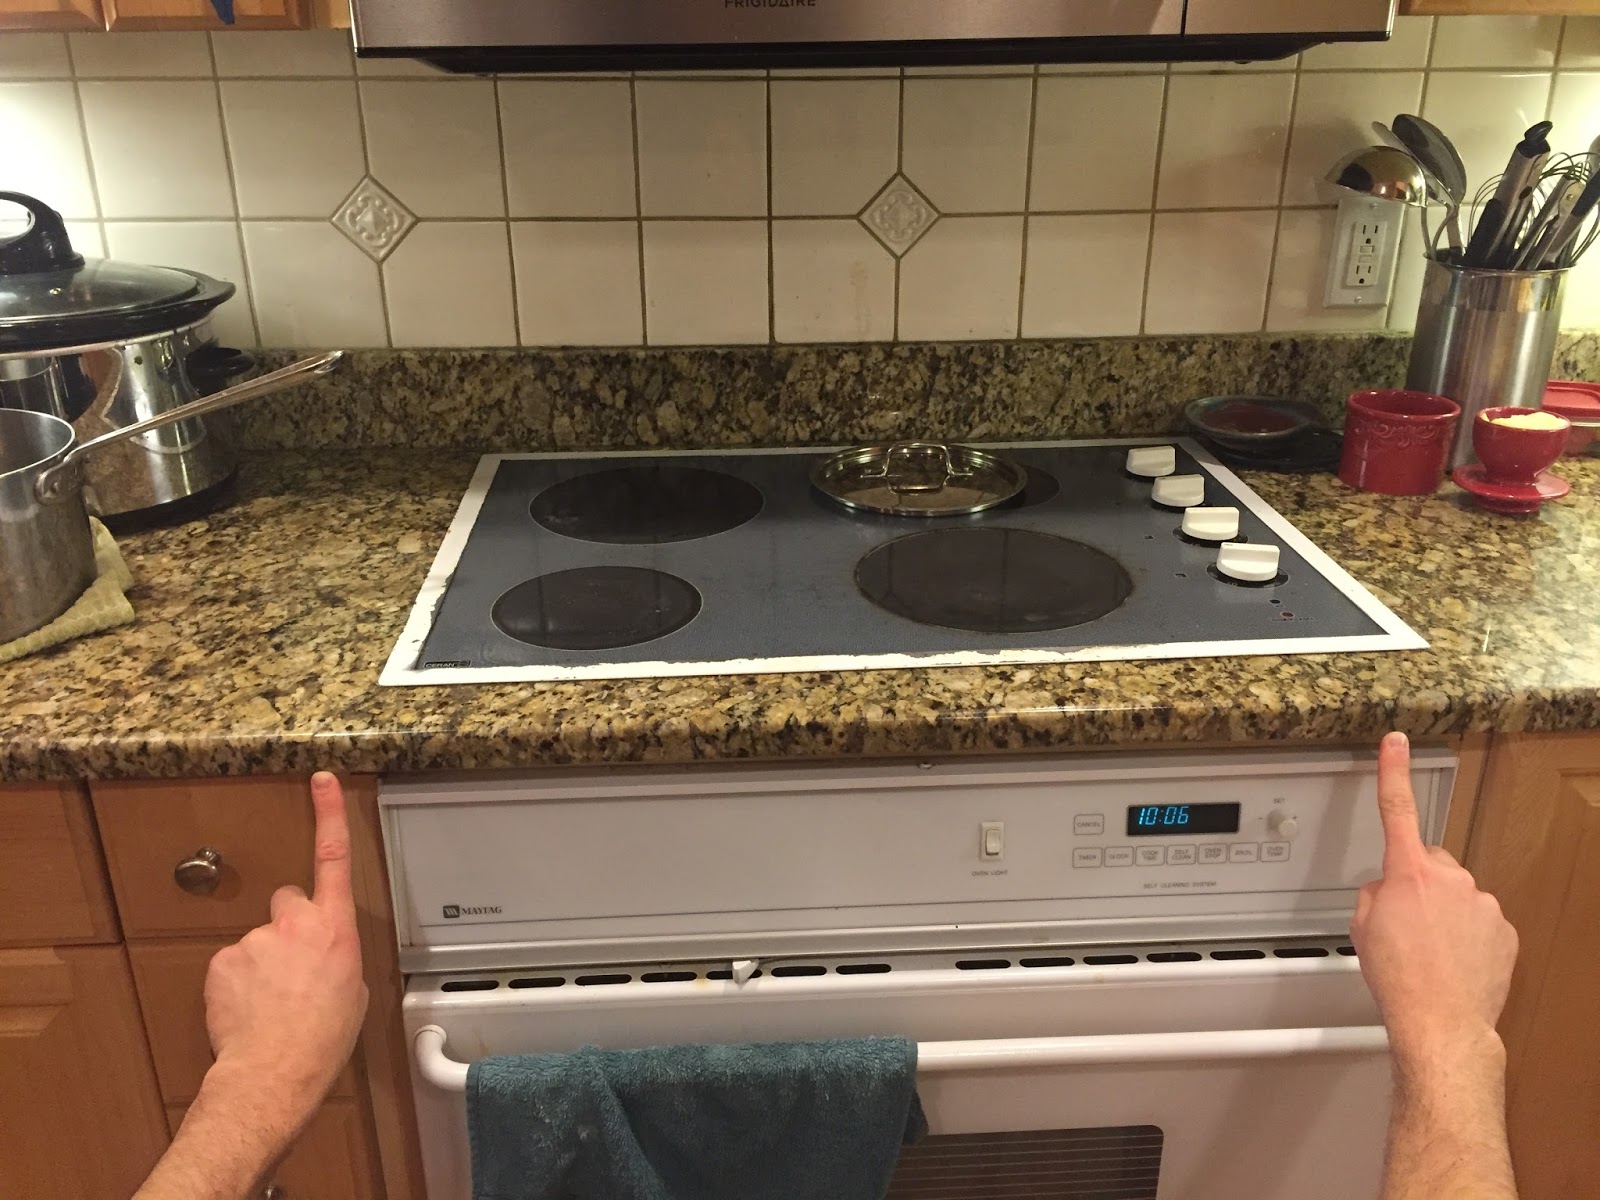
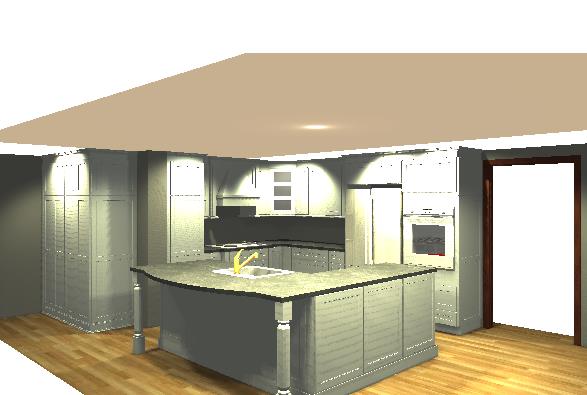
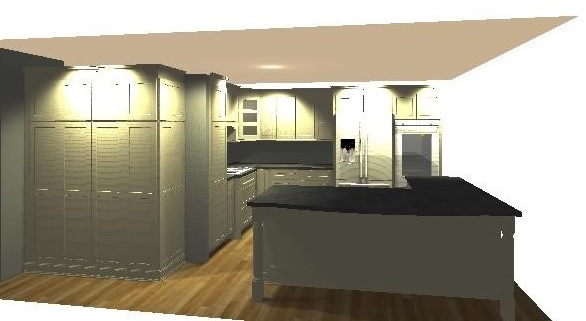
Sooo, what’s next? Oh! I know…it looks a little something like…
Cabinets are ordered, countertops are picked, appliances are just waiting for their delivery date…we are a month out from the demo and this will definitely be our biggest project ever!